Layout designer
The plot box layout defines the layout of the plot box to print, for example to include information on the company and the project.
Edit plot box layout window
Layout designer opens a designer tool to edit or define new plotbox layout.
Click Output.
Click Layout designer.

This command opens a window.
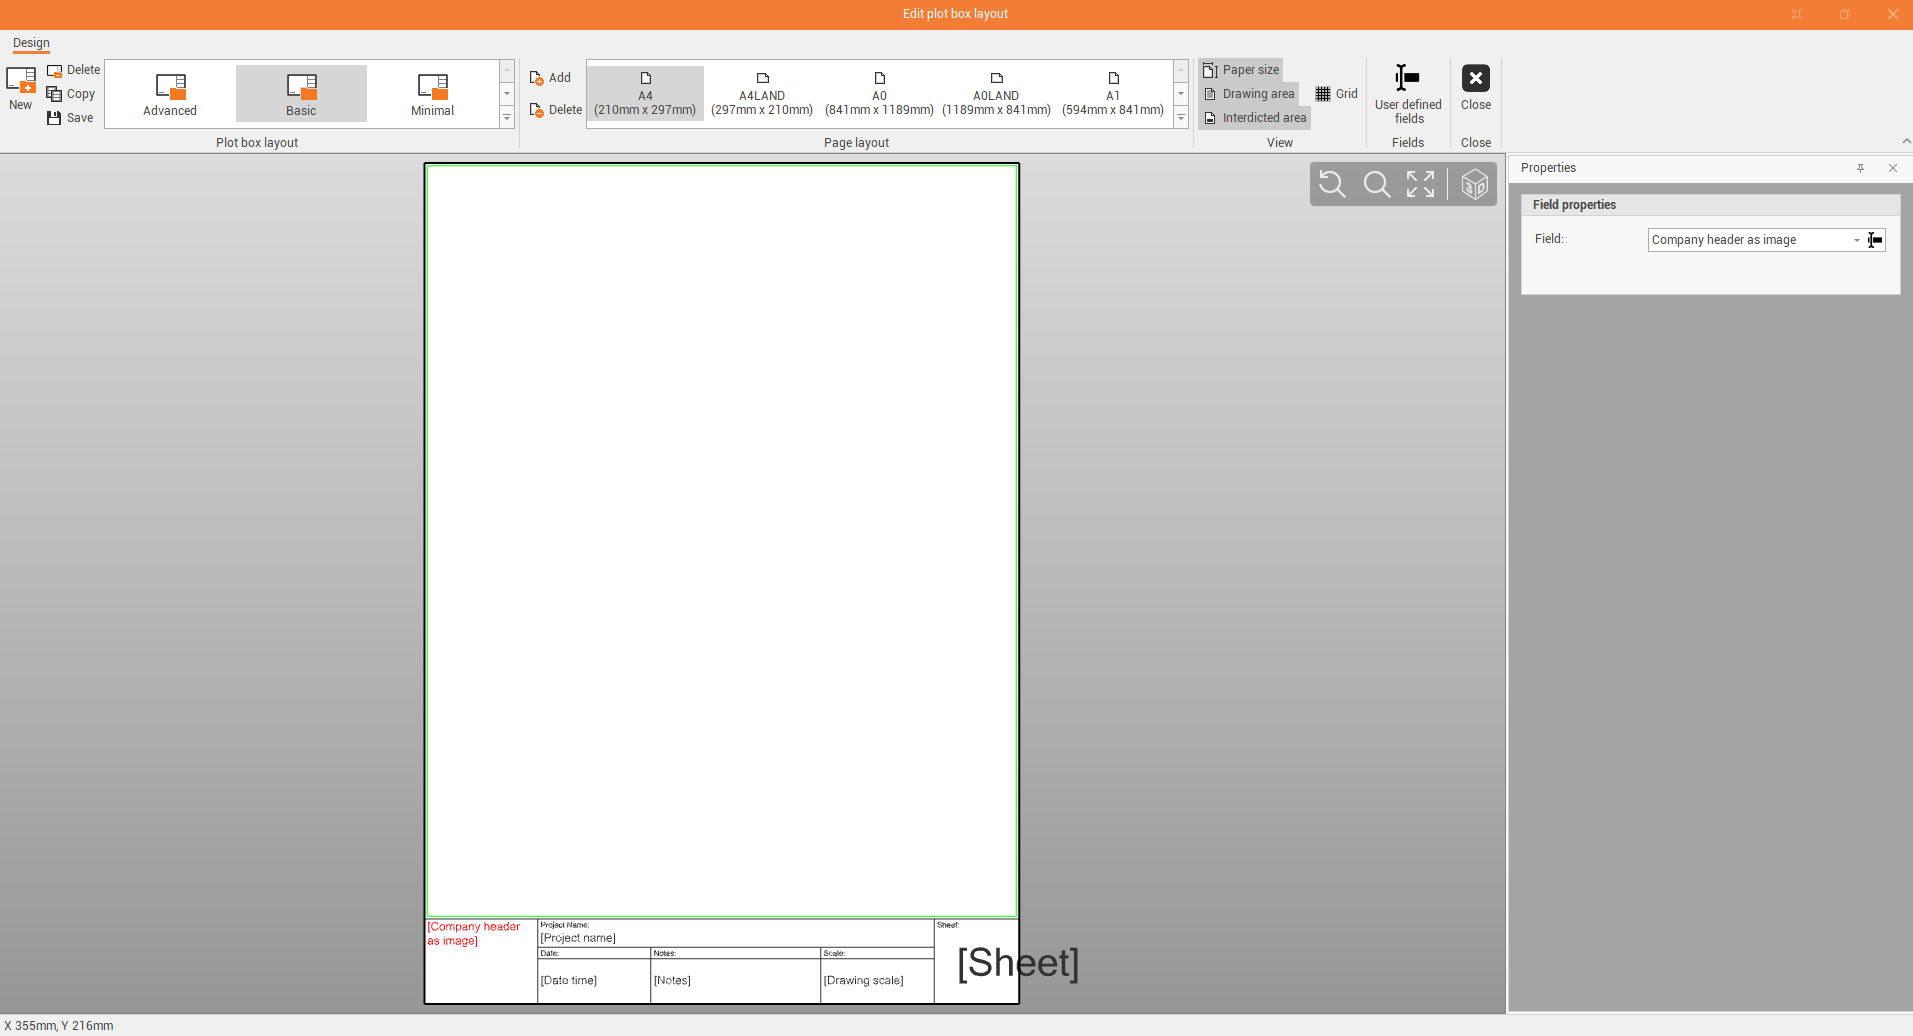
A plot box layout is composed of different parts:
Drawing area: the area where there is the drawing. In the graphic area it is identified in green color.
Interdicted area: the area where there is the title block. In the graphic area it is identified in magenta color.
Each plot box layout can be available in different page sizes.
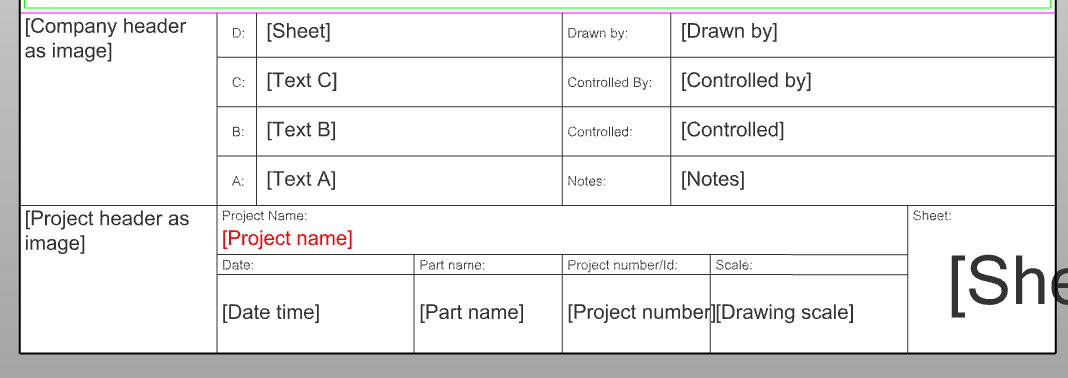
In the title block, the fields can be customized with predefined values or custom values.
The plot box layout toolbar allows to select and manage the different plot layouts. Fusion already includes predefined plot box layouts. The commands are:
New: to create a new empty plot box layout.
Delete: to delete the current selected plot box layout.
Copy: to make a copy of the current selected plot box layout.
Save: to save the current selected plot box layout to disk.
The page layout toolbar allows to select the page size or add or delete a page layout:
Add: adds a new page layout from a DWG file.
Delete: delete current page layout and and fields defined.
The view toolbar allows to enable/disable the visualization of layout elements:
Paper size: shows current paper size limit.
Drawing area: shows the drawing area marker. Only entities inside the drawing area will be plotted.
Interdicted area: shows the interdicted area marker. Entities inside the interdicted area will not be plotted.
Grid: shows a millimetric grid.
Each field in the layout can be defined using predefined values or custom values.
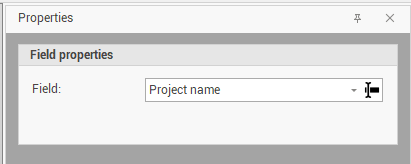
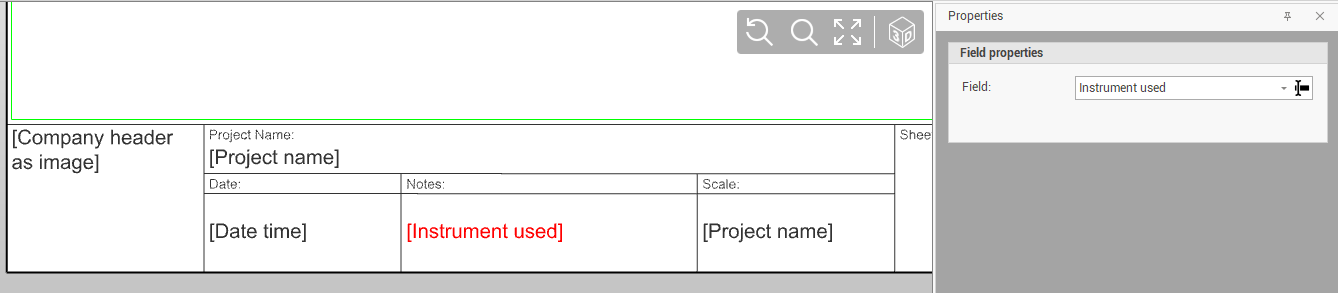
To define the field properties select one field.
Select the field value from the Field properties panel.
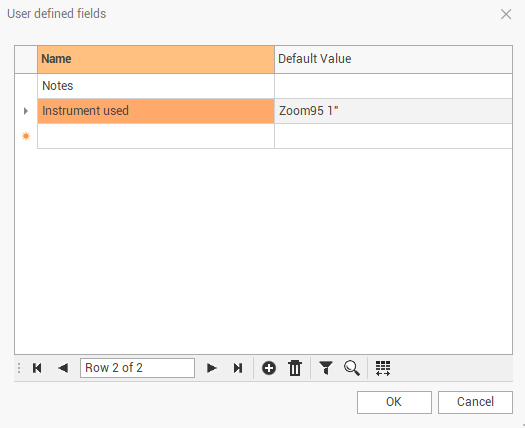
You can select the value from a list of predefined values or creating new values clicking User defined fields.
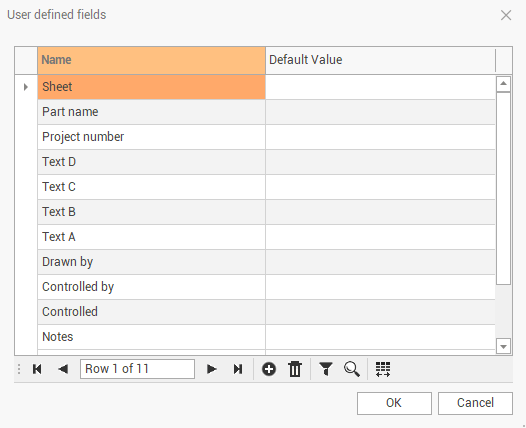
From the User defined fields panel you can create a new field and assign default values for each field.
Defining a plot box layout step-by-step
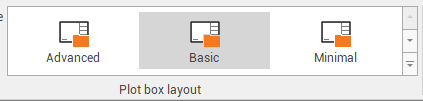
In the Edit plot box layout window select one of the pre-defined plot box layout.
The values of the title block fields are already defined. You can click on each of them to change the properties.

In the properties you can defined a pre-defined value for each field (company image, company name, date time, project name, etc..), select None to just enter the text, or select a user defined field.
If we want to enter a new user field, click User defined field to open the User defined fields window.
Click Add to add a new user field and optionally enter a default value.
Now you can select a field in the title block, and assign the new user field.
When all customizations are done, click Save to save the plot box layout.
You can create or completely edit an existing plot box layout. Please refer to this video tutorial: Create a custom plot box layout