Setting the working area
 |
|  |
| 
When the drawing extension is too large to display all items correctly, this symbol
 happears.
By clicking on the icon, the area to work on can be defined.
When a working area is stored, the software uses it as default view for the CAD and Job window. If a working area is defined, the command Zoom Max. shows the defined working area. Working areas can be defined in the two ways:
Setting a working area directly.
Defining a working area.
Setting the working area directly
Click
icon.Perform the view adjustment.
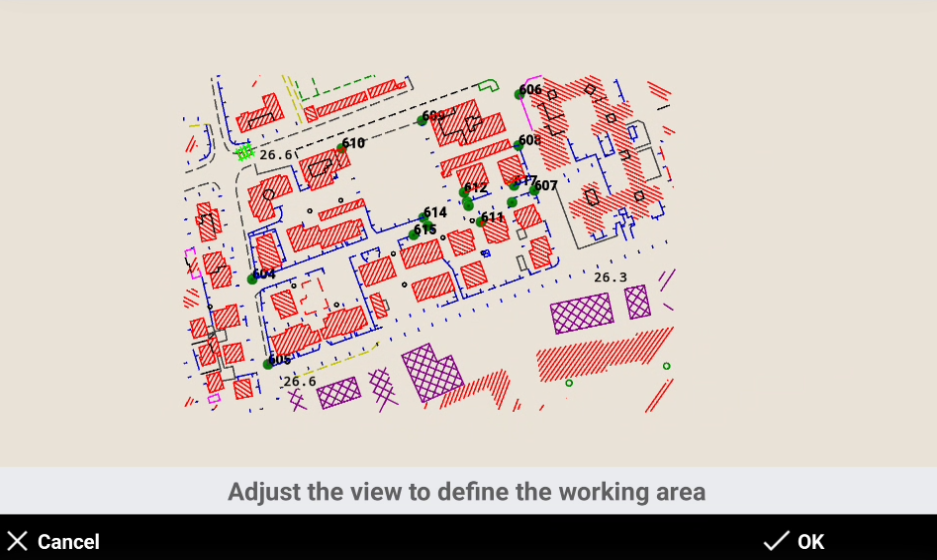
Click OK.
Defining a working area
A working area can also be defined in case we want to force the zoom all to a defined area in CAD.
Click Data.

Select Working area.

Click Define working area.
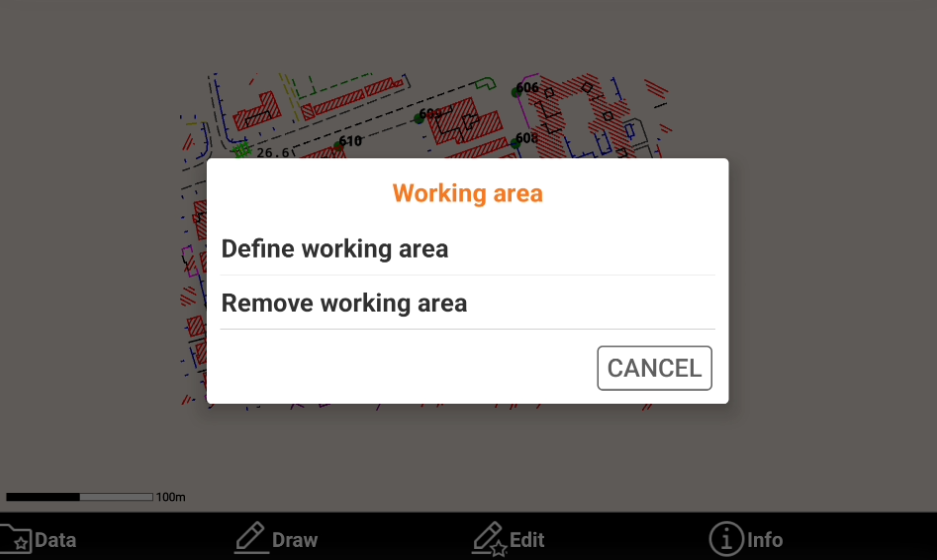
Adjust the view and click OK.
Remove a working area
It is possible to delete a defined working area.
Click Data.
Select Working area.
Click Remove working area.