Registration
After scan import, if selected Register, the Registration page is opened.
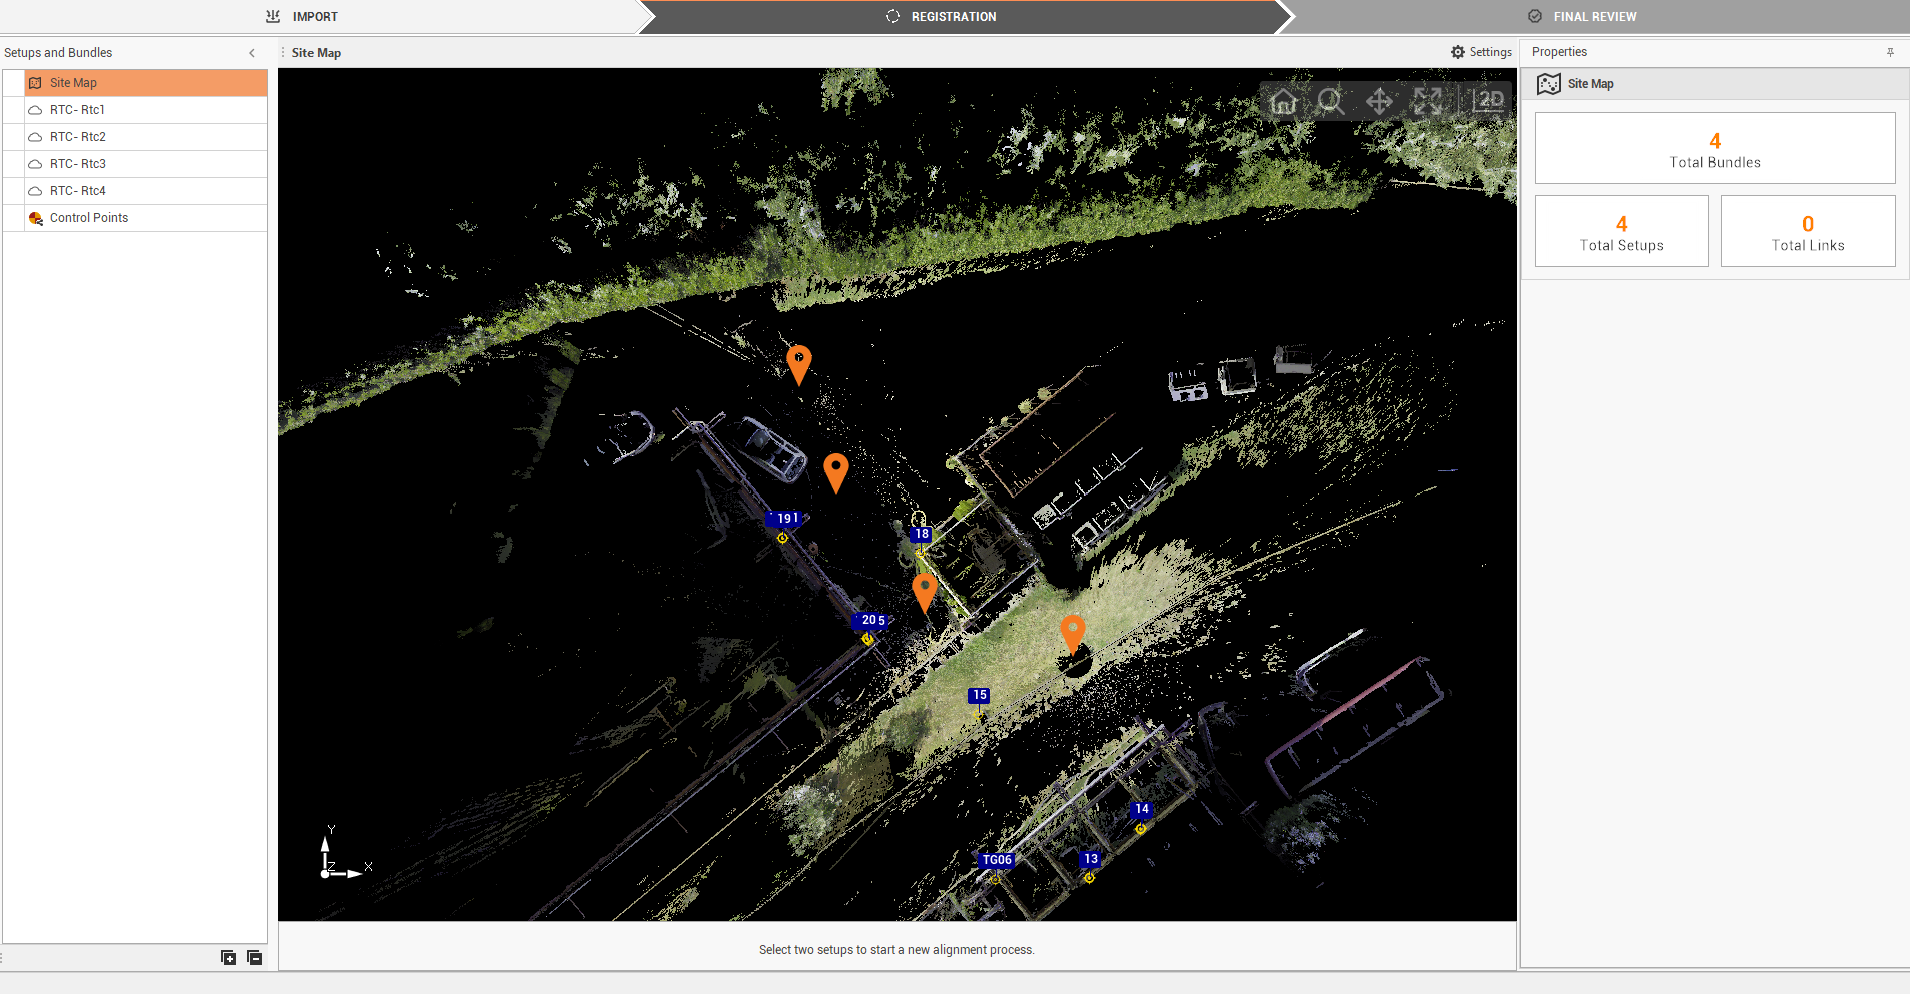
Site map
In Setups and Bundles panel it is possible to change the view to Site Map.
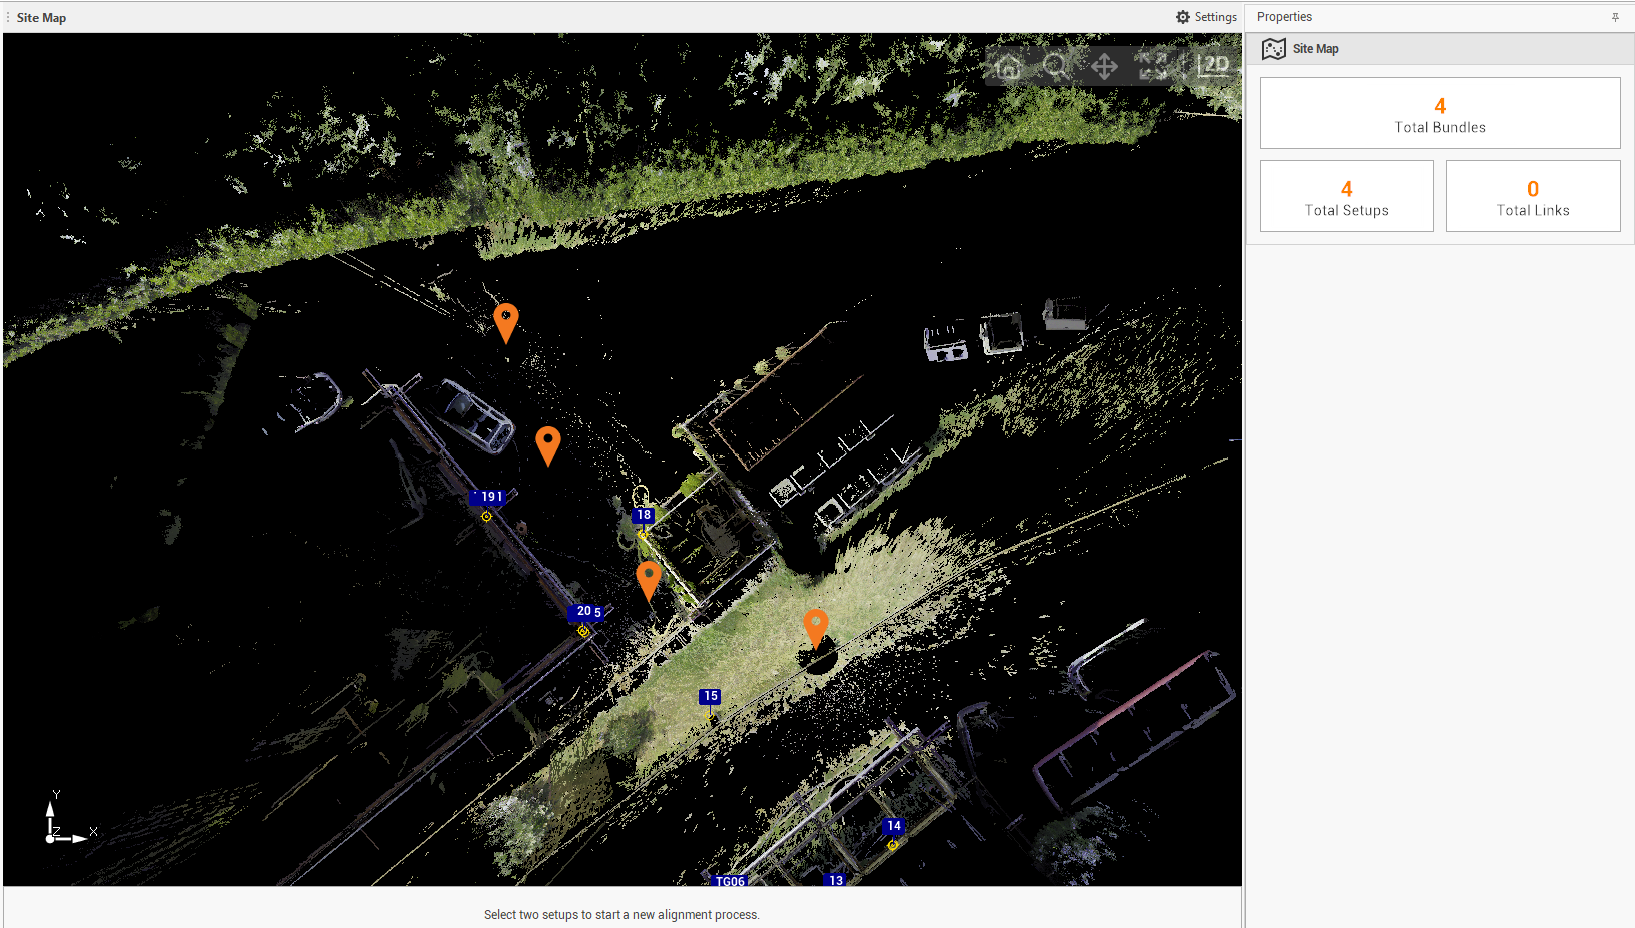
Site Map opens the map view with the visualization of point clouds, scan centers, control points and links between the setups.
In the Properties panel the number of bundles, setups and links is visualized.
Control points
In Setups and Bundles panel it is possible to open the list of control point, clicking Control Points. Control points can be used with registration with targets.
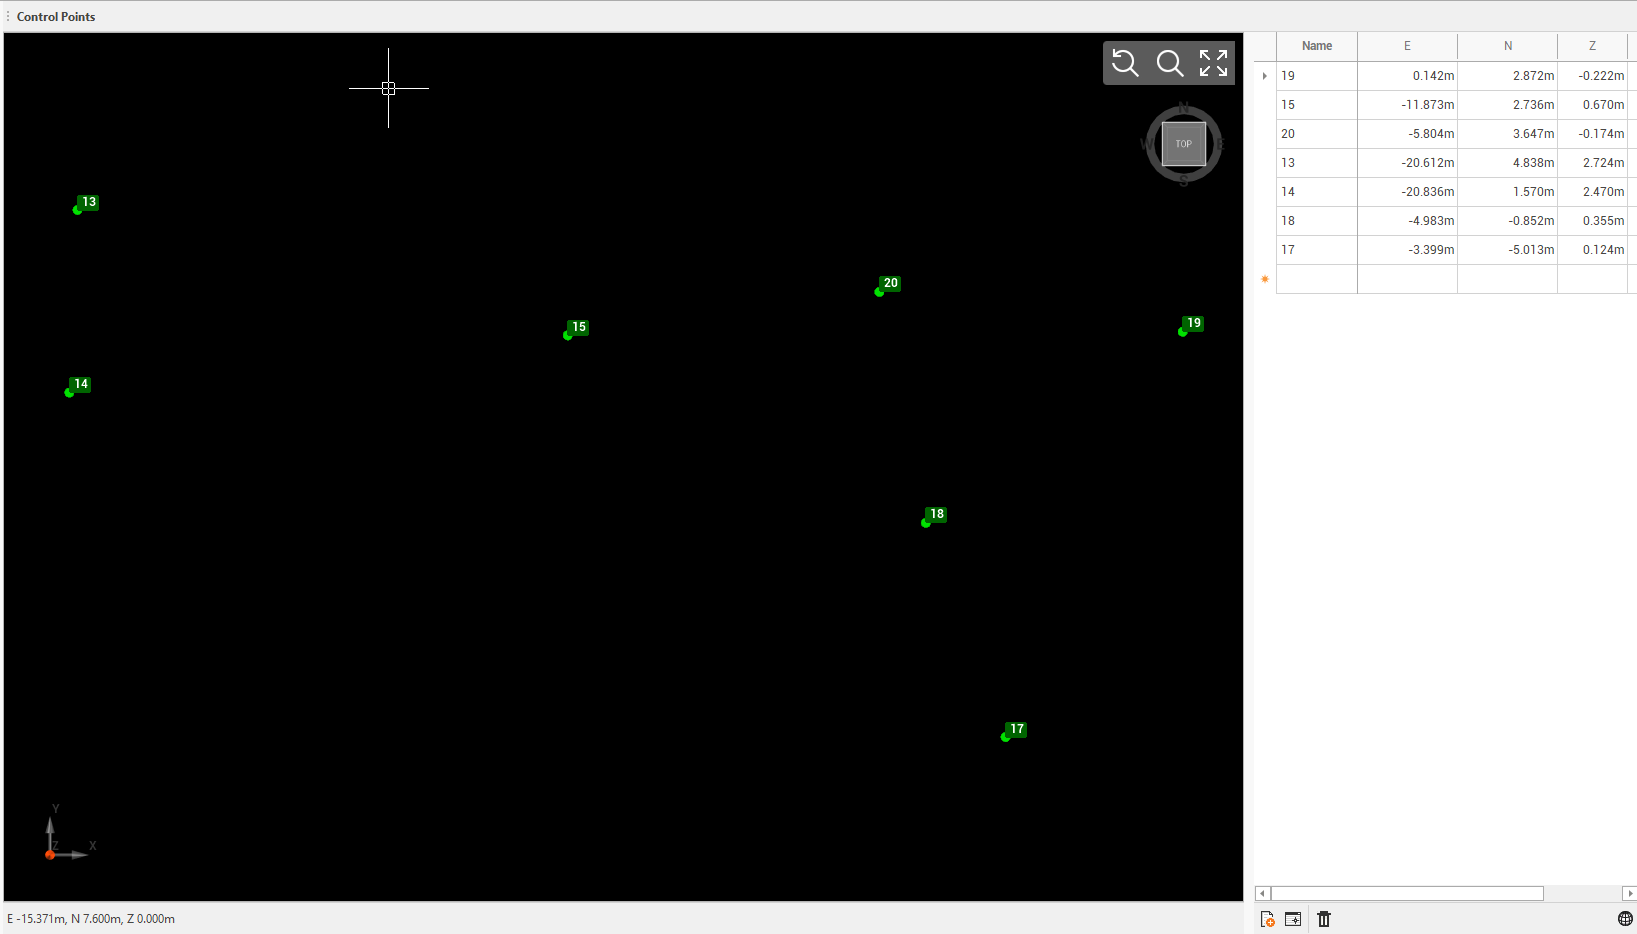
This command opens a map view with the visualization of available control points.
In the right panel the list of available control points and their coordinates is visualized.
On the bottom of right panel there are the commands to import and manage control points:
Import control points from file: to import the list of control points from an ASCII file.
Import control points from project: to import control points from the list of topographic and reference points from current Fusion project.
Delete: to delete the selected control point from list.
Scans
In Setups and Bundles panel click on a scan to open it.
The setup view shows the selected scan.
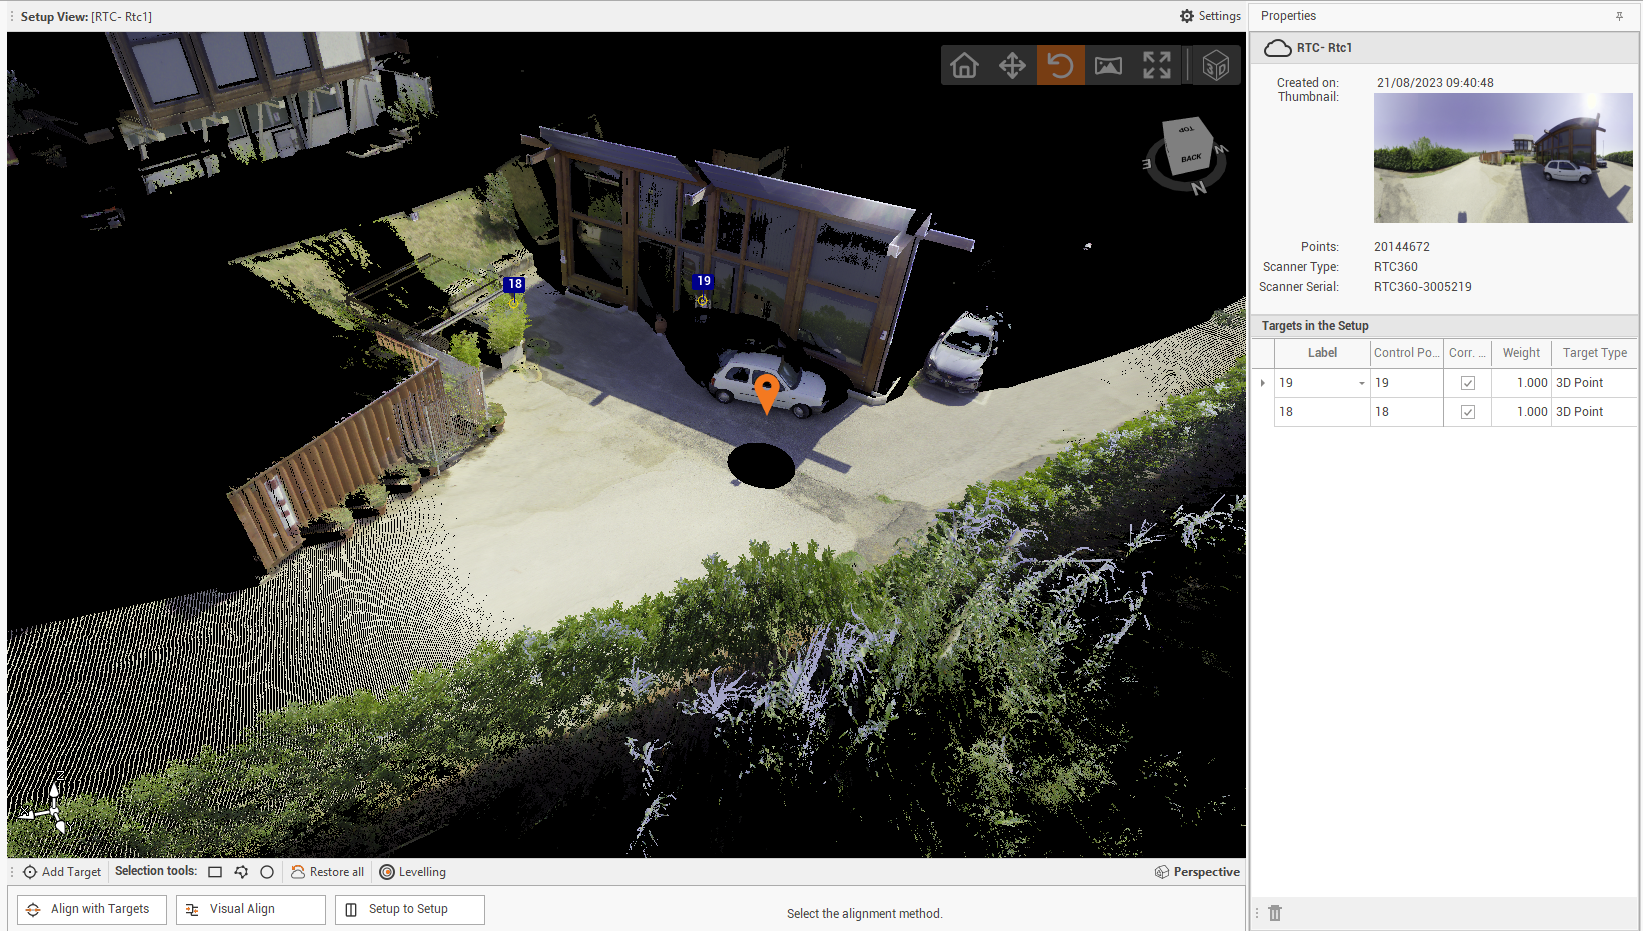
It is possible move and rotate the scan view using the commands on top-right.
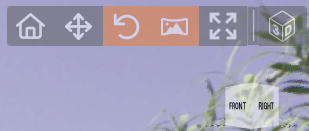
Home: reset the scan view.
Pan: to pan the scan view.
Rotate: to rotate the scan view.
Panorama: to view the panoramic image from scan setup position.
Zoom extend: to extend the zoom to entire scan.
2D/3D view: to change the view from 2D to 3D.
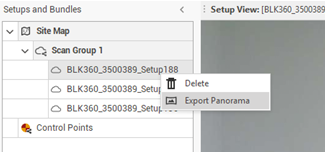
Right-click on s scan or on a Scan Group to export the panoramic images.
Edit point clouds
During the registration process it is possible edit the single imported scans.
In Setups and Bundles panel click on a scan to open it.
On the bottom of the Setup View window there are the commands to edit and clean the points cloud.

Use the Selection tools to select the points over the points cloud.
After selection is done, it is possible to edit the points using the following commands:

Delete inside points: delete points inside the selection.
Delete outside points: delete points outside the selection.
Restore inside points: restore deleted points inside the selection.
Restore outside points: restore deleted points outside the selection.
Change points visibility: depending on the command used, displays or hides the selected points. If enabled the points are permanently deleted.
Change C2C points: depending on the command used, considers or excludes selected points from the Cloud to Cloud algorith. If enabled the points are not used for the cloud to cloud registration.
Restore all: restore the point cloud as it was originally.
Levelling: levels the setup using 3 reference points on an horizontal plane.
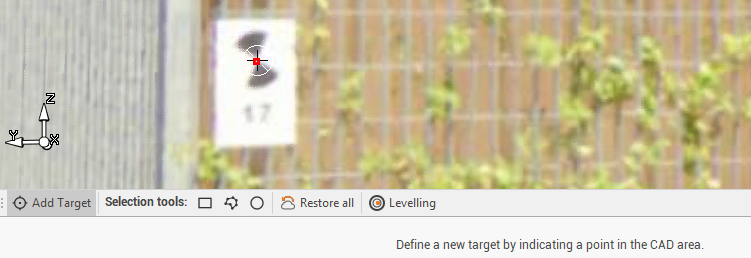
Add target: if targets are used, allows to create a new target indicating a point in the CAD area. After point is selected it is possible to enter the Target Name and assign it to an available Control Points.
Working with targets
If targets are used, it is possible to use them to register the point clouds and reference the scans to known coordinates.
The targets can also be known points in the scans, not necessarily black&white targets.
If the option Recognize Black-White targets in the scan import was selected, the targets can be automatically recognized by the software.
Otherwise using the command Add target it is possible to add manually a target to a scan.
To see the available targets for a scan:
In Setups and Bundles panel click on a scan to open it.
On the right a table with all targets in current setup are visualized.
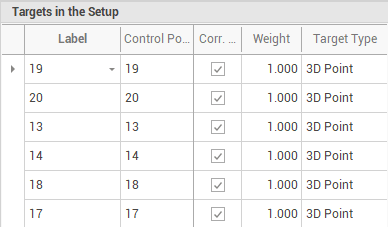
Label: the name of the target.
Control point: the control point assigned to the target, from the points in Control Points list.
Correlation enabled: enables/disables the relationship between target and control points.
Weight: the value is used to give target constraints more or less weight when included in the network. The value range is from 0-1. Setting a lower value than 1 means that the particular constraint will have less weight when the network is formed.
Target type: the type of target as recognized by software algorithm.
To add manually a target to a scan:
Click Add Target in the Setup View window.
Click in the scan to create the target.
In the new window enter the target name and the name of control point assigned to the target. The list proposes the available control points in the Control Points list.
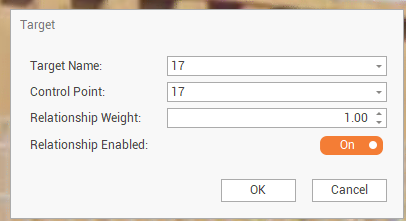
Target name: the name for the target.
Control point: the control point assigned to the target, from the points in Control Points list.
Relationship weight: the value is used to give target constraints more or less weight when included in the network. The value range is from 0-1. Setting a lower value than 1 means that the particular constraint will have less weight when the network is formed.
Relationship enabled: enables/disables the relationship between target and control points.
The target is added to the Targets in the Setup table for the selected scan.
Three targets are required between each setup to run target matching.
Scans registrations
A link between two different setups can be crated using different methods:
Align with targets: automatically aligns the selected setups using the geometry of the targets in those setups. See Alignment with targets.
Visual alignment: shows separate setups in different colors so that the user can align them manually. See Visual alignment.
Setup to setup: the split view represents the view from two different setup locations. The user selects matching points in each view to create links. At least 3 matching picks are needed to form a link (3 picks in one Setup and 3 picks in the other). Setup to Setup alignment.
To proceed to create a link between two different setups:
In Setups and Bundles panel select the two setups to register.
Select one of the following options from the Setup View windows to proceed with registration.

