Data import and export to X-PAD Office Fusion
Zoom10/10Pro data can be exported and imported, in different formats, using the U-disk delivered with the instrument or directly by cable to X-PAD Office Fusion.
The PRO version of Fusion, which requires a free license, can be used to import, visualize and export the data. Exporting the data from Fusion allows to export the data in more formats such as DXF.
You can download the X-PAD Fusion at this link.
For more information on Fusion refer to the Fusion help portal.
Export data from X-PAD Office Fusion to Zoom10
In this paragraph we see how to export topographic points from X-PAD Office Fusion to Zoom10.
Export points from a Fusion job
The function exports the points available in the job point list.
Click File.
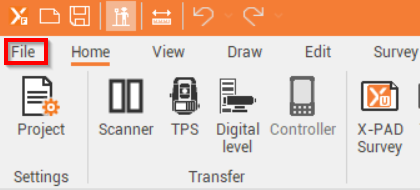
Click Export, then in the Topographic Data Formats section, choose Create Text file document (ASCII) then Export.
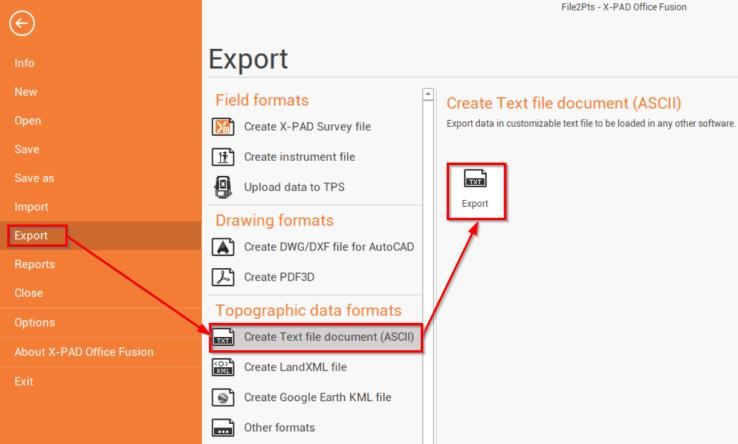
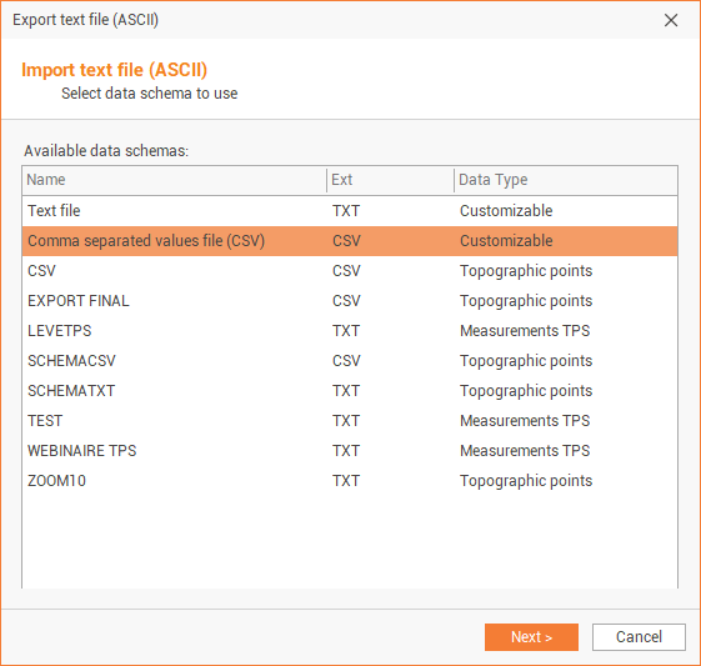
A new window will open inviting you to choose the data schema to be used. Select Comma separated values file (CSV) and click on Next.
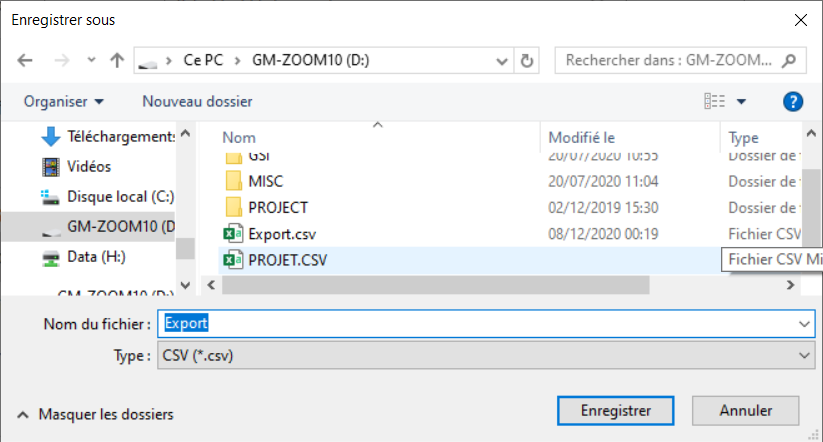
In the File name click

Choose the location to which you want to save your exported file (in the UDISK USB drive, delivered with your instrument, for example) and give a name to your exported file, then validate with Save.
Select the data to export.
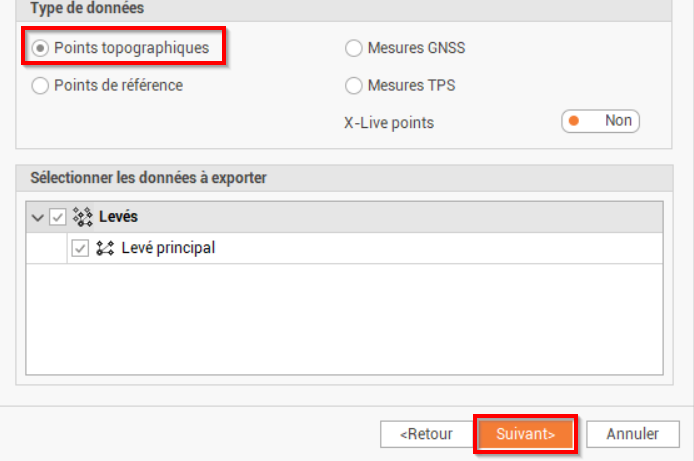
Topographic Points: exports the points in the topographic point list.
Reference Points: exports the points in the reference point list.
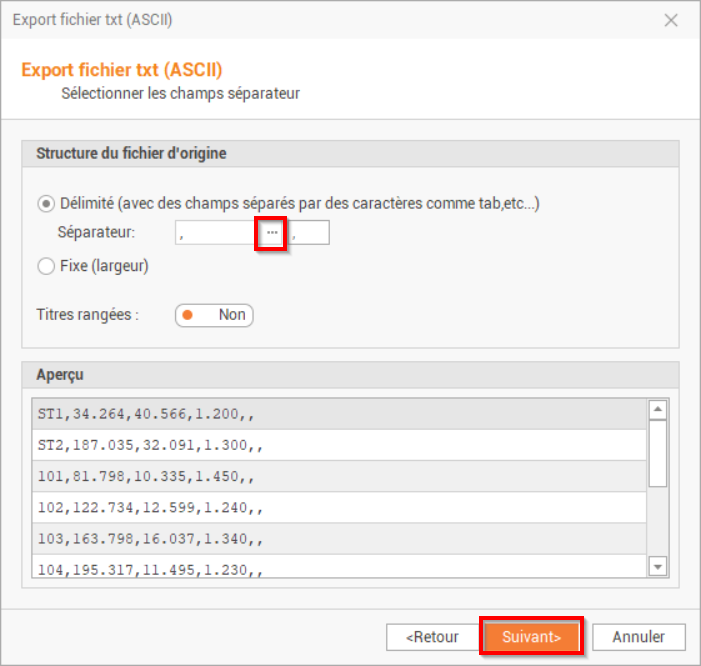
On the next page, select "," as the separator and click on Next
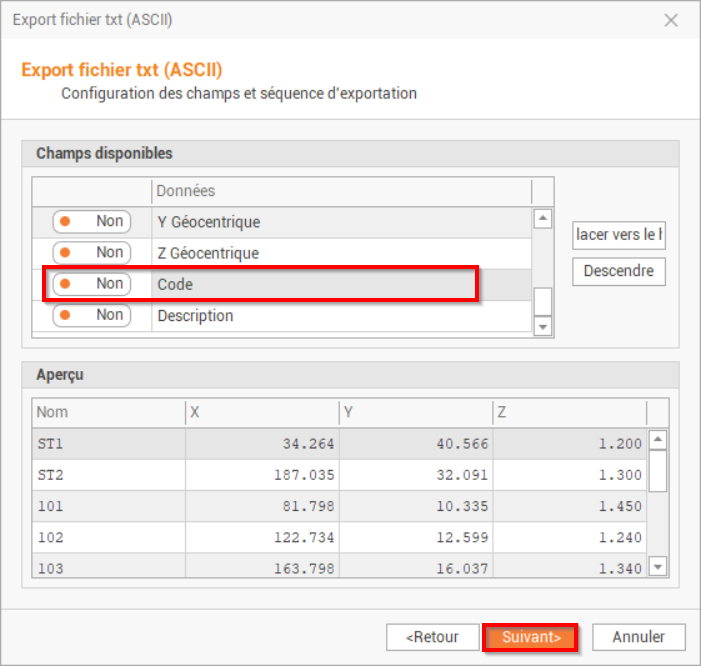
Uncheck the Code field and click on Next. This will create a file with name, X, Y, Z fields.
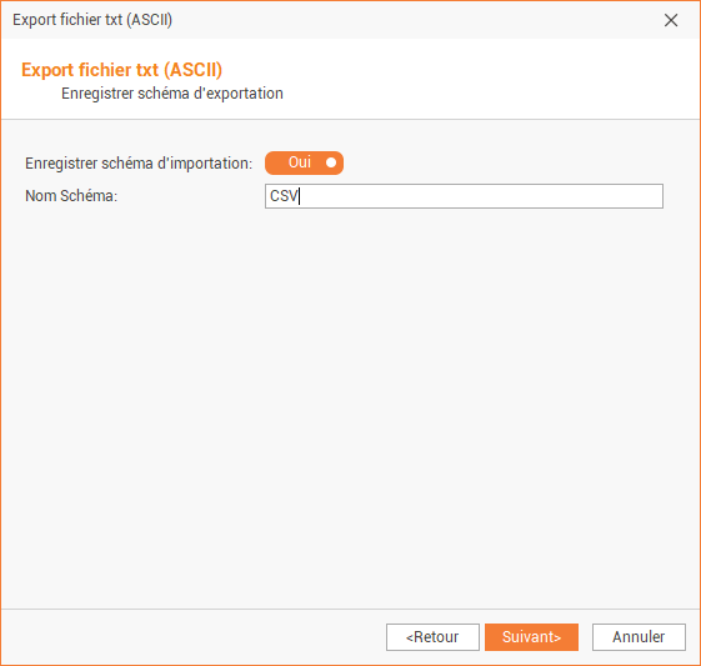
In order to save all these settings for future exports, you can save your export scheme which you can select from step 3.
Once the export process is complete, the following window will open showing the number of points imported. You can validate by clicking on End.
To import the data in Zoom10 copy your exported file to the main folder of your UDISK.
Import data in Zoom10/10PRO
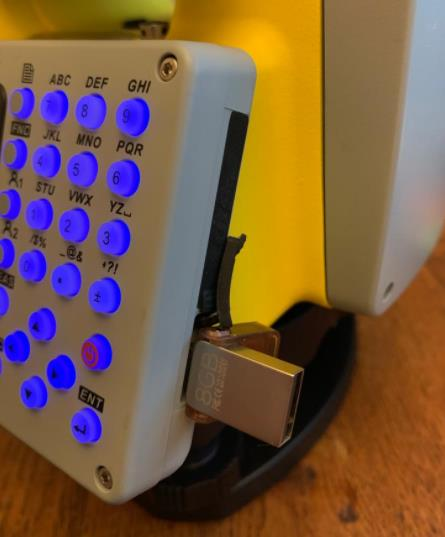
Turn on your Zoom10 and insert your UDISK into the mini USB port.
When Zoom10 is turned on, and in order to create a new job, from the main menu select 3-Manager → F1 JOB → F2 New.
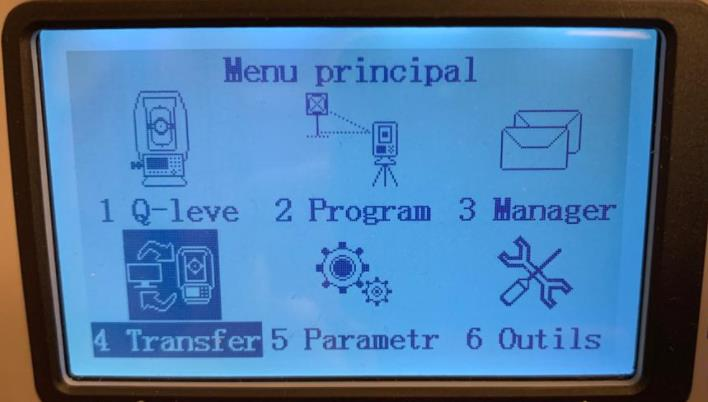
Once the job is created, from the main menu, choose 4-TRANSFER.
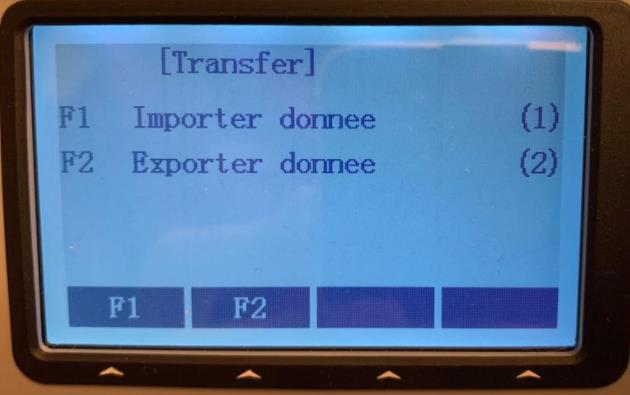
Choose F1-Import data.
Since we exported topographic points, select to import F1-Fixed points.
Select U-Disk as import mode and GTS-7 as format.
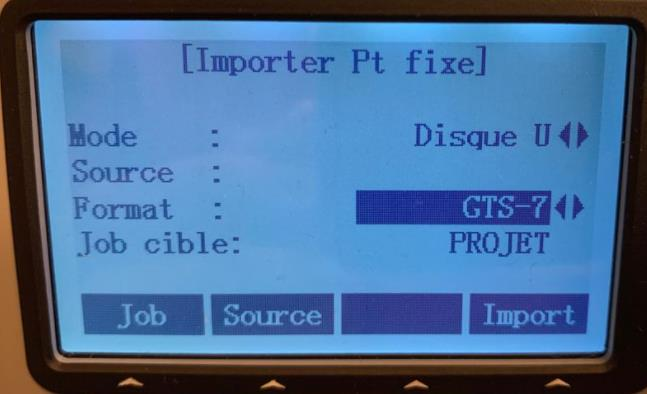
Choose the file to import by pressing F2-Source and select your file that you exported from X-PAD Fusion, then validate by pressing OK.
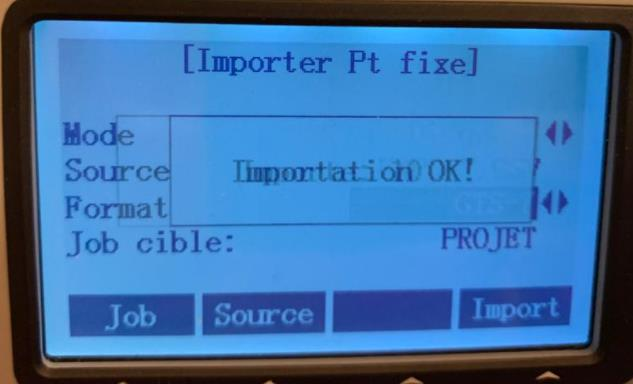
To import the data, press Import.
A message will be displayed indicating that the import has been successfully completed and the number of points imported.
Import data in Fusion from a HTF file
From Zoom10 exports the Measured data to the U disk in the HTF format.
Insert the U disk in the PC.
From a X- PAD Office Fusion job select Home.
Click Survey data and select to import GeoMax Zoom10 data from Geomax.
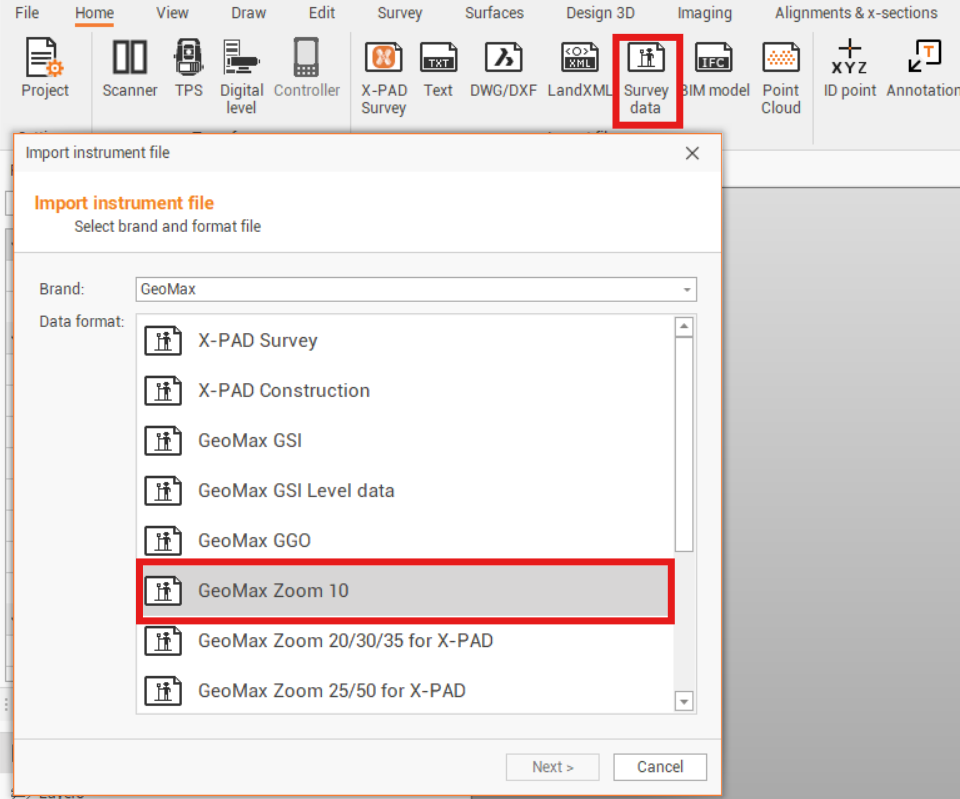
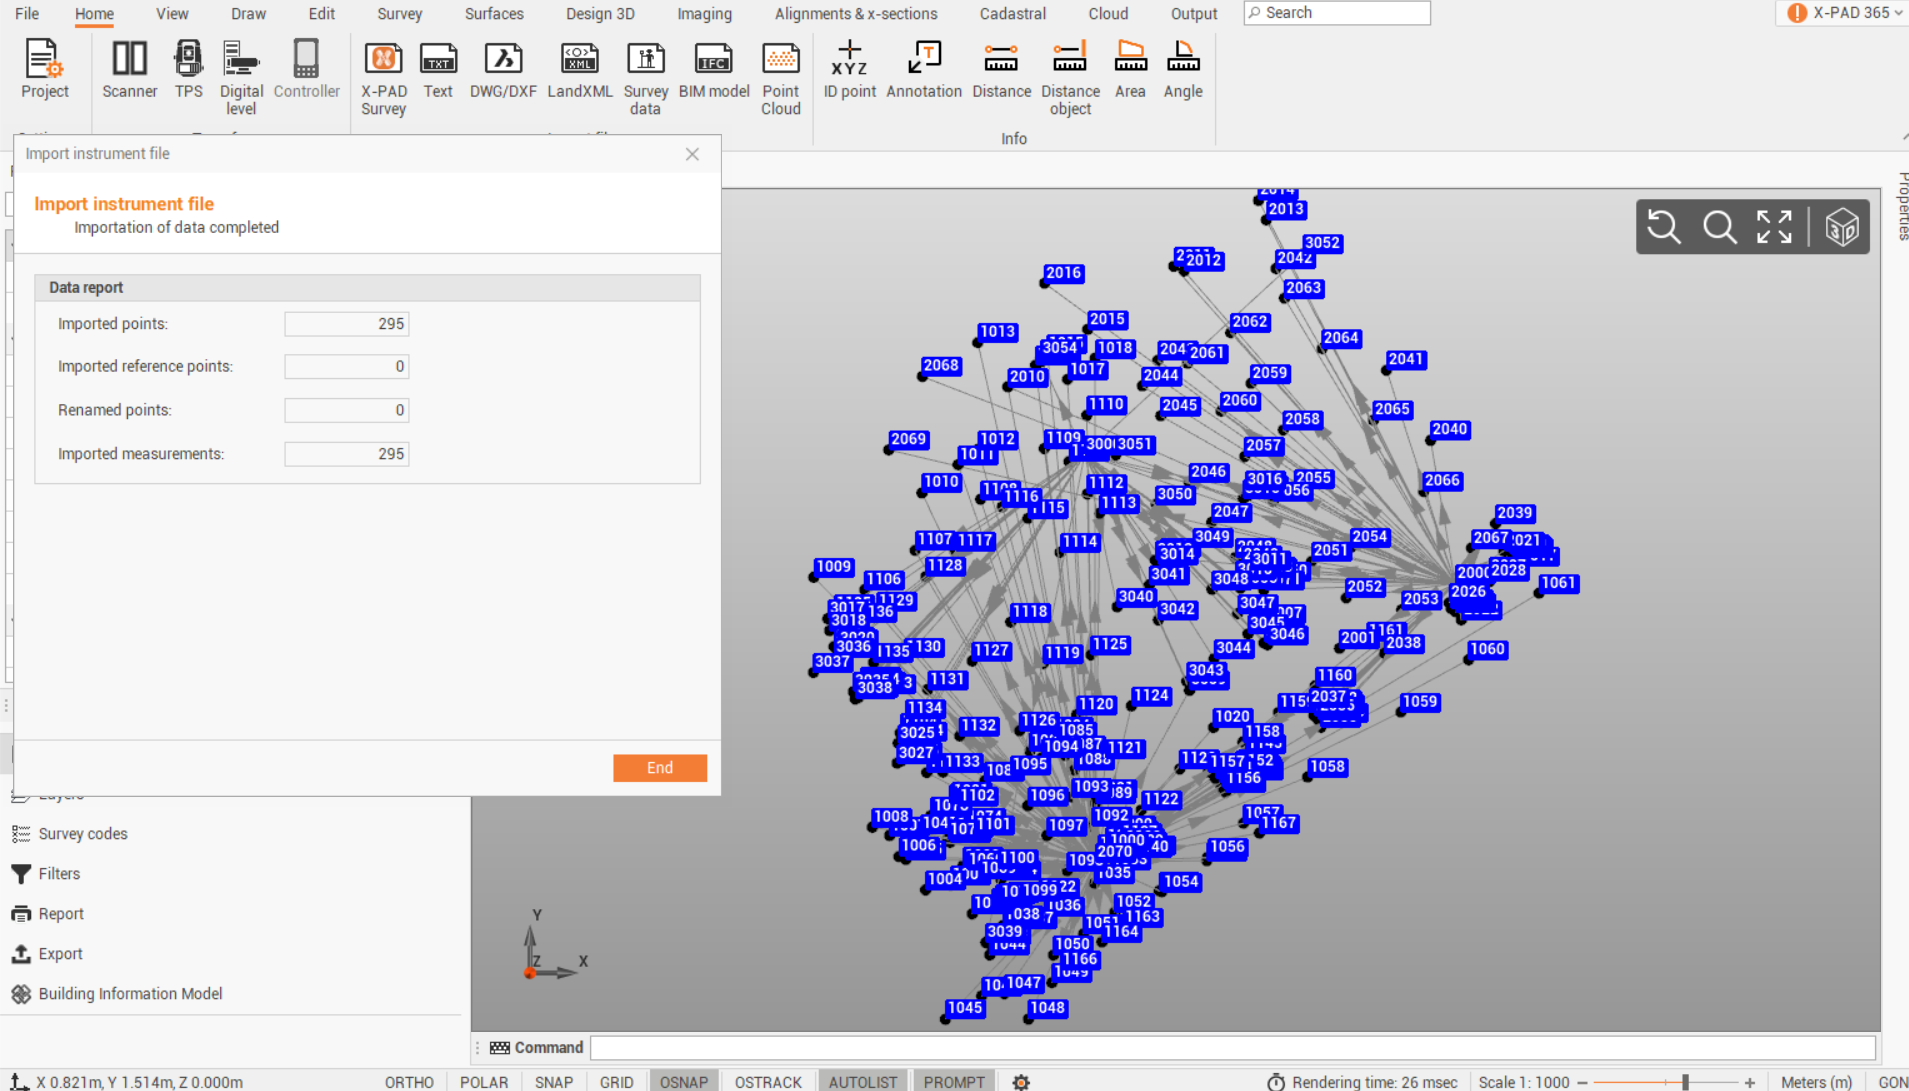
Select the exported HTF file and proceed with the import process.
Transfer data from Zoom10 to Fusion using Bluetooth or cable
For the Bluetooth connection:
To enable the Bluetooth connection in your Zoom10, please open the Q-Survey page and activate Bluetooth in Settings.
Please make sure your Zoom10 is already paired with your computer where X-PAD Fusion is installed.
Zoom10 comes with the BT name: TotalStation
For the RS232 connection:
To enable the RS232 connection in your Zoom10 activate RS232 in Settings.
Connect the cable from instrument to PC.
Check in Device Manager that the cable is recognized in Ports.
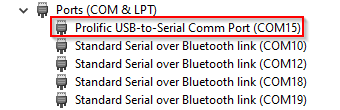
If the cable is not recognized download the Prolific drivers from the supplier website.
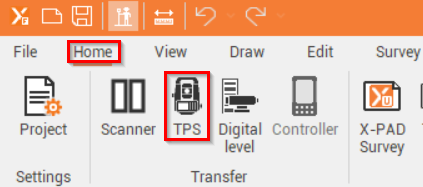
From the main menu of X-PAD Fusion, go to Home, then from Transfer, click on TPS.
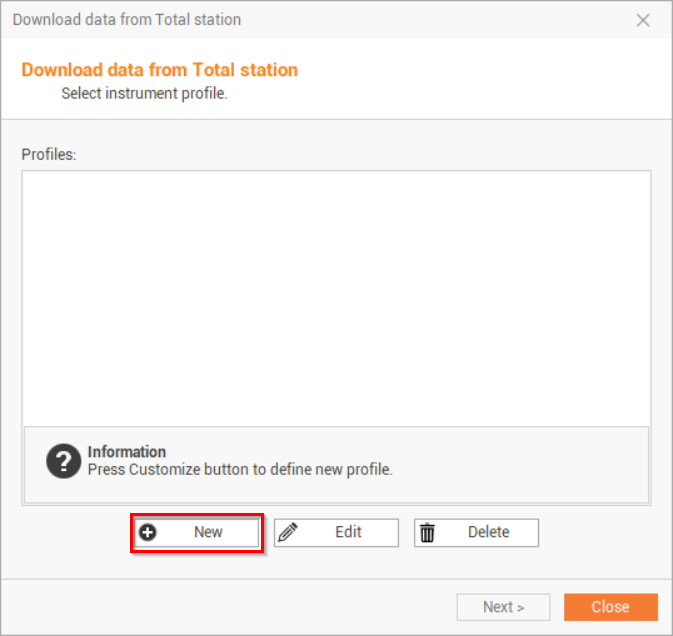
Create a new instrument profile for the Zoom10.
Click on Customize then on New.
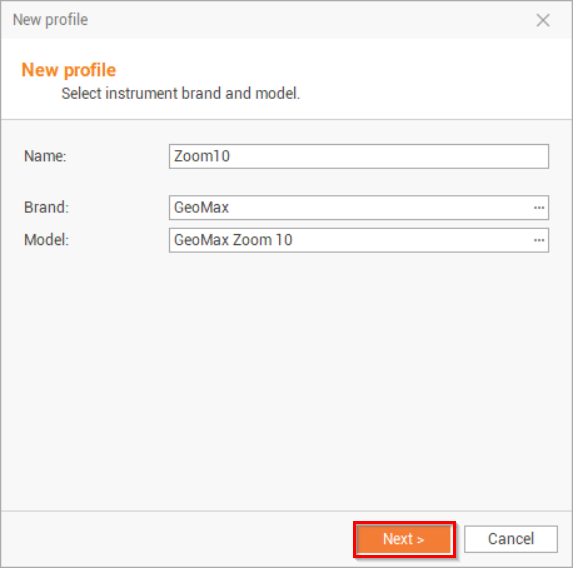
Entere a name to the new profile, select GeoMax as brand and Zoom10 as model, and click on Next.
Select the connection:
Bluetooth: instrument is connected by bluetooth.
Serial port: instrument is connected with RS232 cable.
If the Bluetooth connection is selected click Search Bluetooth device to search and connect to Zoom10 total station (the Bluetooth address is TotalStation).
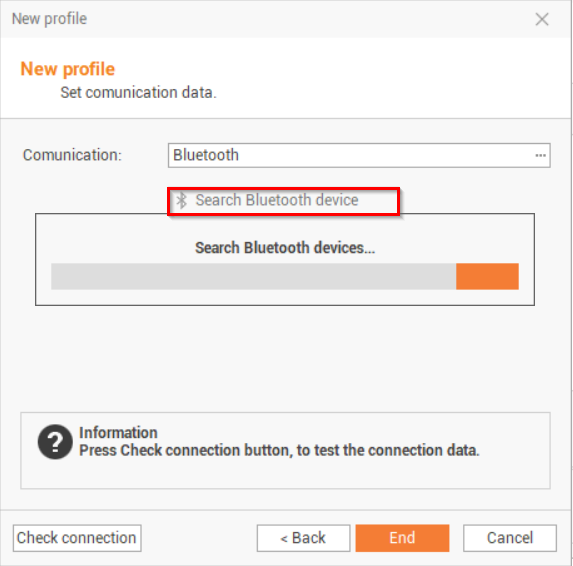
If the RS232 connection is selected select the right COM port (can be found in Windows Device Manager).
If the connection was established successfully, you should get this message.
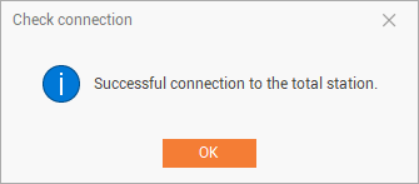
Click End.
Select the new profile you created, and click on
.
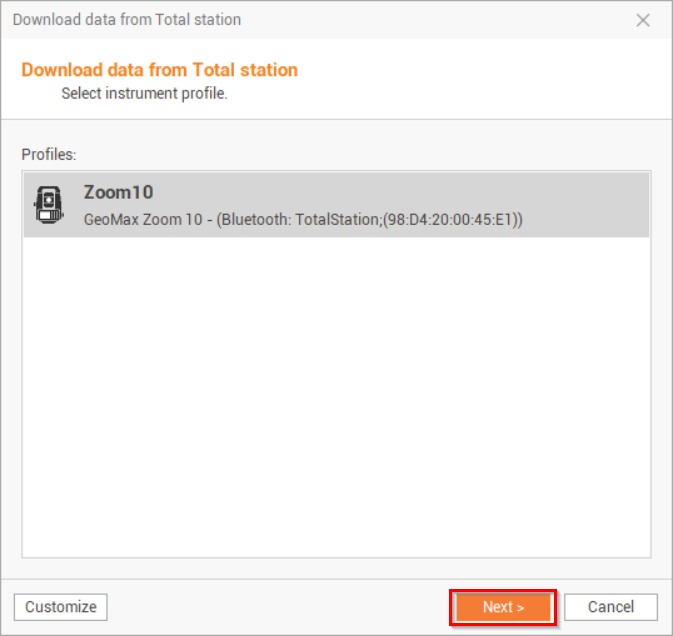
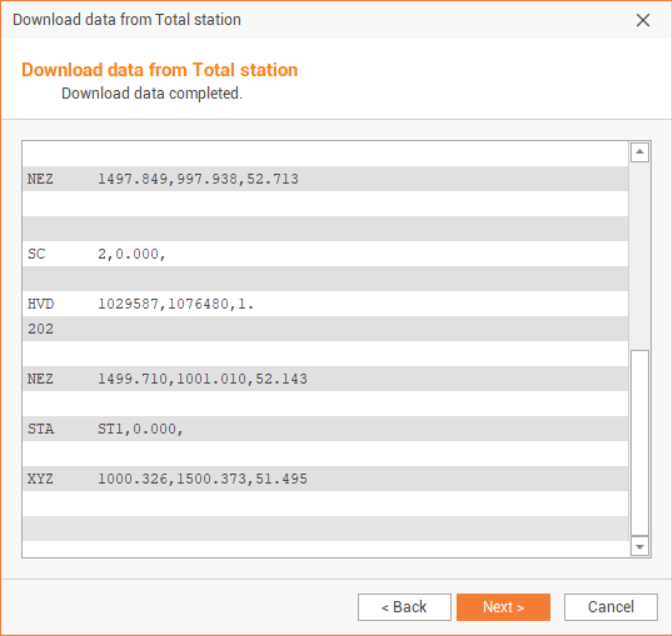
Now that the connection to the TPS is established, start the data transmission from the Zoom10/10Pro.
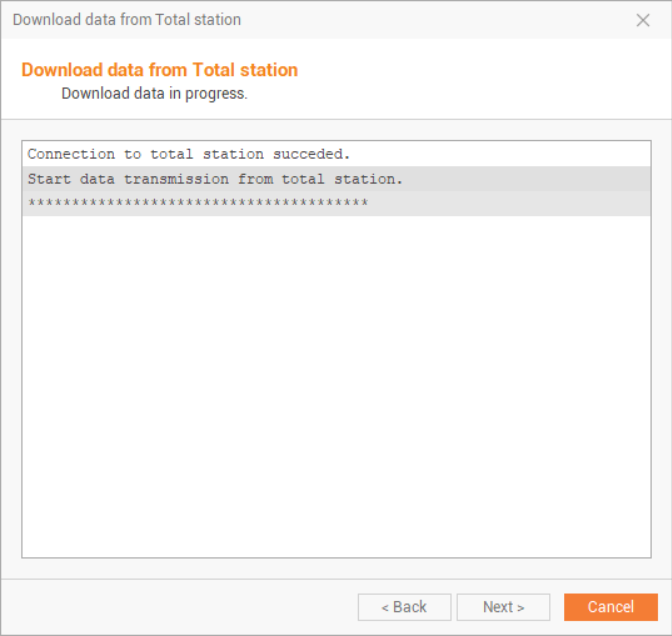
From the Zoom10/10Pro main menu, select 4 Transfer → F2 Export Data → F1 Job Data Then choose your job, select Meas. PT as Data type and BT as Mode and press F4 Export.
From the X-PAD Fusion window, you’ll see your measurement data scrolling, click on Next and then on End.