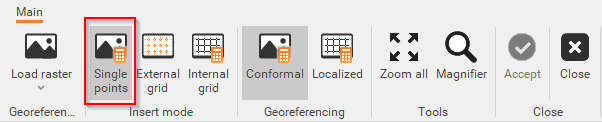
The Single point method allows you to enter the X and Y coordinates of a point and manually select it on the map.
-
First, you need to previously import or add manually your control points coordinates.
-
Click on Georeference.
-
Then from the Raster map new window, select Single Points.
-
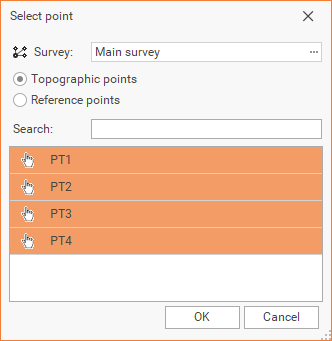
In the Control points panel add your Control Points by clicking on

-
From the Control points panel, the available commands enable you to perform the following operations:
-
Insert: allows you to load control points from the topographic points table or the reference points table.
-
Delete: enables you to delete one or more control points from the table.
-
-
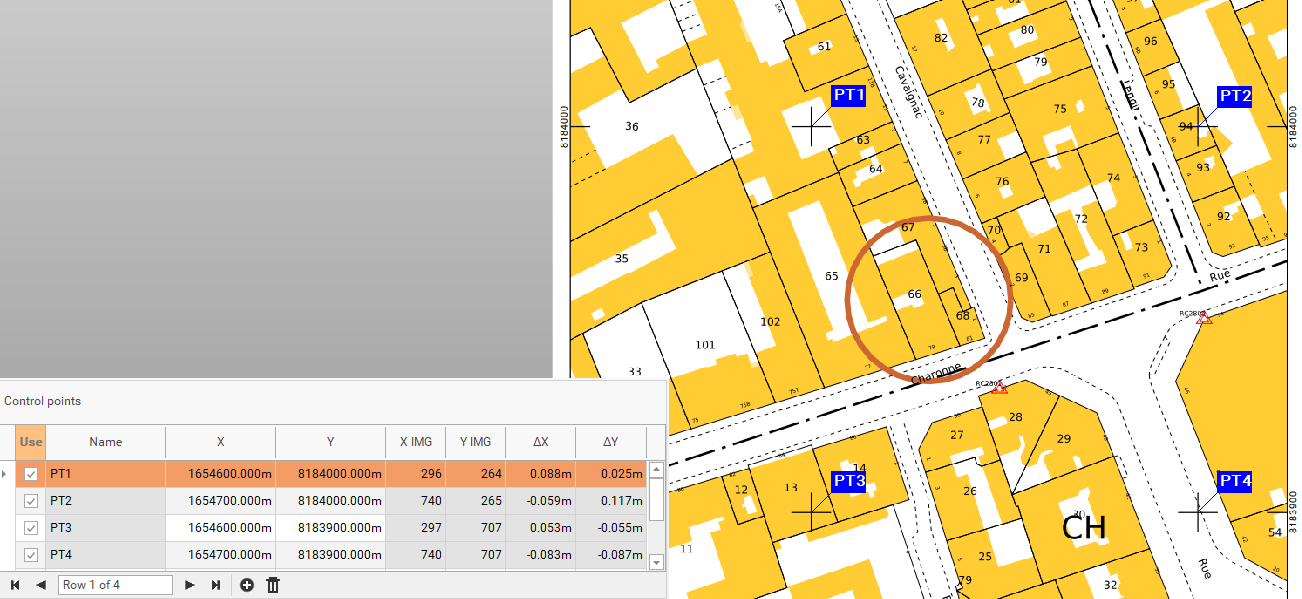
For each point from Control Points Tab, you need to select its corresponding point on the map:
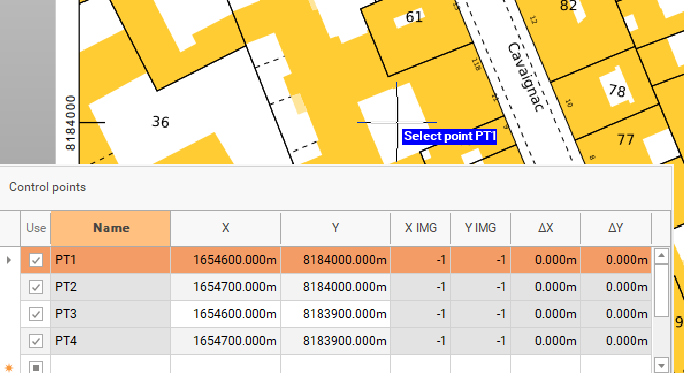
The table displays the following information:
-
Use: Enables or disables the control point for use.
-
Name: Displays the name of the control point.
-
X: Displays and allows you to enter the X coordinate of the control point.
-
Y: Displays and allows you to enter the Y coordinate of the control point.
-
X IMG: Displays the X coordinate value (in pixels) selected on the image for the control point.
-
Y IMG: Displays the Y coordinate value (in pixels) selected on the image for the control point.
-
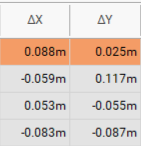
ΔX: Displays the difference between the specified X coordinates and the ones calculated by the transformation.
-
ΔY: Displays the difference between the specified Y coordinates and the ones calculated by the transformation.
-
The control points table can be dragged to any of the icons that appear on the edges of the window to attach it to the desired position.
-
When all points are selected:
-
Check the residuals.
-
Click Accept.
-
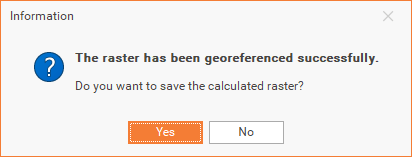
Choose if you want to save the calculated raster. The software will save a copy of the raster map georeferenced.