-
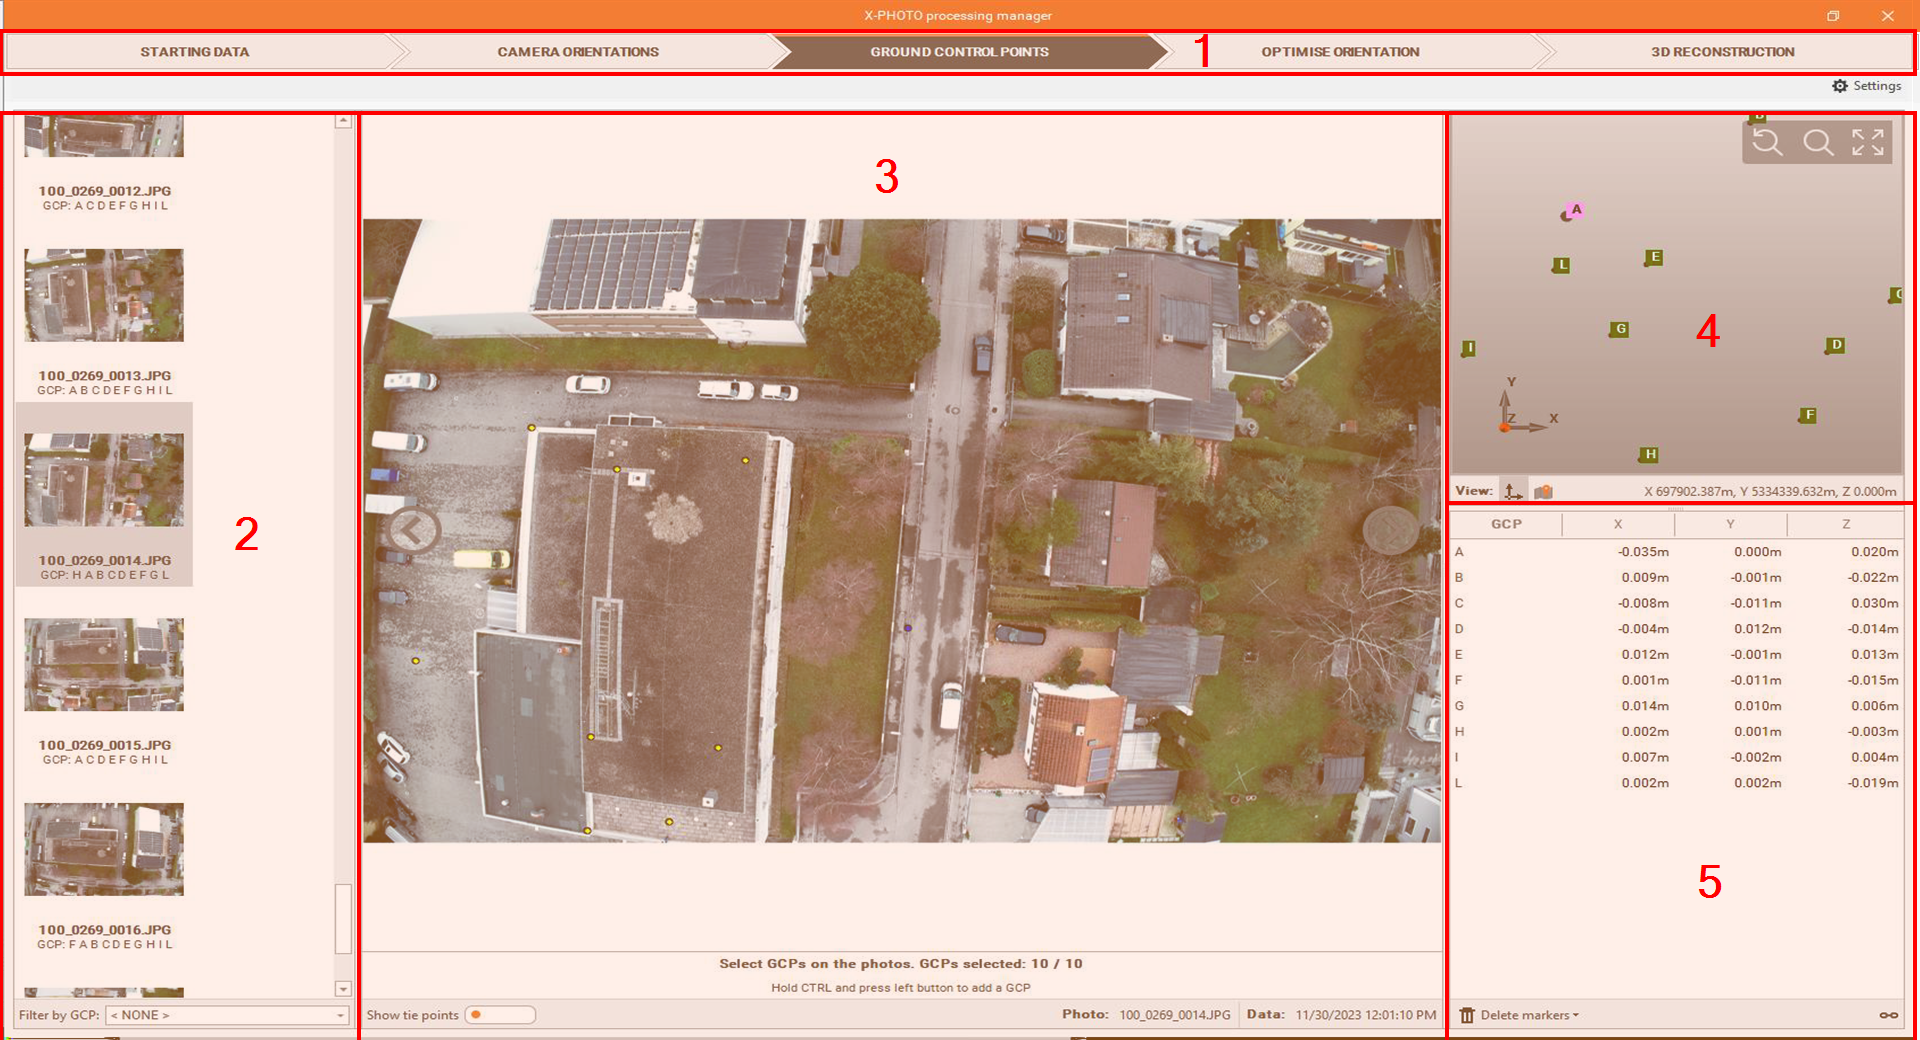
The workspace of the Ground Control Points page is organized as follow:
-
Top bar: the main menus of the X-Photo Processing manager.
-
Photos list: The complete list of the imported photos, with the indication of the GCPs it includes:
The photos can be filtered by GCP 
-
Zoom-in: of the selected Photo, with the GCP locations.
To Show the tie points used, select 
-
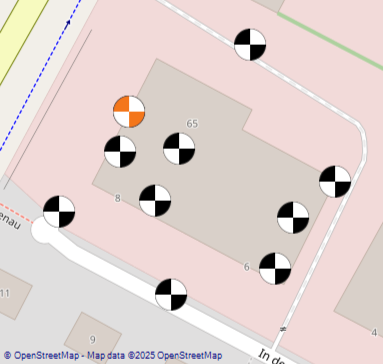
GCP view: the GCPs can be visualized in 2 views.
-
Map view, by clicking on

-
Graphic view, by clicking on

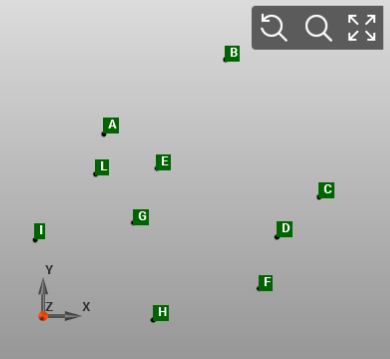
-
-
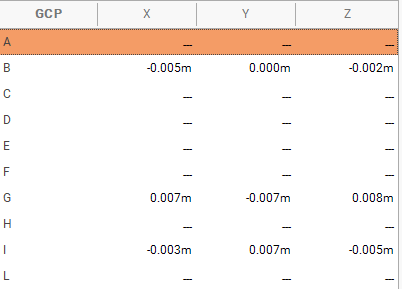
GCPs list: with the coordinate differences.
-
The map visualization can be linked to the selected GCP from the list, by clicking on

-
If needed, markers can be deleted, either by deleting:
-
the last know marker, by selecting

-
or all the markers and redefine them from scratch, by selecting

-
-
Defining the ground control points
-
To start the GCP definition process, click on

-
In this step, we have to manually define at least three GCP:
-
by holding CTRL and press left button to add a GCP marker.

-
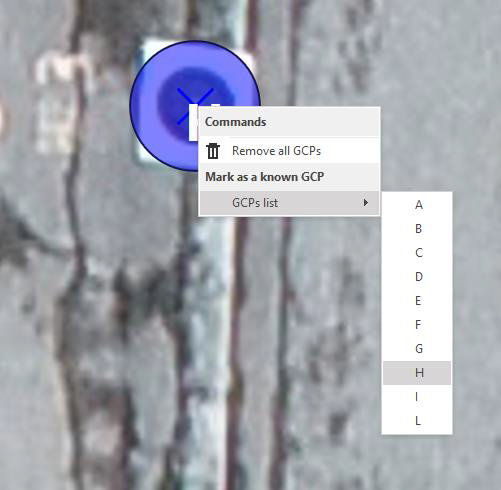
Or right button and select the GCP from the list to mark it as a known GCP.
-
Once you manually define at least three GCP, the remaining targets could be automatically recognized.
-
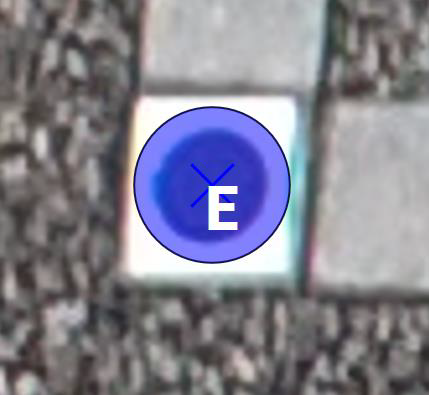
We can drag the selection to the center of the target to define it.
-
Once you’re satisfied with these first results, you can proceed to the next step.