
X-PAD Office Fusion can import different types of data from text files using a wizard. The command is activated by:
-
Click Home.
-
Click X-PAD Survey.

-
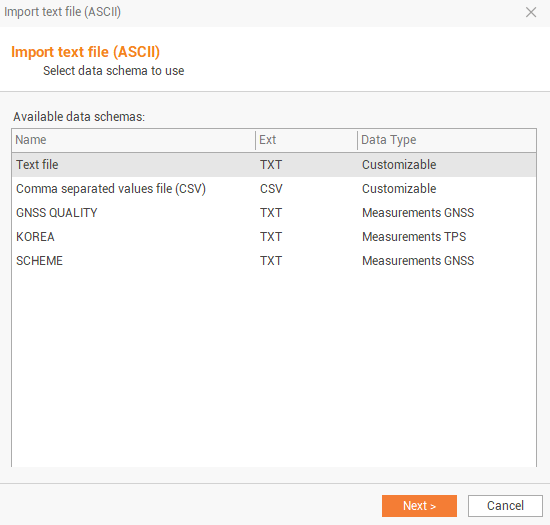
This command opens the following window:
-
This window shows available data schemes. Some schemes are default and can be customized, other schemes are the schemes that was previously saved by the user.
-
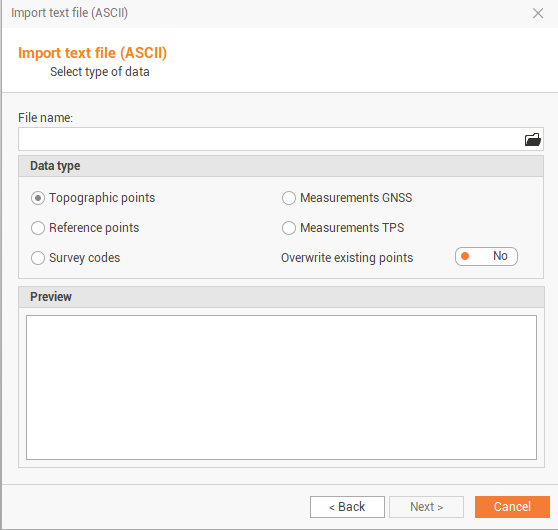
If you select Text file or Comma separated values file, this window is opened.
-
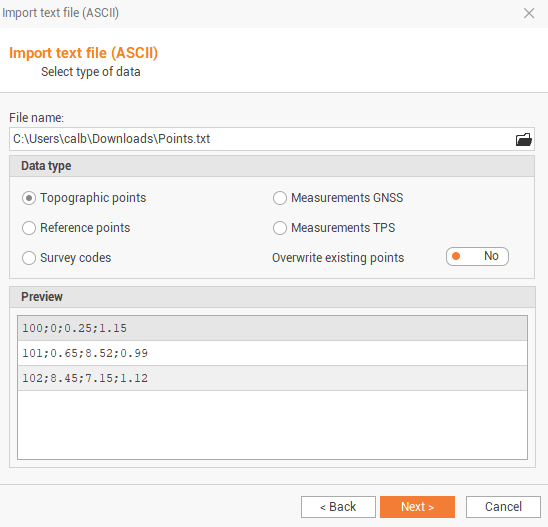
Click on folder icon to select the file to import.
-
Select the source:
-
Computer: to import the file from a computer folder.
-
X-PAD 365 Storage Area: to import thefile from the X-PAD 365 cloud storage.
-
OneDrive: to import the file from OneDrive cloud storage.
-
Controller: to import the file directly from a connected controller.
-
-
Select the data type:
-
Topographic points: to import data into the topographic points table.
-
Reference points: to import the data into the reference points table.
-
Survey codes: to import the data into the survey code table.
-
Measurements GNSS: to import the data into the GNSS measures category of the measures table.
-
Measurements TPS: to import the data into the TPS measures category of the measures table.
-
Overwrite existing points: select to overwrite point in destination table with same name.
-
-
Click Next.
-
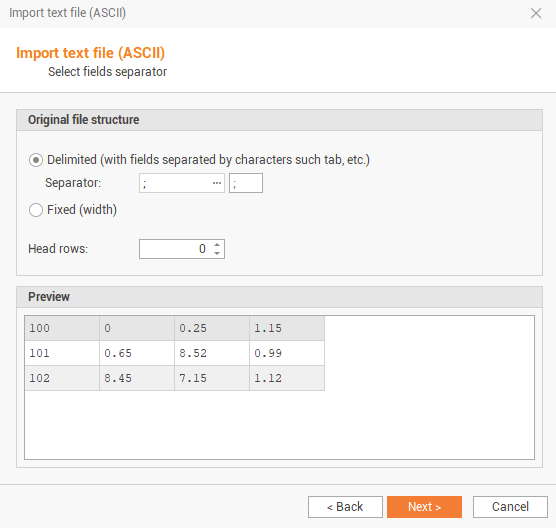
Define the file structure.
-
Delimiter/Fixed: to set the data for the column separator or if columns have a fixed width.
-
Head rows: number of rows that make up the header.
-
-
After confirmation in the preview that the structure is correct click on Next.
-
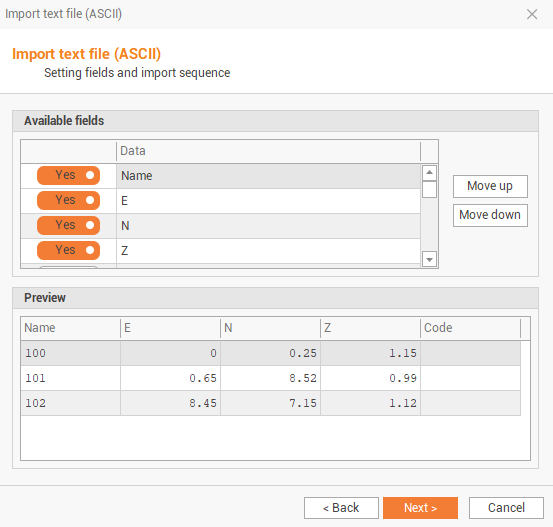
In the next window you select the fields to import and define their contents.
-
Fields: select the fields to import.
-
Move up/Move down: move a field up or down in the list.
-
-
After confirmation in the preview that the column fields are correct click Next.
-
Click if you want to save the importation scheme for the next time and click Next to conclude the data import.