
-
Survey is the main onboard program for measuring and recording coordinates.
-
In this paragraph it is visualized step-by-step the procedure to create a new job, perform an orientation and start to measure points.
Start Survey program
-
From the main page, select 2.Program, and then F1-Surveying to start the survey.
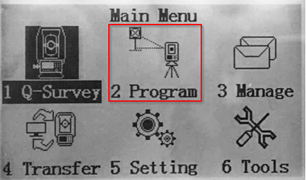
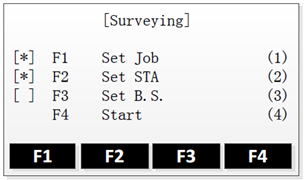
The Surveying menu is comparable to Q-Survey, but in addition you can do some pre-settings: set the job, select the Station and set the orientation.
Job selection
-
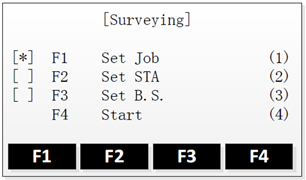
If the job has not been set yet, then you can select F1- Set Job, to either create a new job or choose an existing job from memory.
-
Clicking on OK will validate and return to the Surveying page.
Each completed setting will be marked with [*].
Station settings
-
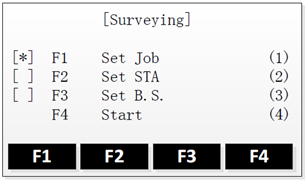
From the Surveying page, select F2-Set STA to define the current position of the instrument station.
-
Then, you can either:
-
Search for an existing point by entering the point name (Find),
-
or select a point from the list of existing points (List),
-
or by manually entering the point’s coordinates (Coord.).
-
Instrument height
-
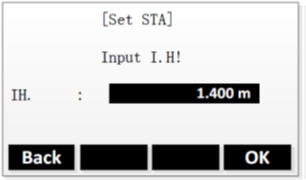
Once the station coordinates are set, you can enter the instrument height.
Orientation settings
-
From the Surveying page, select F3-Set B.S. to define the orientation of the current station.
-
Then you can either set the orientation manually (5.1),
-
Or calculate and set the orientation using existing coordinates (5.2)
Orientation by azimuth
-
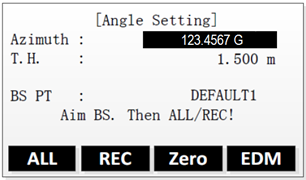
From the Set B.S page, select F1-Angle Setting.
-
Aim the backsight point, and then set the orientation by one of the following options:
-
Manually input the azimuth as well as the prism height and backsight point name, then press REC,
-
Set the azimuth to 0 (by clicking on Zero), then press REC,
-
Measure and set the azimuth, by pressing ALL.
-
Orientation by coordinates
-
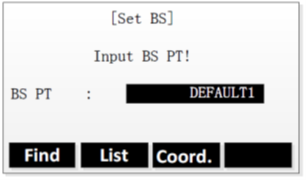
From the Set B.S page, select F2-Coord.
-
You can set the coordinates of the backsight point either by:
-
Searching for an existing point by entering the point name (Find),
-
Selecting a point from the list of existing points (List),
-
Manually entering the point’s coordinates (Coord.).
-
-
Then press OK to confirm the point.
-
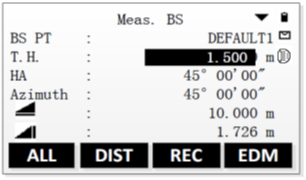
Once the coordinates are set, aim at the backsight point and press

-
The azimuth can be set by one of these options:
-
To measure and check the azimuth, press DIST.
-
To measure and set the azimuth, press ALL.
-
-
Once the orientation is set, the 3 pre-settings will be marked by [*], which means that you’re ready to start the survey (F4-Start).
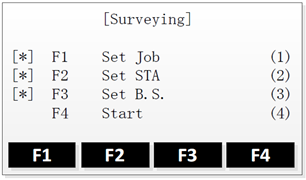
If no orientation is set and an application is started, the current horizontal direction is set as the orientation.
Start survey
-
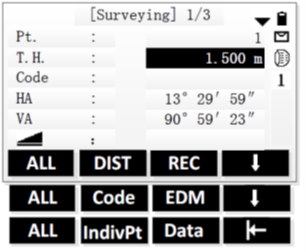
To start the survey, select F4-Start.
-
And follow these steps:
-
Enter a point ID (Pt.) and the reflector height (T.H.).
-
If needed, enter a code.
-
Aim at the target point.
-
To start measuring and save the measured values, press ALL or DIST+REC.
-
Tepeat the previous steps to measure another point.
-
To change and move to another station, you should repeat the steps above, starting from Step 2.
-
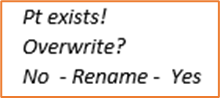
From the 3rd station onwards, when you want to backsight on previous station, the Zoom10 will popup up a warning message:
-
Please use the Rename option to differentiate multiple sets of measurements at the same station!
-
By using X-PAD Fusion for your TPS data calculation, the renaming of these multiple sets of measurement on same stations, will be handled automatically after the data transfer!