



-
To stakeout a point or geometry with a total station open the corresponding function.
Stakeout procedure with robotic total station
-
Follow the indications until the stakeout page is opened.
-
If Turn to stakeout point in TPS Settings is activated, the instrument automatically rotate to the point to stakeout.
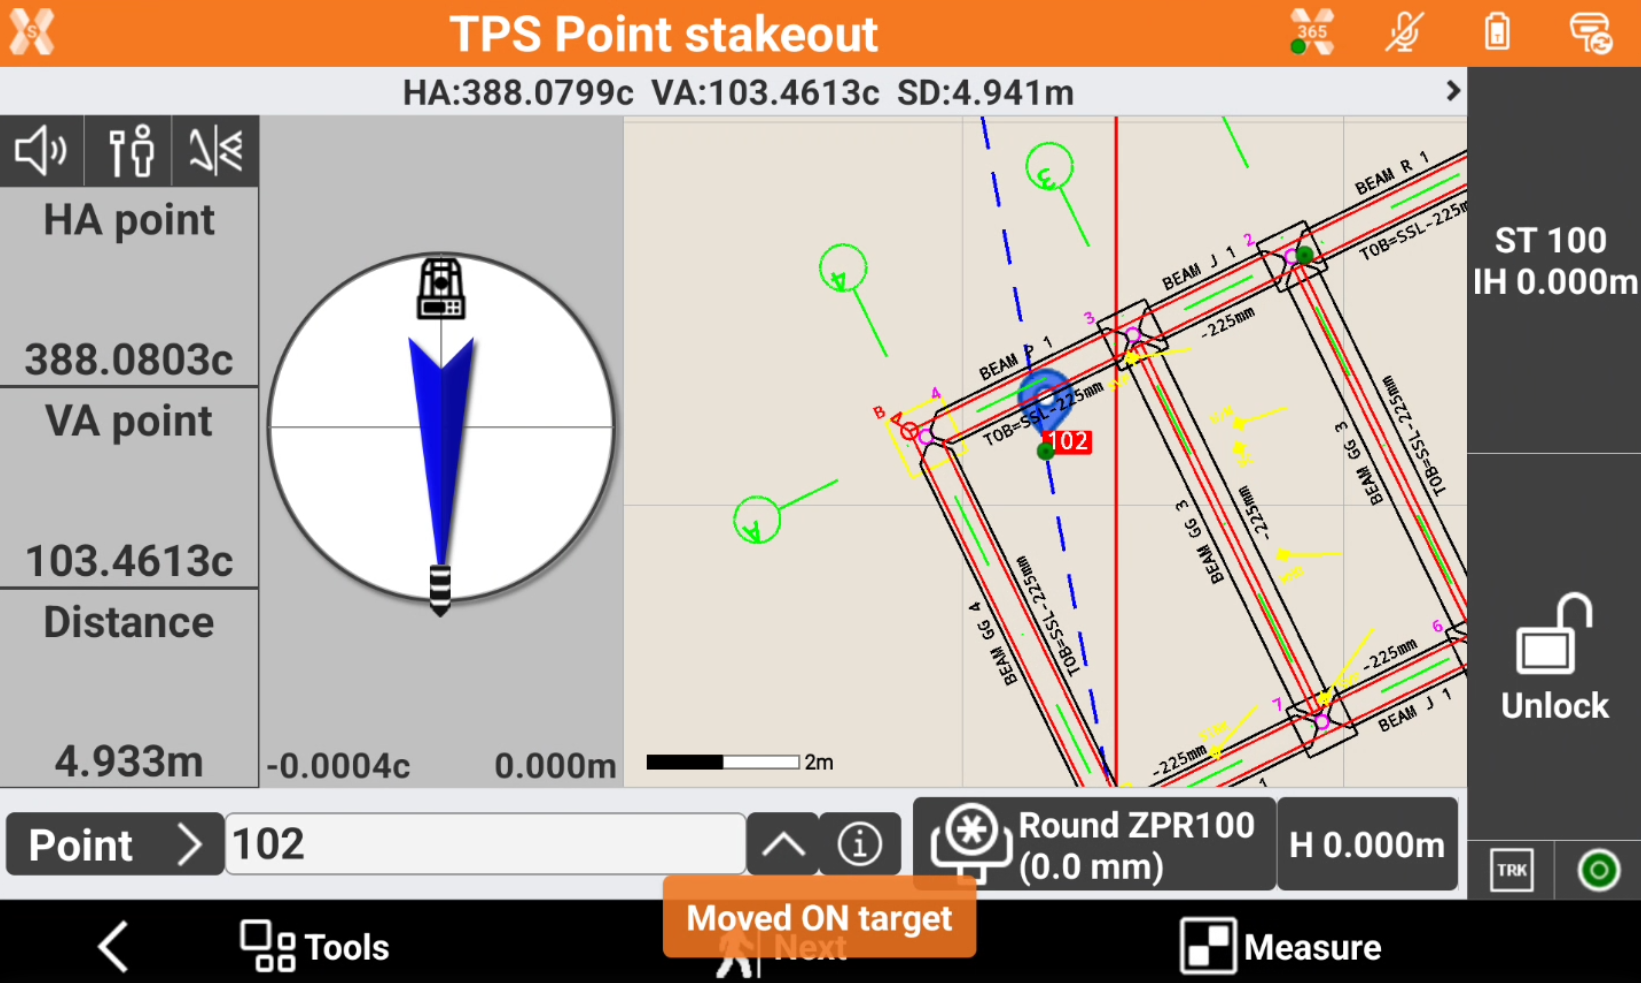
-
Change the EDM mode to work in Tracking mode.
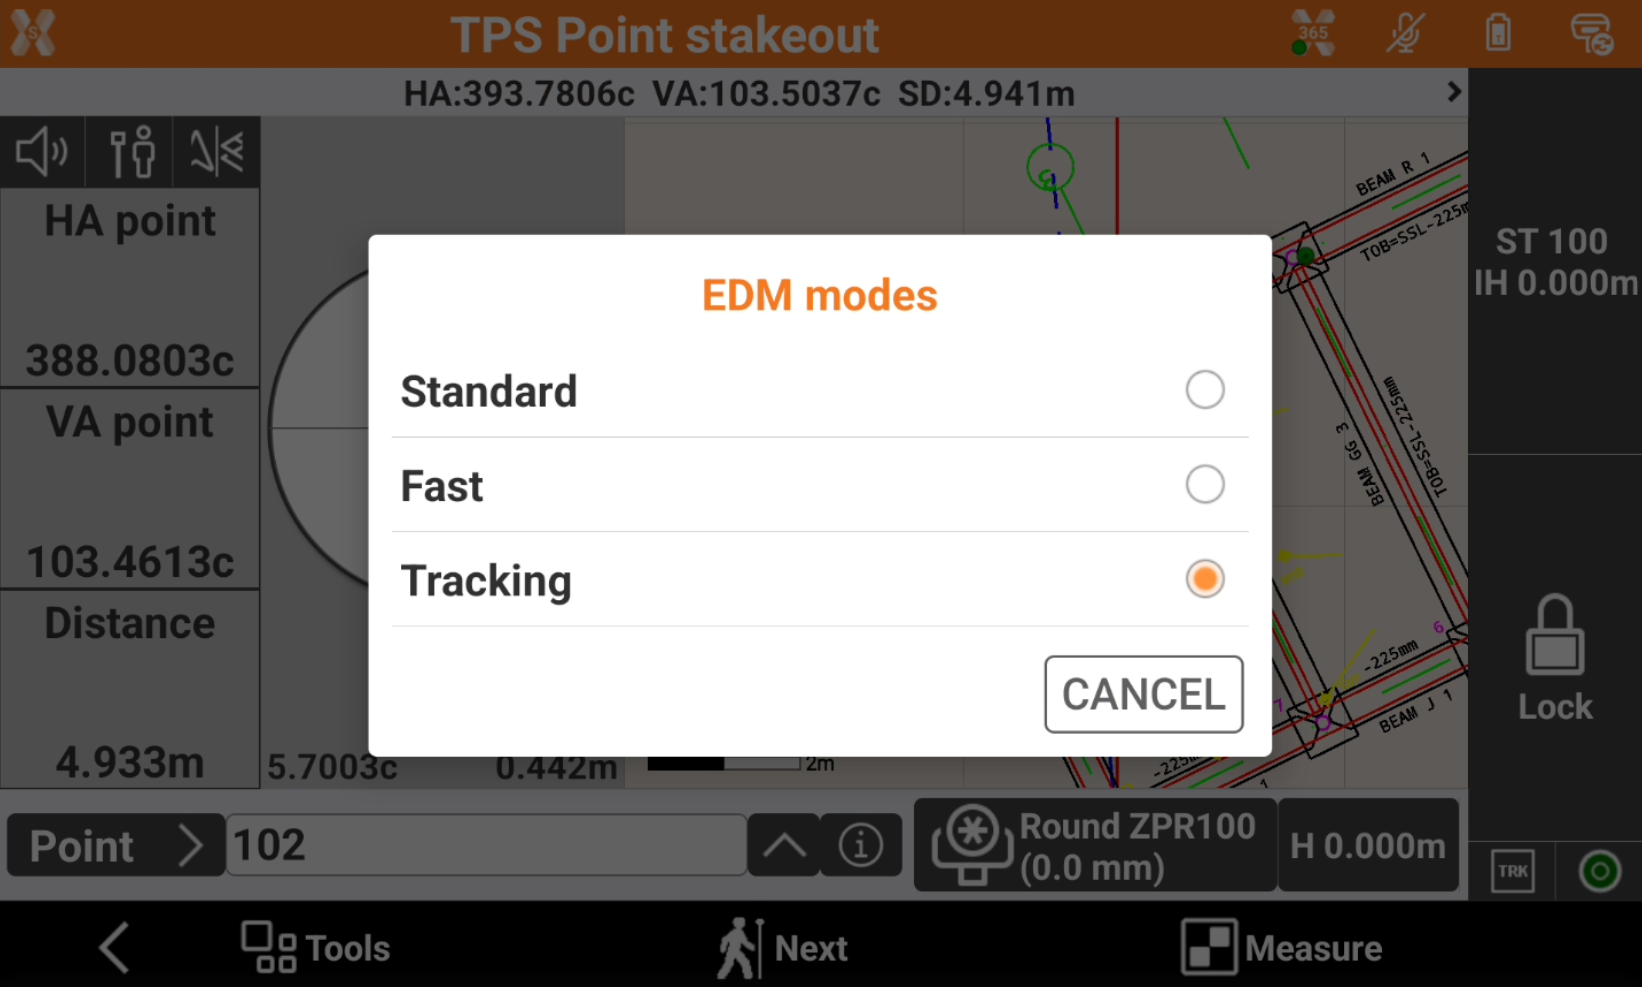
-
Using the compass you can adjust the horizontal angle to be aligned with the point to stakeout.
-
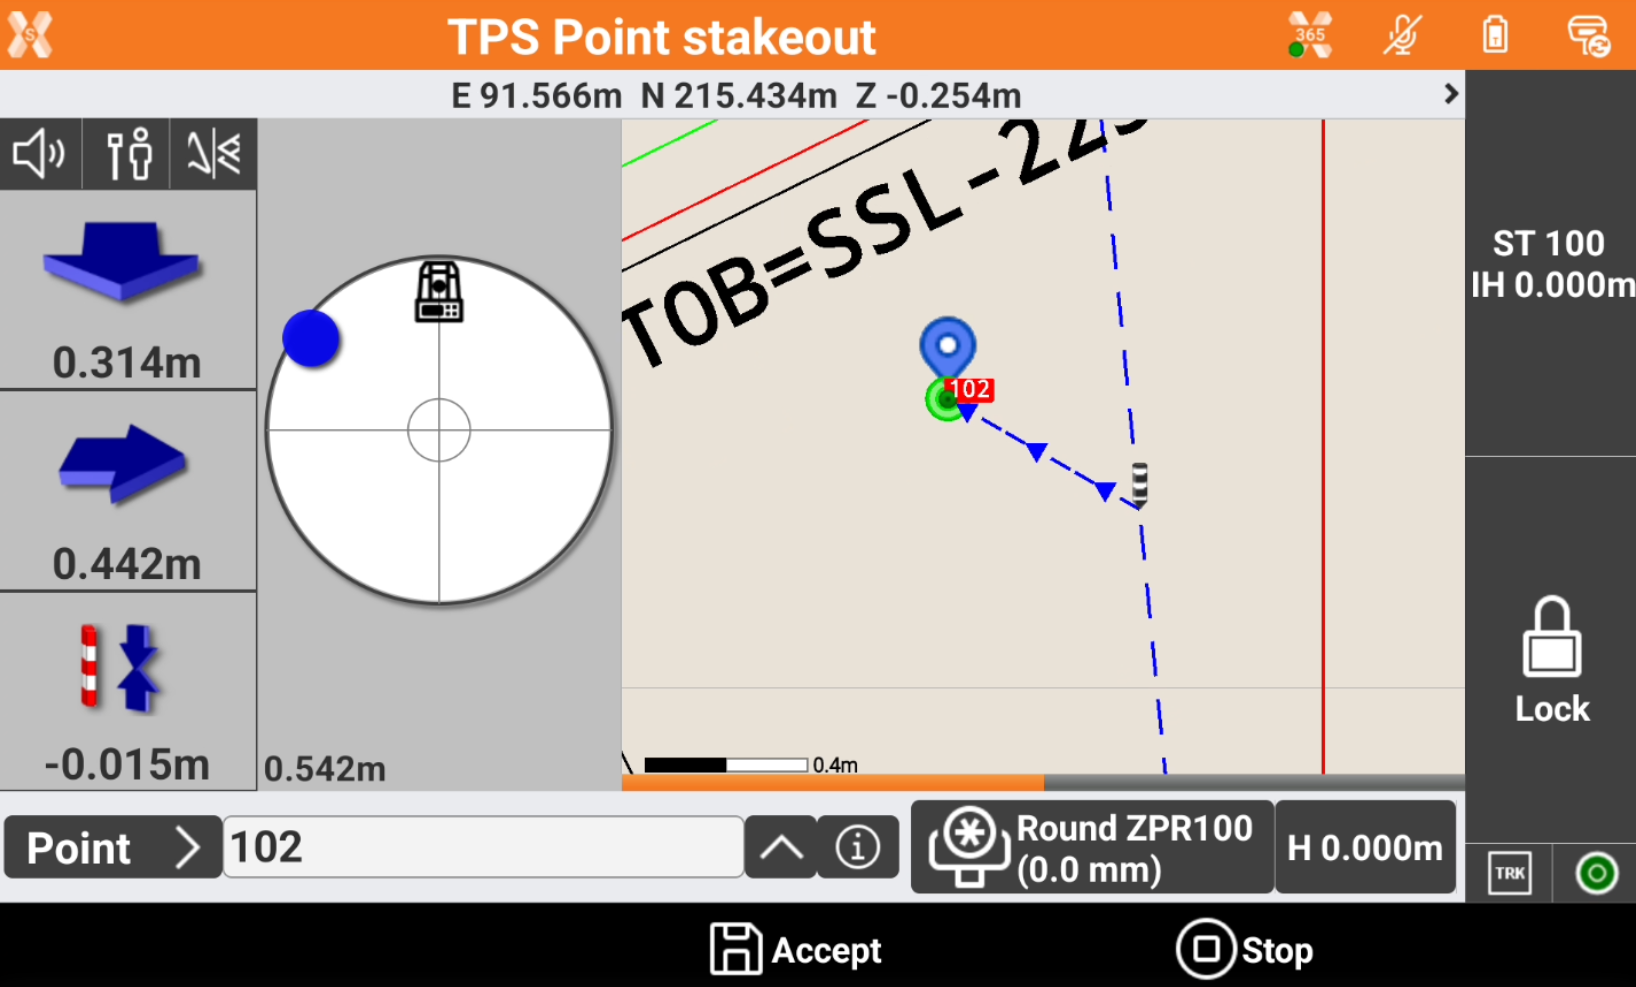
Press Measure to measure the distance and start to obtain indications on the stakeout direction.
-
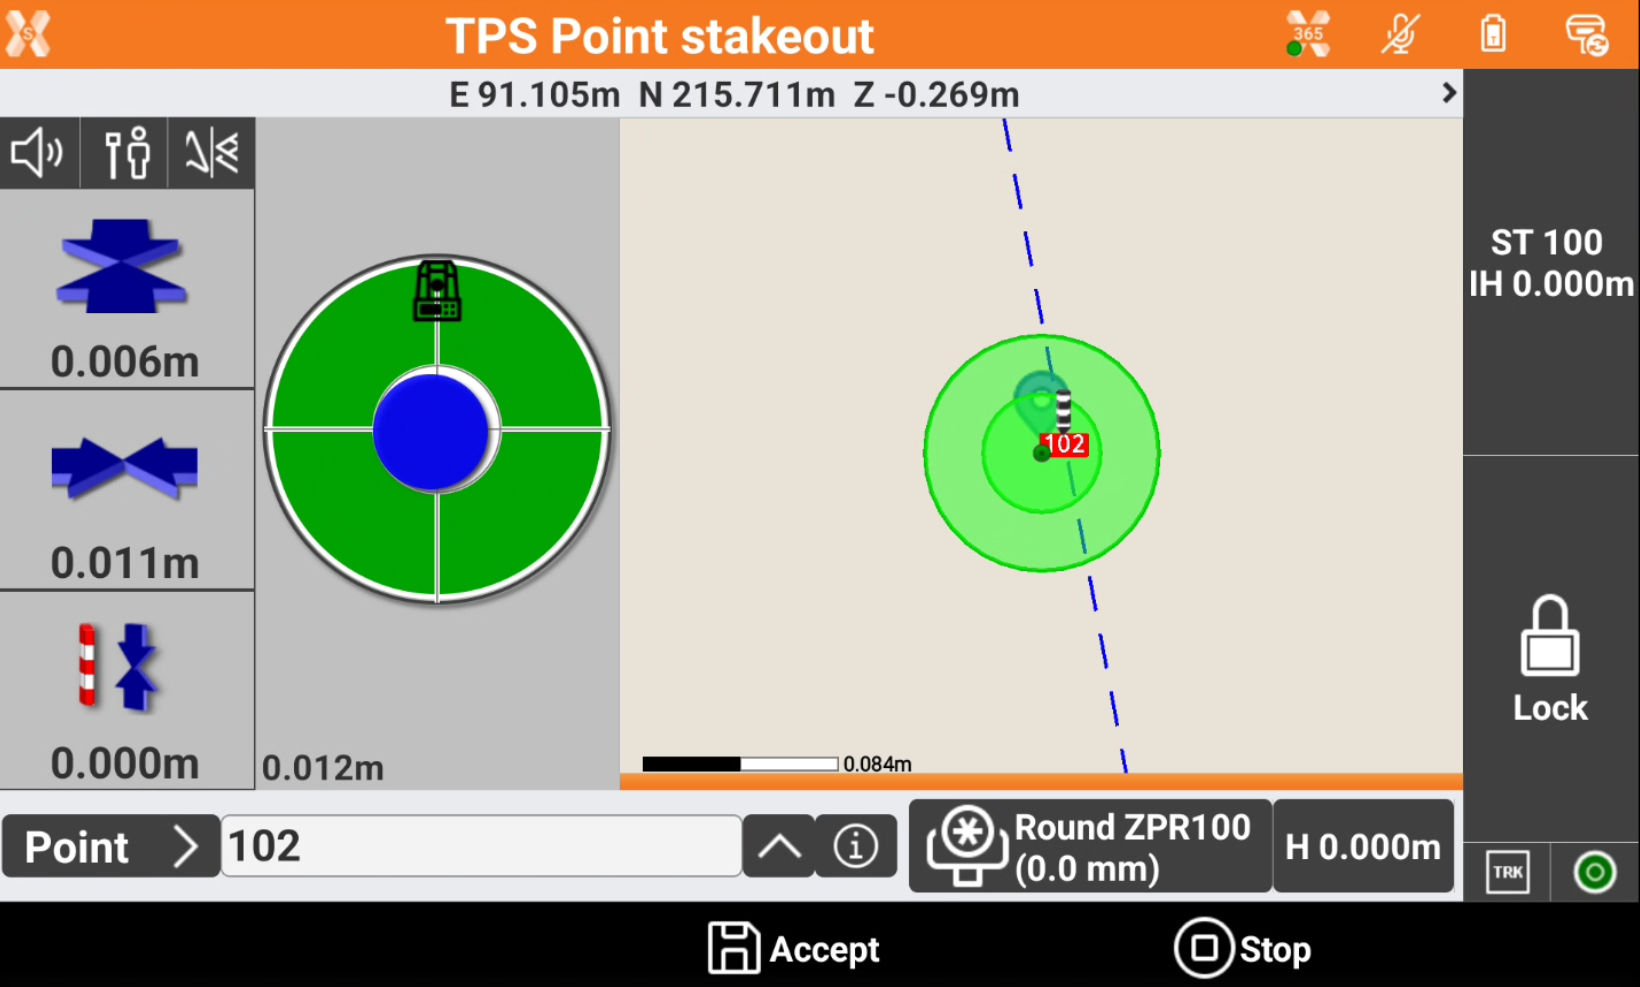
The left panel shows the indications to the coordinate to stakeout referred to the selected Stakeout reference for TPS.
-
Depending on the View mode selected, the interface shows the compass with the direction or the CAD view or both.
-
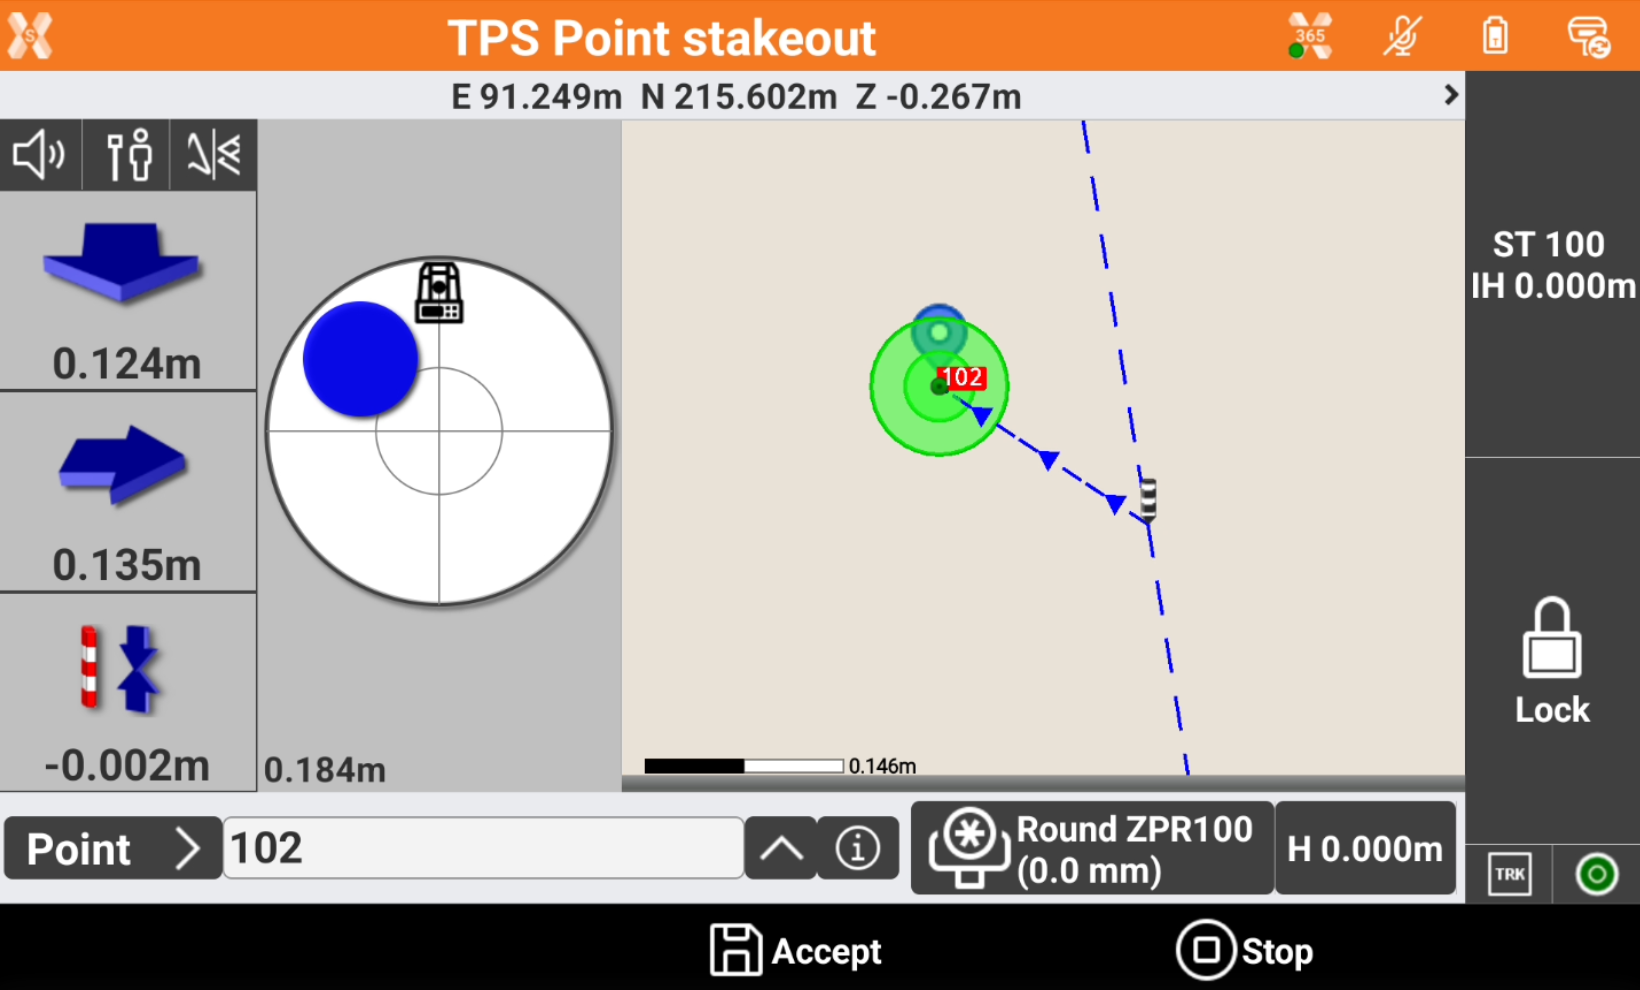
Approaching the point, the compass view changes to offer a better view to precisely stakeout the point and the CAD view automatically increase the zoom level.
-
If the stakeout distance is within the defined tolerance the compass view is in green.
Stakeout procedure with manual total station
-
Follow the indications until the stakeout page is opened.
-
If Turn to stakeout point in TPS Settings is activated and instrument is a Servo or a Robotic total station, the instrument automatically rotate to the point to stakeout.
-
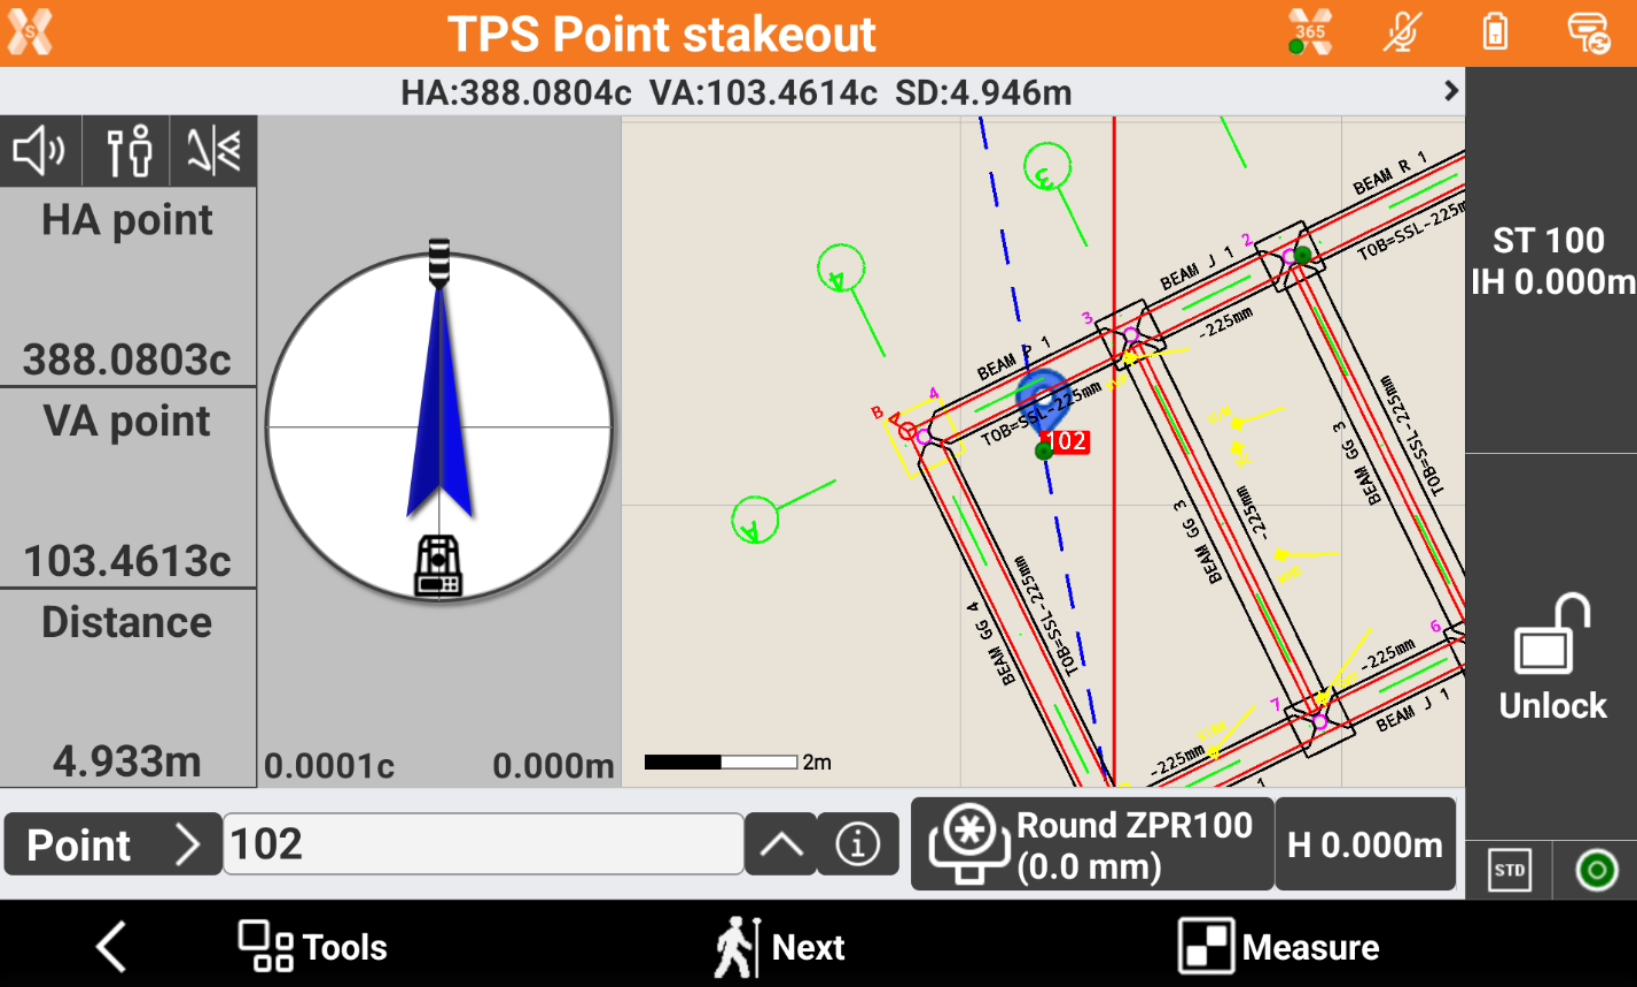
Otherwise using the compass indication align with the point to stakeout.
-
Press Measure to measure the distance and start to obtain indications on the stakeout direction.
-
The left panel shows the indications to the coordinate to stakeout referred to the selected Stakeout reference for TPS.
-
Depending on the View mode selected, the interface shows the compass with the direction or the CAD view or both.
-
Approaching the point, the compass view changes to offer a better view to precisely stakeout the point and the CAD view automatically increase the zoom level.
-
If the stakeout distance is within the defined tolerance the compass view is in green.
Record the stakeout measurement
-
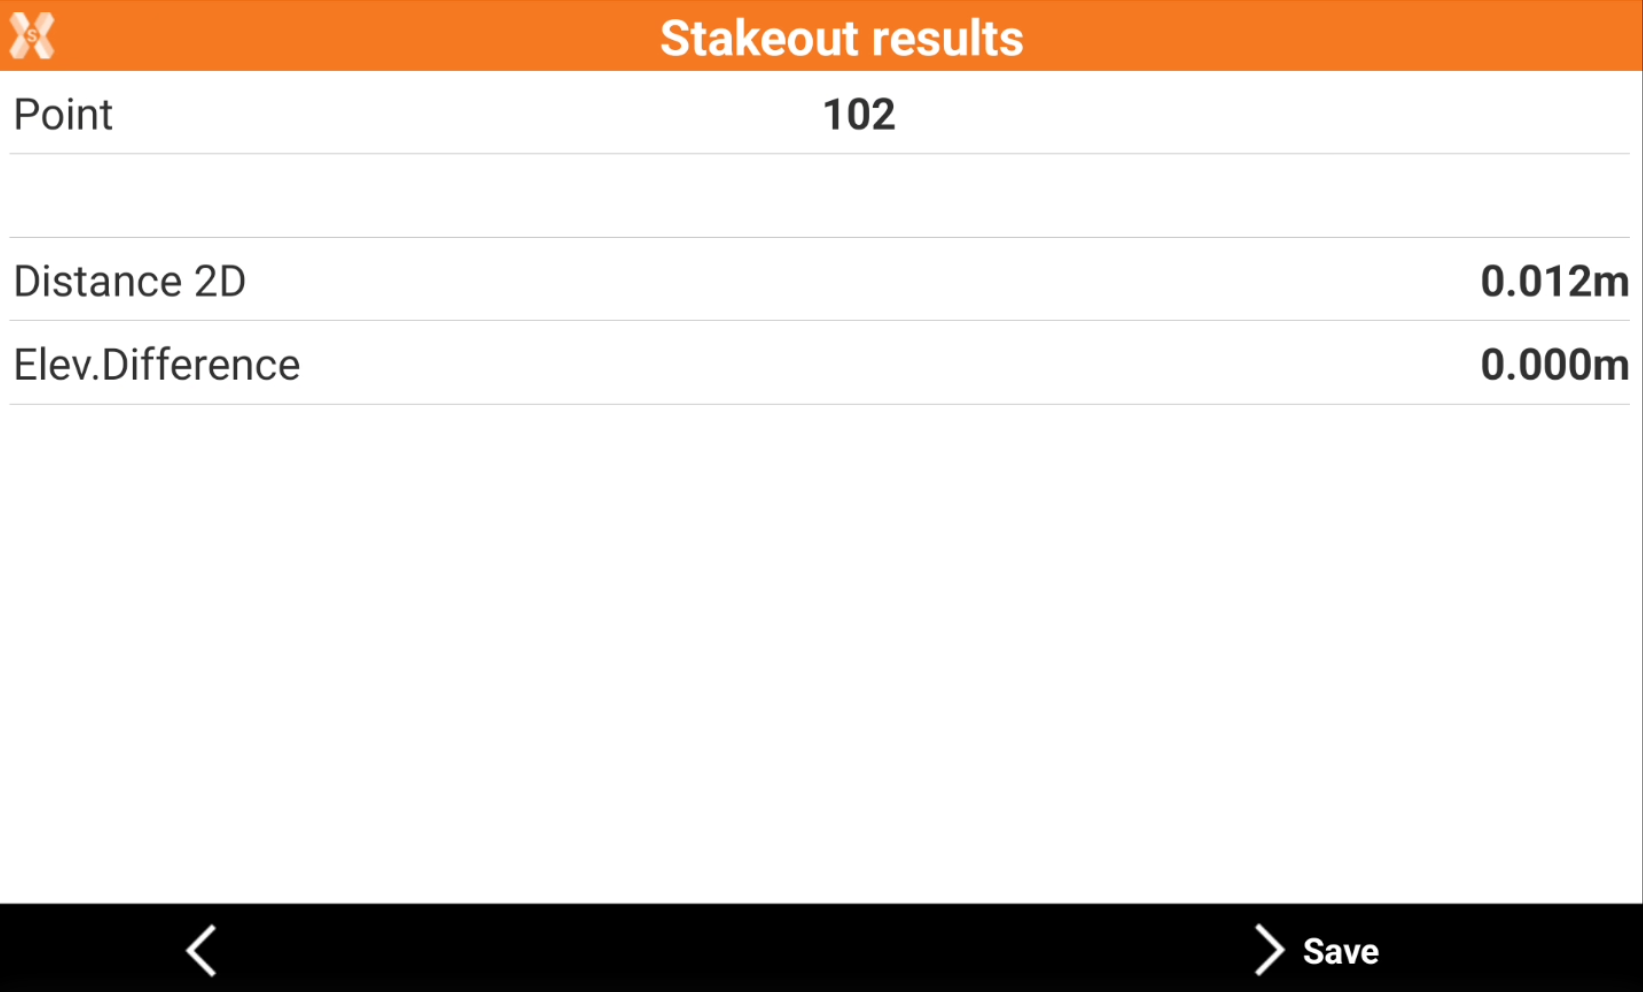
Press Accept in Tracking mode or Measure in Standard mode to record the stakeout measurement and display the Stakeout results.
-
Press Save to proceed to save the point.
Data page
-
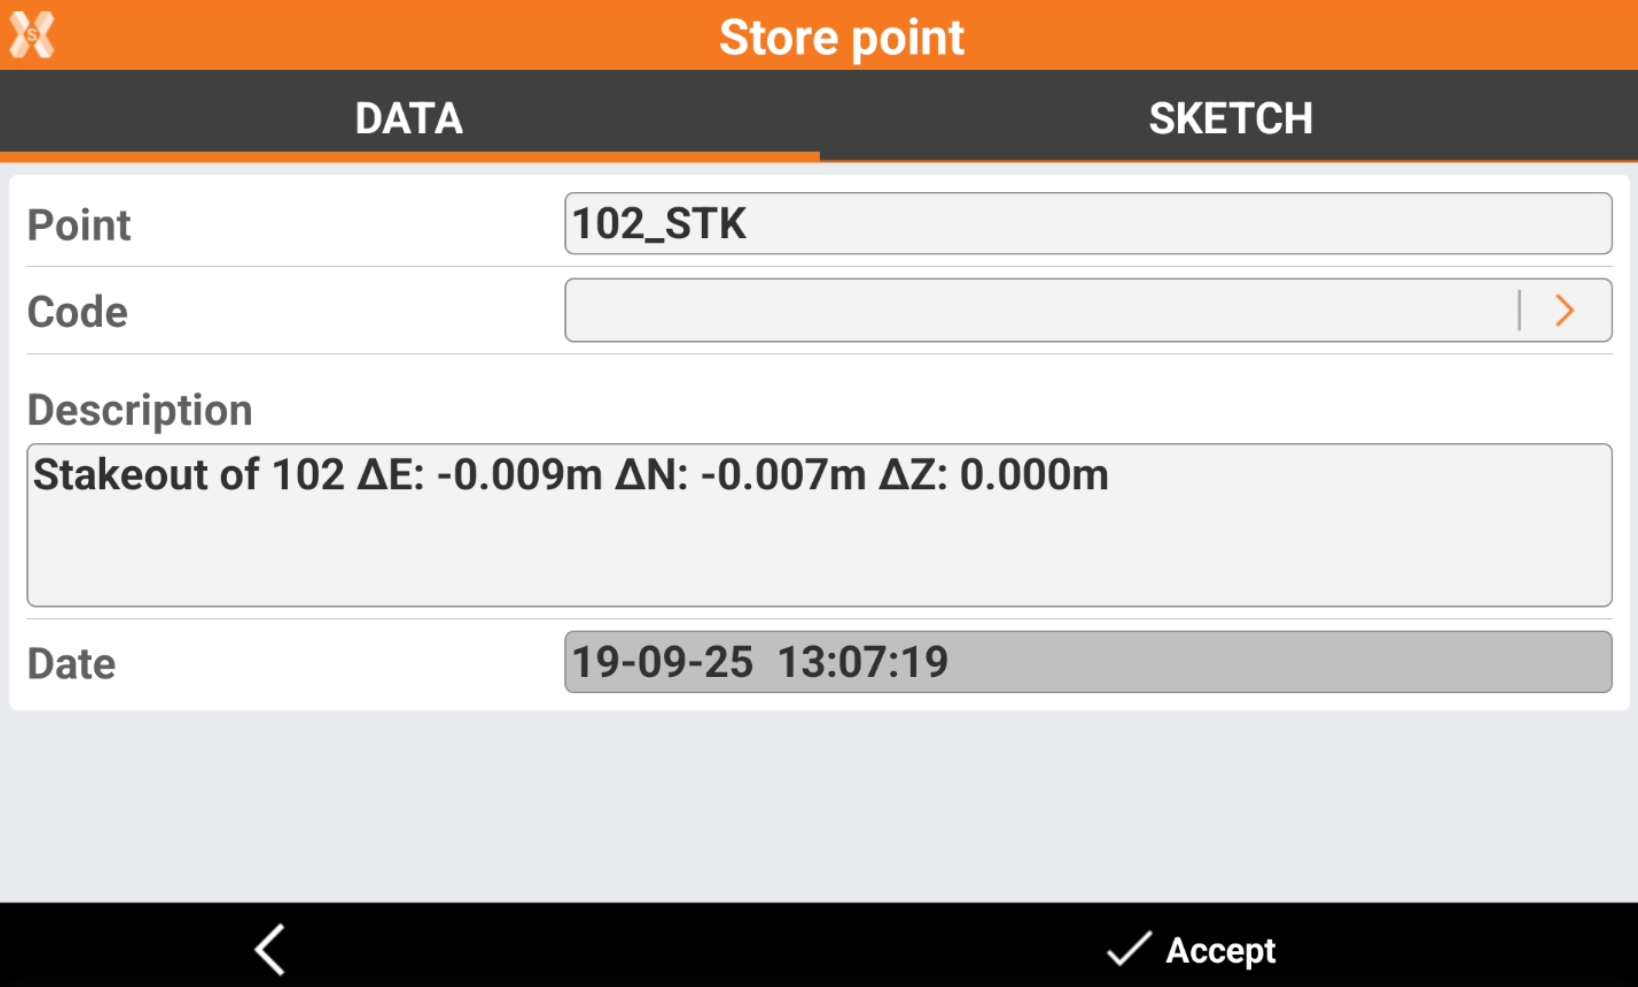
The Data page shows the main point information.
-
Point: name of the point to store.
-
Code: code assigned to the point.
-
Description: extended description associated to the stakeout. The software automatically writes the main stakeout information.
-
Sketch page
-
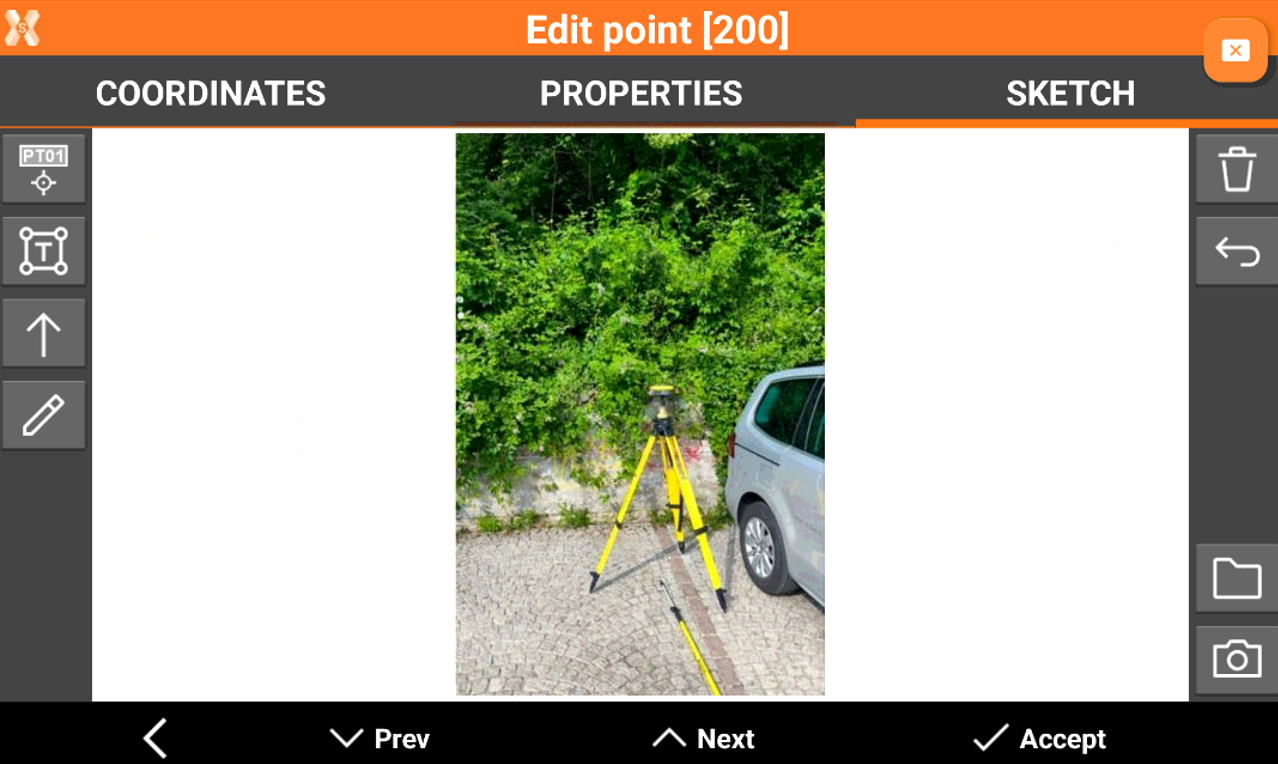
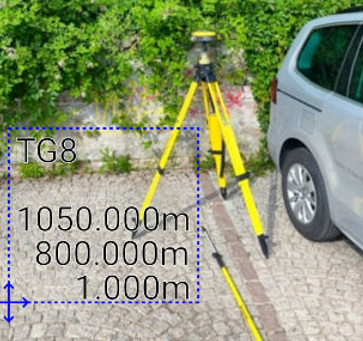
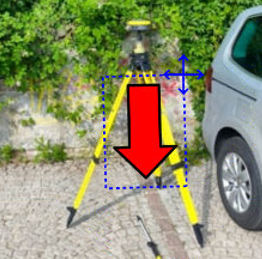
Sketch page allows to view the photo assigned to a point, load or take a new photo or draw on the image to have a picture of the topographic point.
-
-


-

-


-

-

-

-

-
