
-
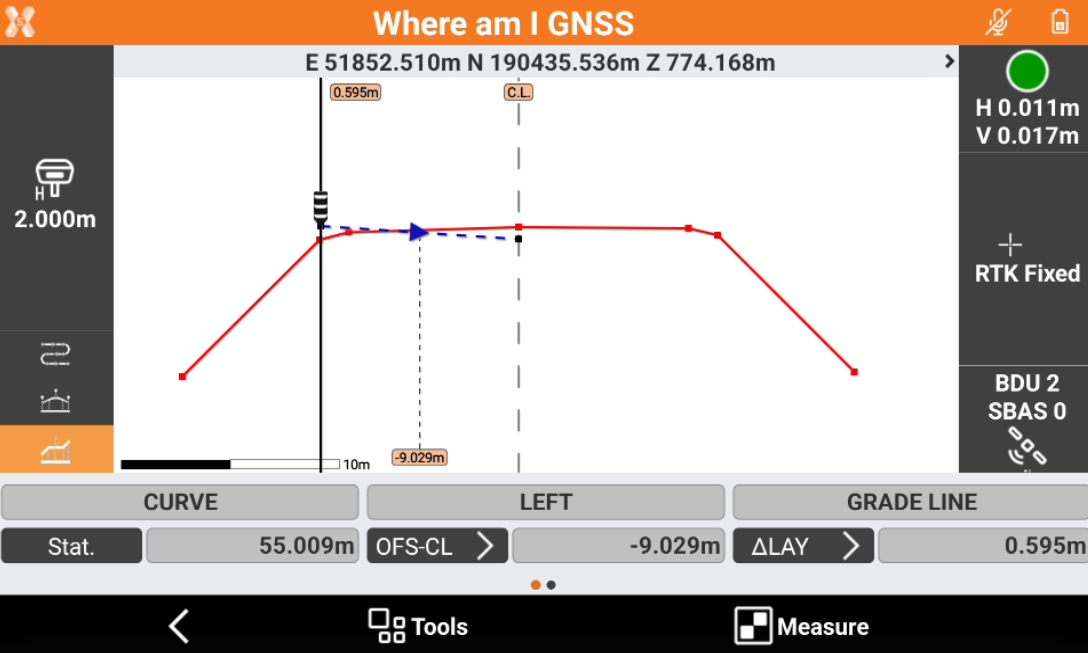
Road module has the possibility to design a road in the field defining the horizontal alignment, the vertical alignment and the cross sections.
-
In this page we will see how to design a road starting from geometric information step-by-step.
-
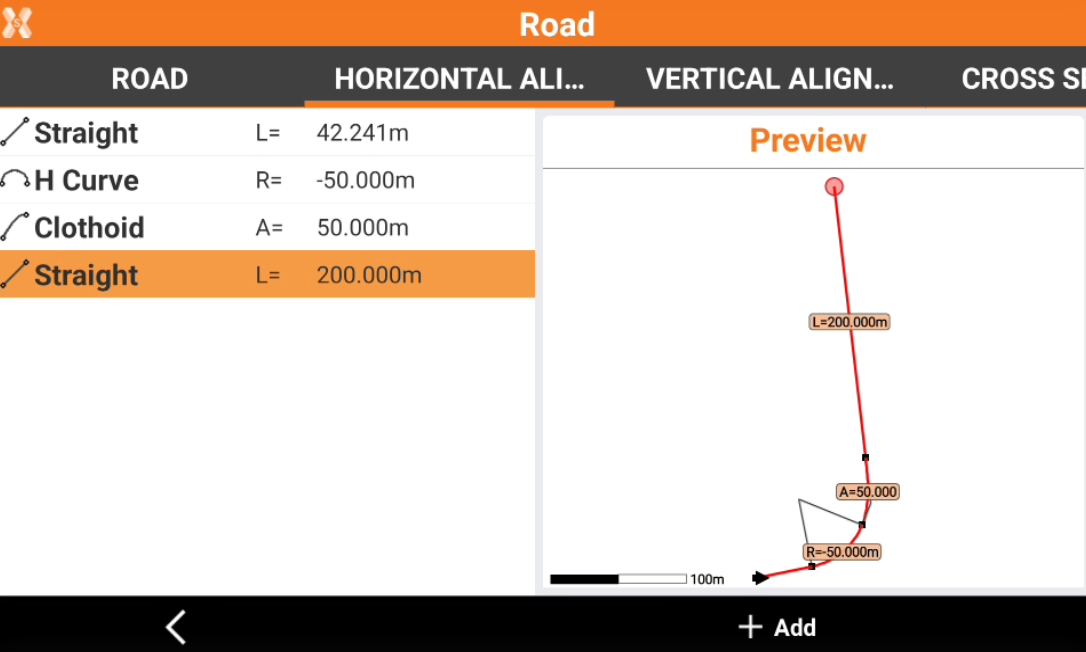
Our goal is to create a simple road consisting of a curve, a clothoid and a straight line.
Create the road
-
Open the Road module and click Road manager.
-
Click Add to create a new road.
-
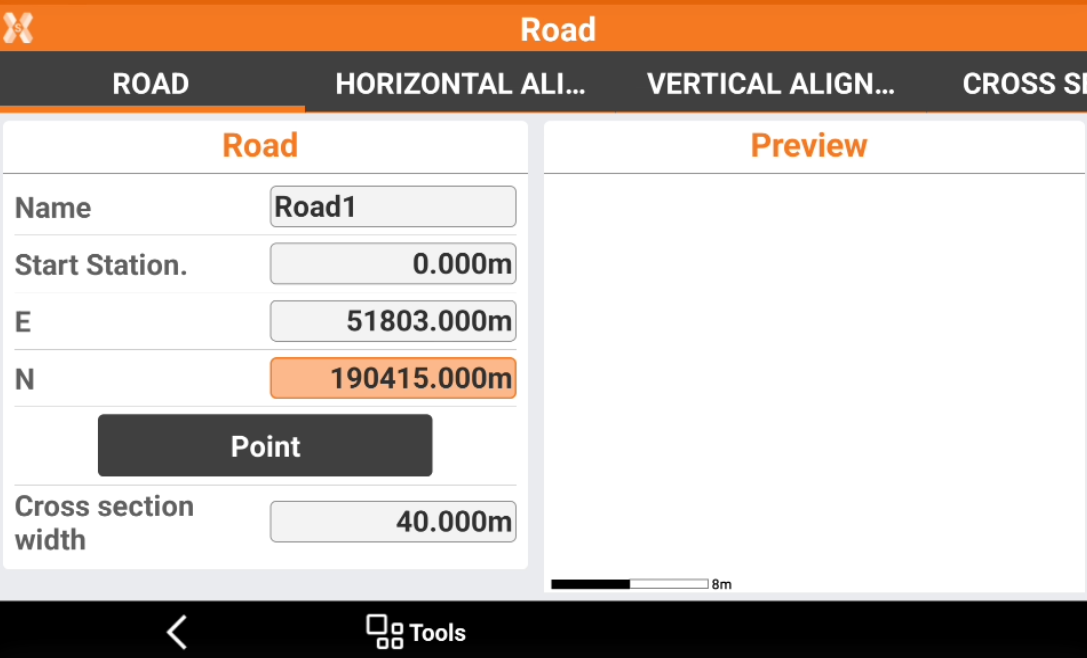
In the Road page we enter the starting information of the road and we will have a preview of the road design.
-
Name: the name of the road.
-
Start Station: the starting station of the road.
-
E, N: the coordinate of the starting station.
-
Point: click here to select the starting point from CAD or from the list of available points.
-
Cross section width: defines the cross section width, used by the software to generate the cross section using the horizontal axis.
-
Create the horizontal alignment
-
Open the Horizontal alignment page and click Add to start to create the horizontal alignment.
-
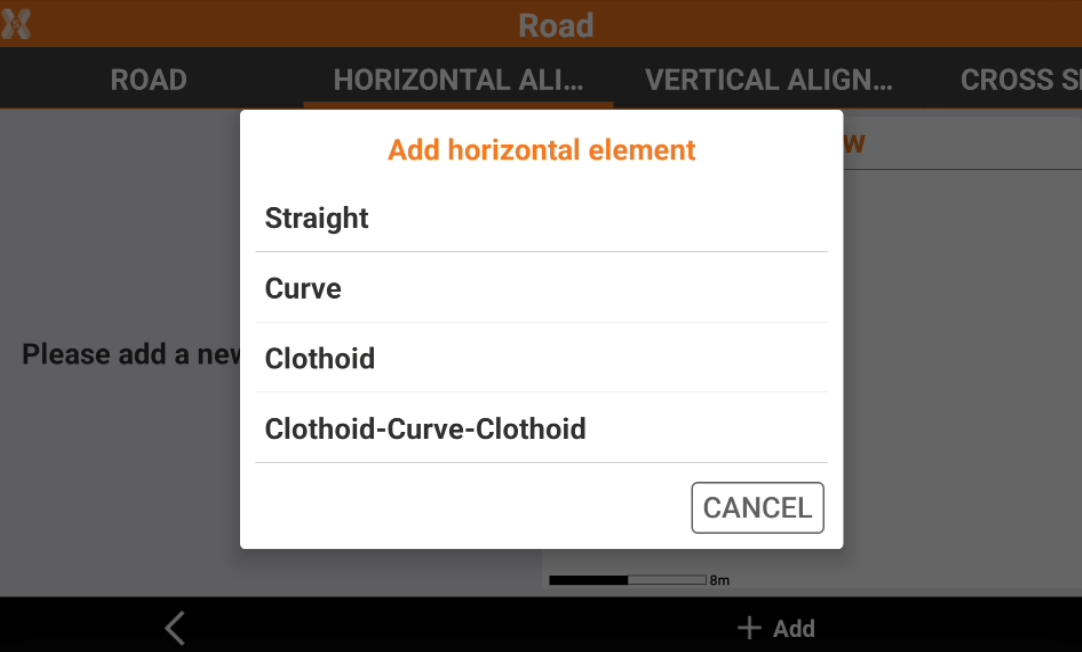
Add the first element.
-
Straight: create a straight element.
-
Curve: creates a curve element.
-
Clothoid: creates a clothoid element.
-
Clothoid-Curve-Clothoid: creates a curve with a clothoid at beginning and at the end of the curve.
-
-
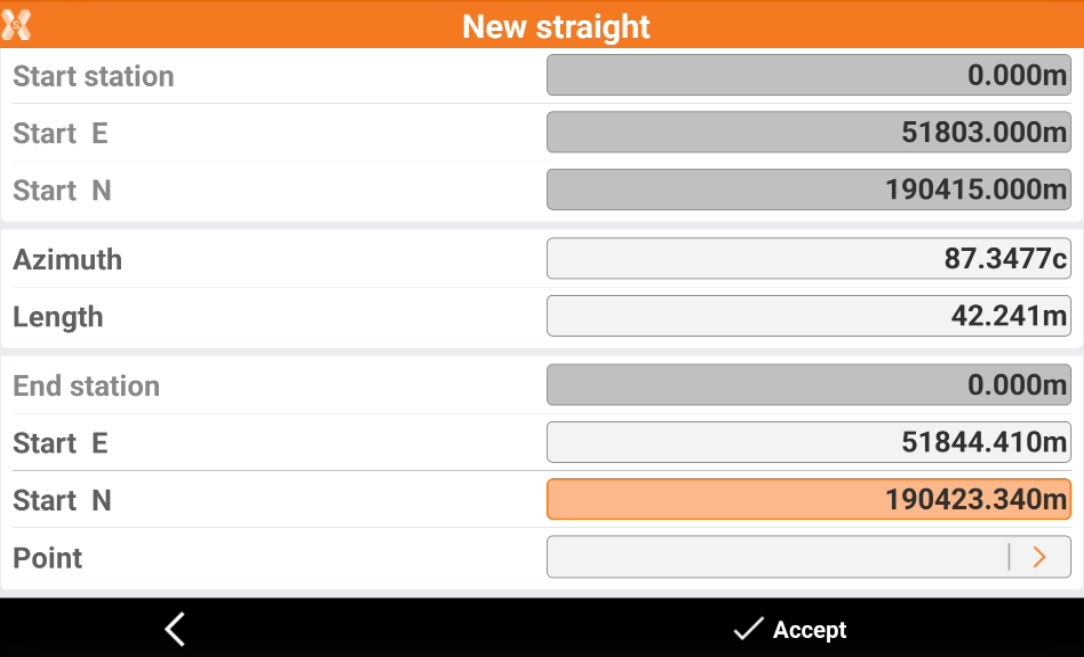
We start creating a straight line. We have different possibilities to enter the element depending on available information: in this example we create it entering the ending point.
-
Click Accept to create it.
-
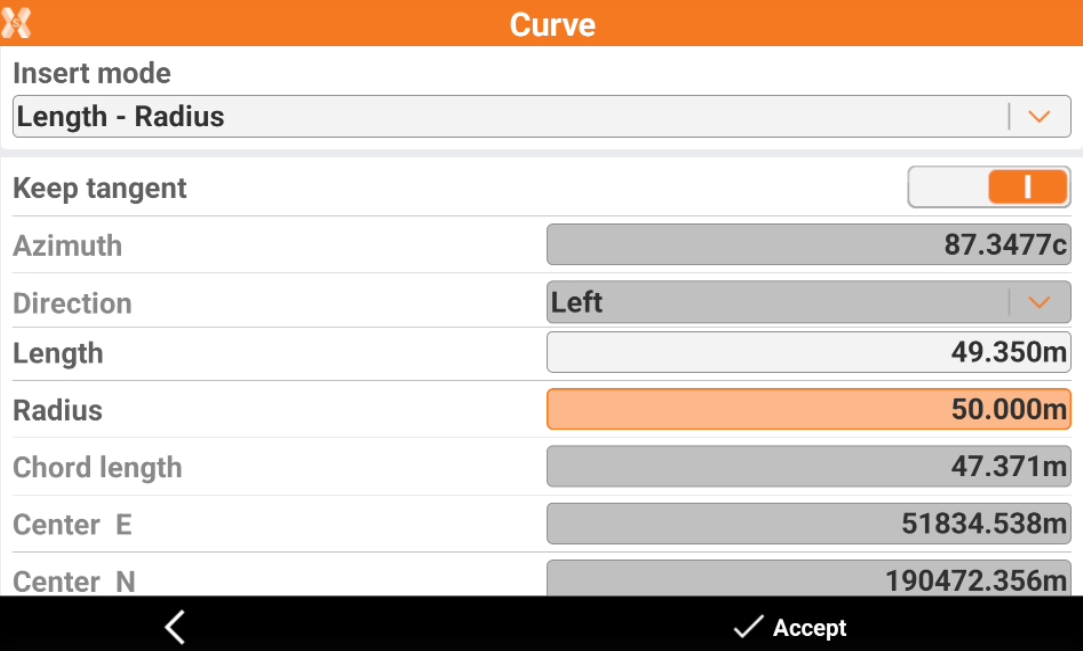
Now click Add and we create a curve. We creates the curve entering the curve direction, lenght and radius. Also we keep tangent the curve to the existing line.
-
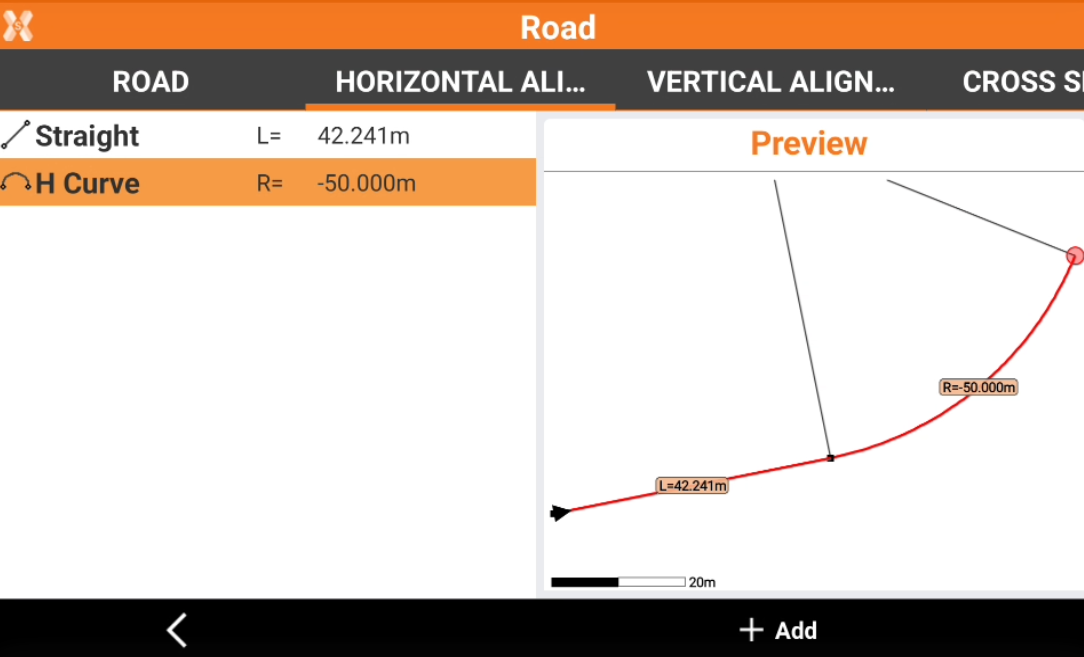
Now we have a straight line and a curve created and visible in the software preview. Click Add to add a clothoid to complete the curve.
-
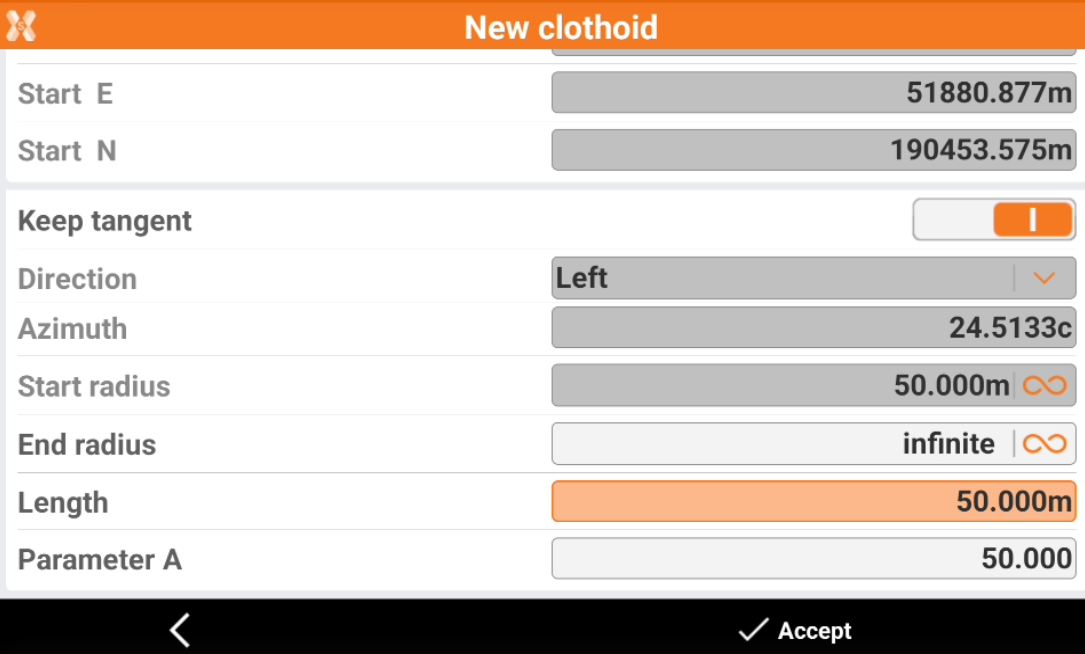
Click Add to add a clothoid to complete the curve before the next line. We keep it tangent to the previous curve and we enter the lenght.
-
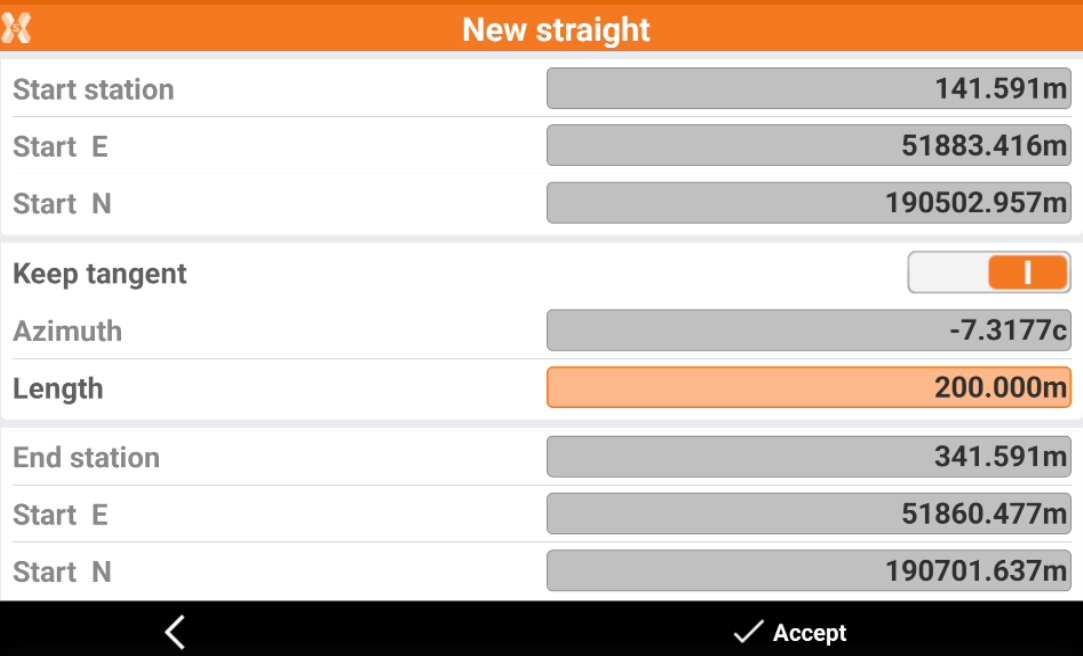
Now to complete our road we enter a tangent straight line.
-
We completed the road horizontal alignment.
Create the vertical alignment
-
The vertical alignment describes how a road changes in elevation along its length.
-
We will have a straight grade, then a vertical parabola and we will conclude with a straight grade.
-
Open the Vertical alignment page and click Add.
-
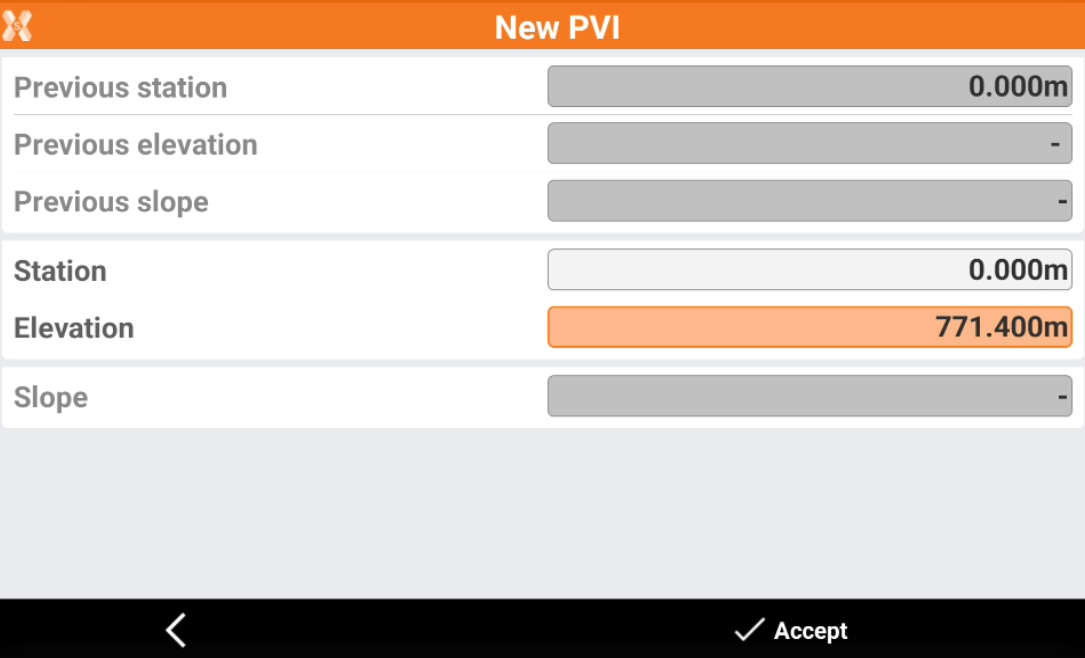
Create the first PVI on the first station.
-
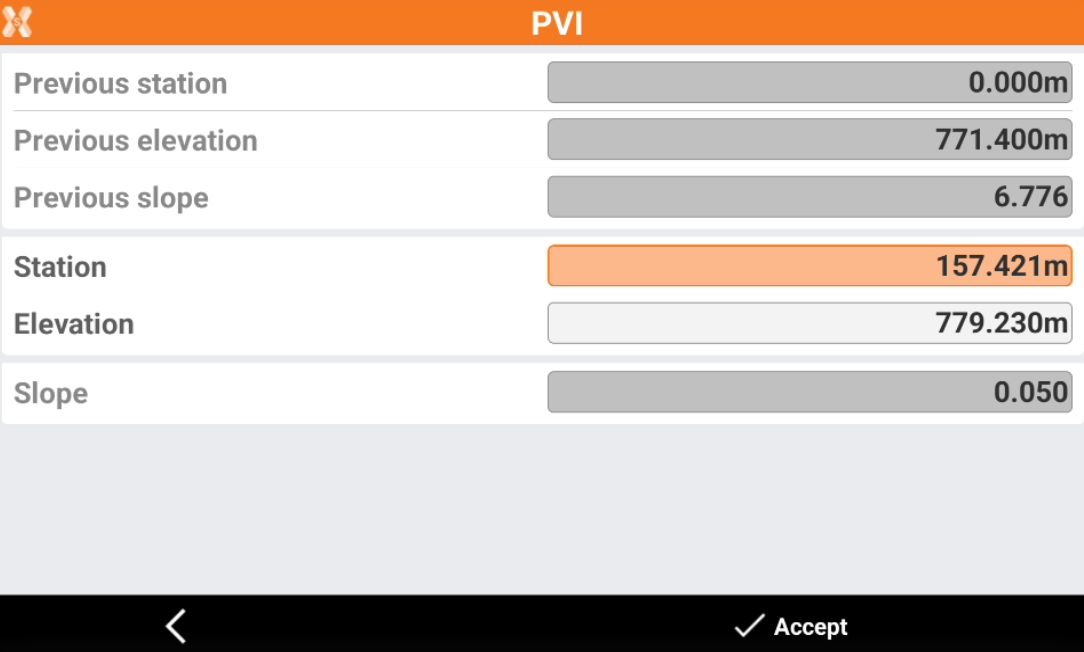
Then create the second PVI.
-
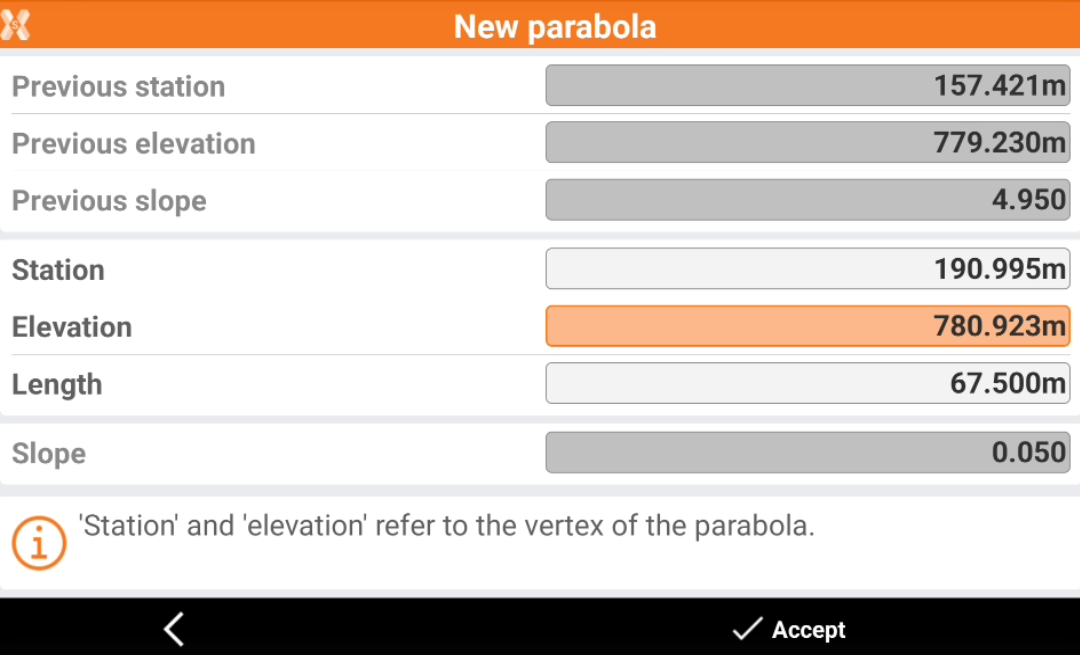
Now we can create the parabola entering the vertex of the parabola.
-
And then we enter a new PVI corresponding with the ending point of parabola.
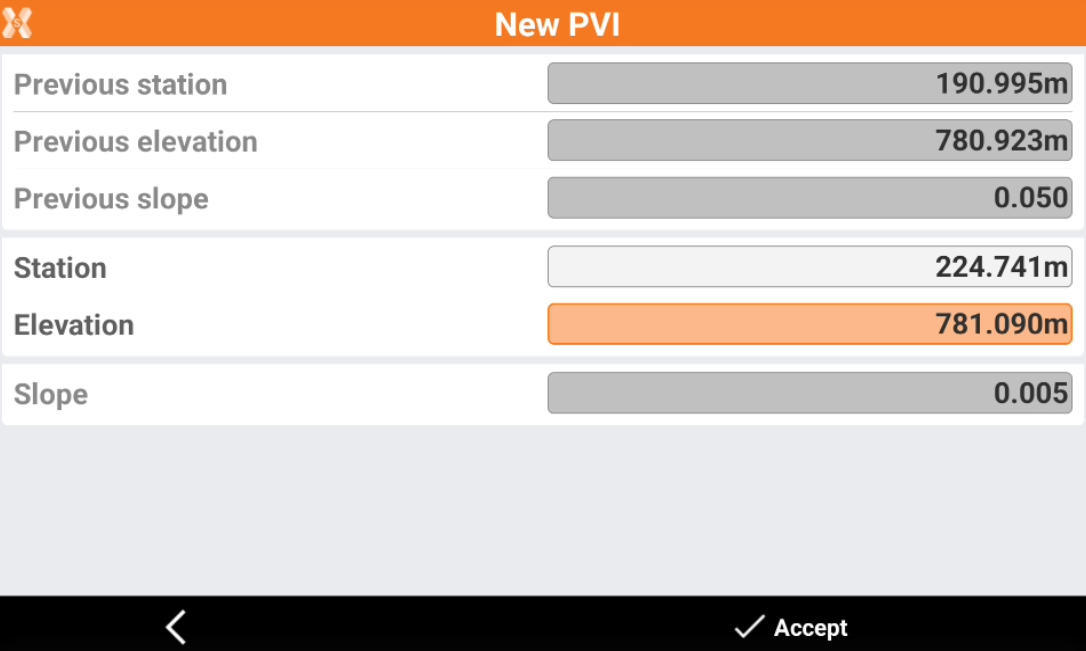
-
We completed the straight grade and the vertical parabola.
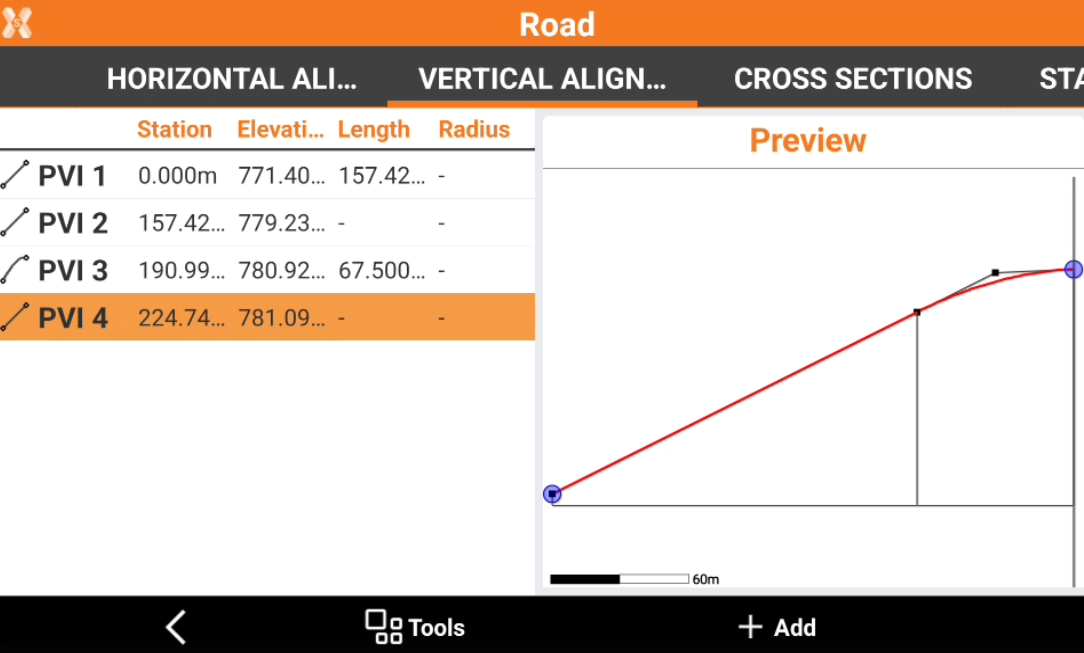
-
Now we can complete the vertical alignment with the final straight grade.
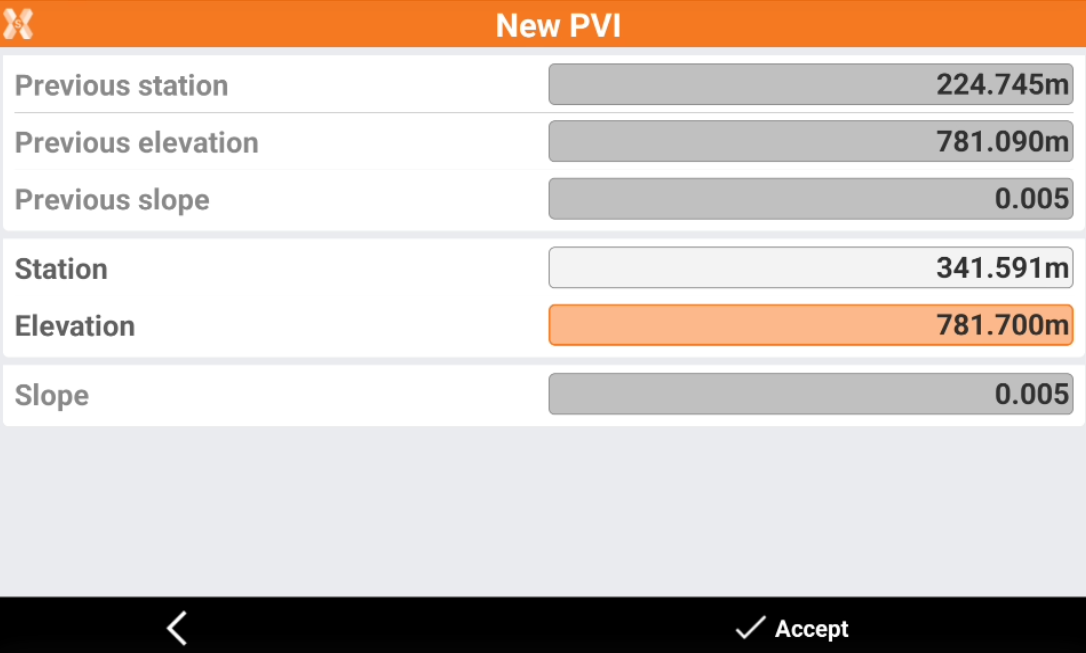
-
We completed the vertical alignment of our road.
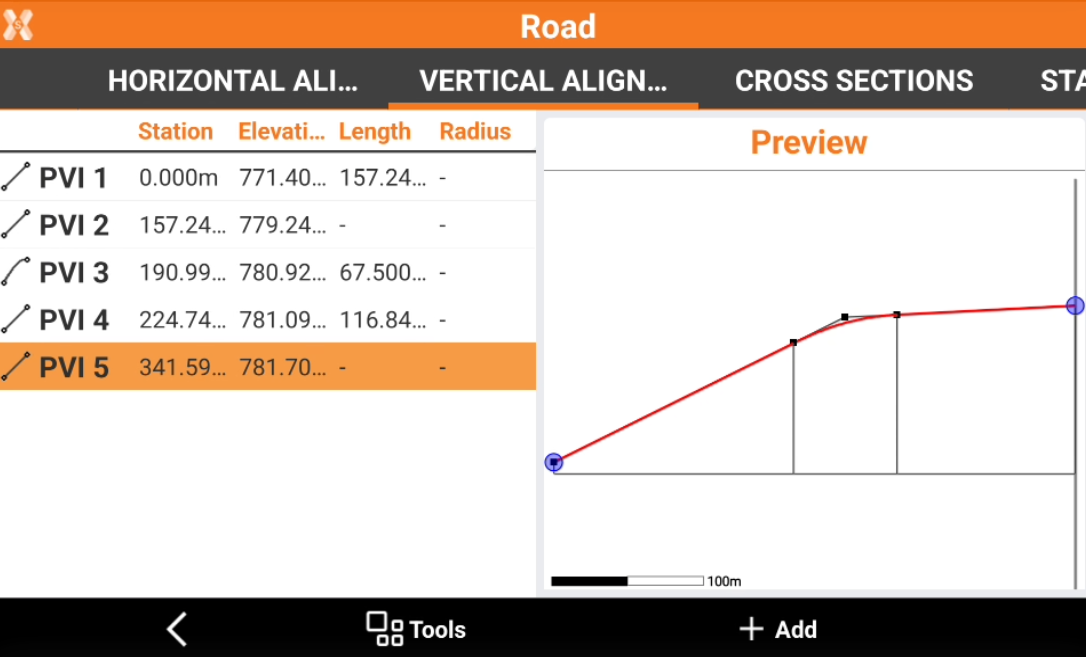
Create the cross section template
-
For simplicity we will use a single cross section for all the road design.
-
In the Roads page click X-Sections Templates to create a new template. Click Add to create a new template.
-
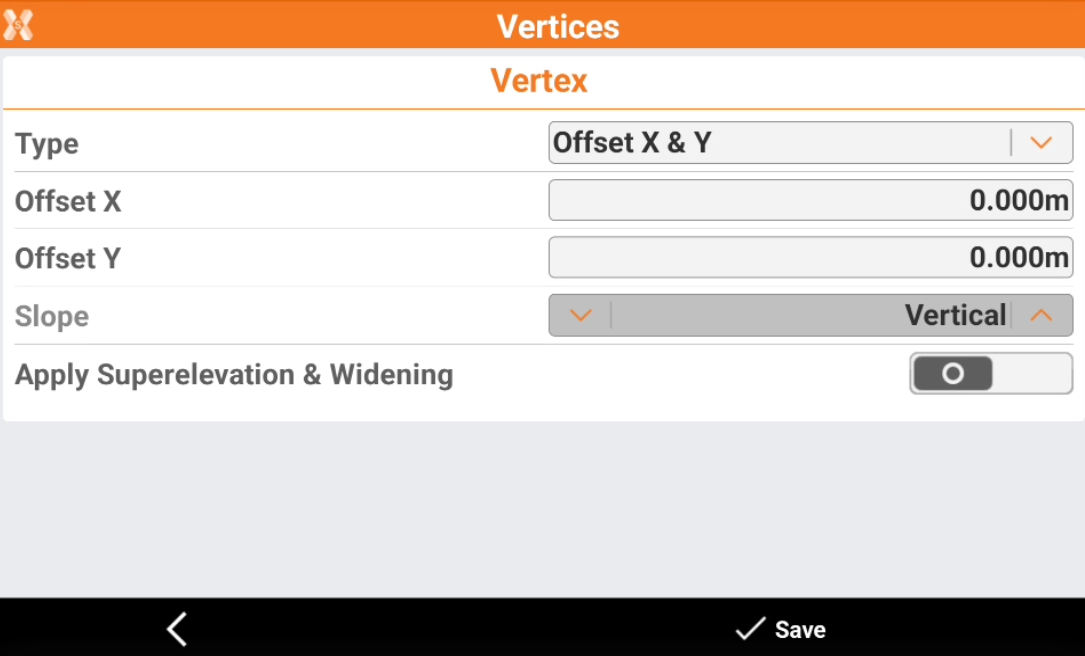
In General tab enter the name of the cross section, then open the Vertex tab to add the vertexes.
-
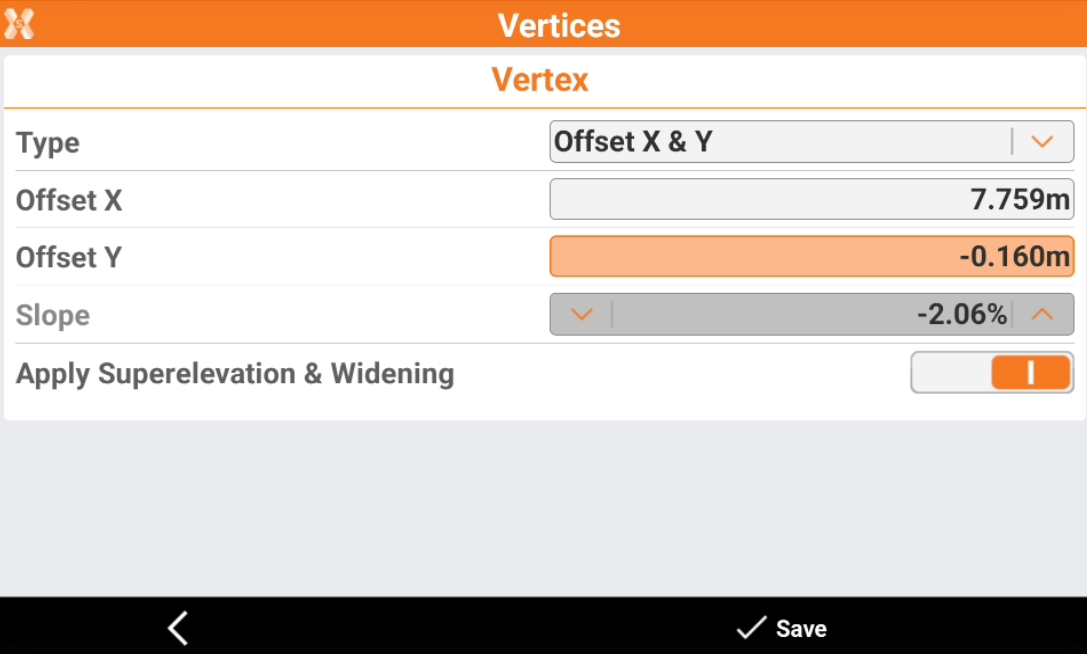
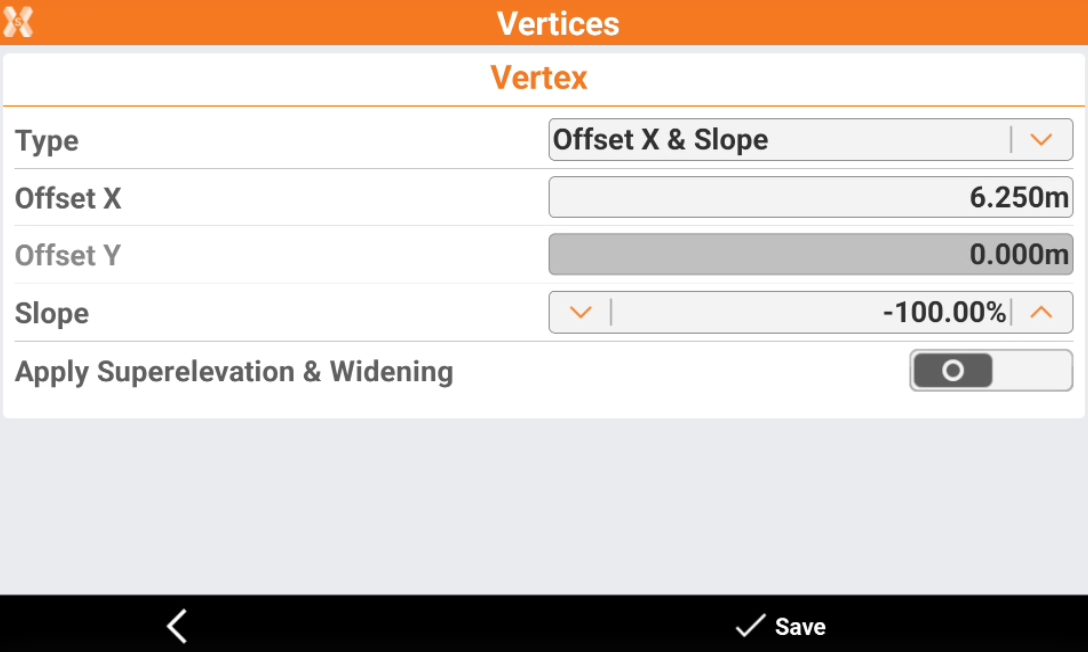
We create this cross section entering the X,Y coordinates. We also select to apply superelevation and widening settings that we will see in next step.
-
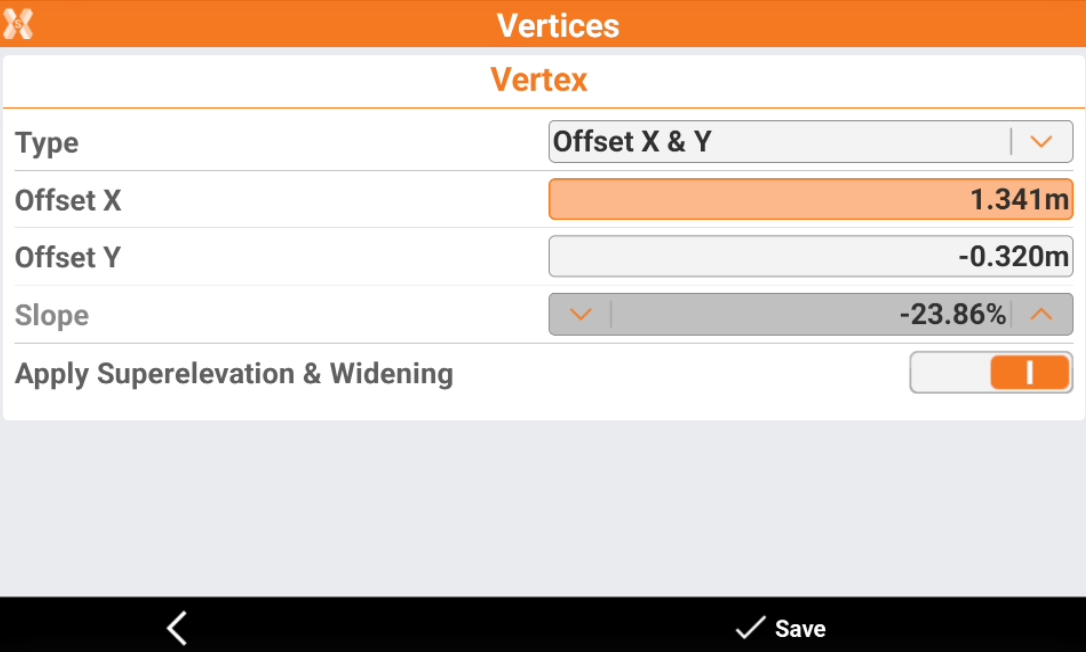
We continue to create one by one the cross section vertices.
-
And the last vertex of the cross section.
-
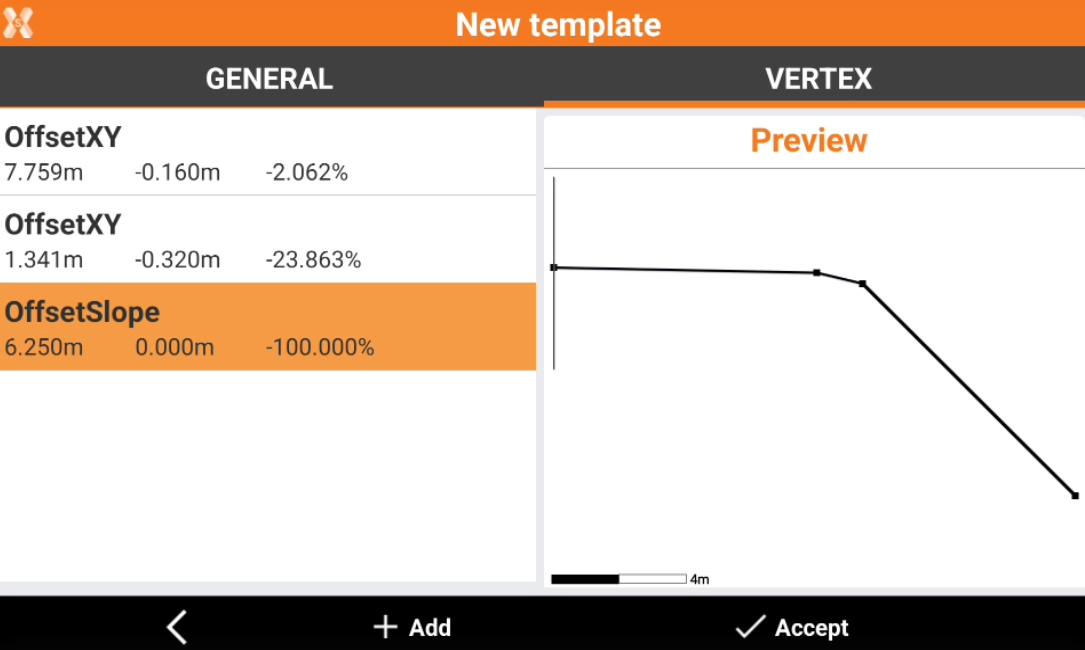
We created the template for the cross section. We will apply this template to the left and right side of the road.
Assign the cross section template to the road
-
Open Road manager and open the road we created.
-
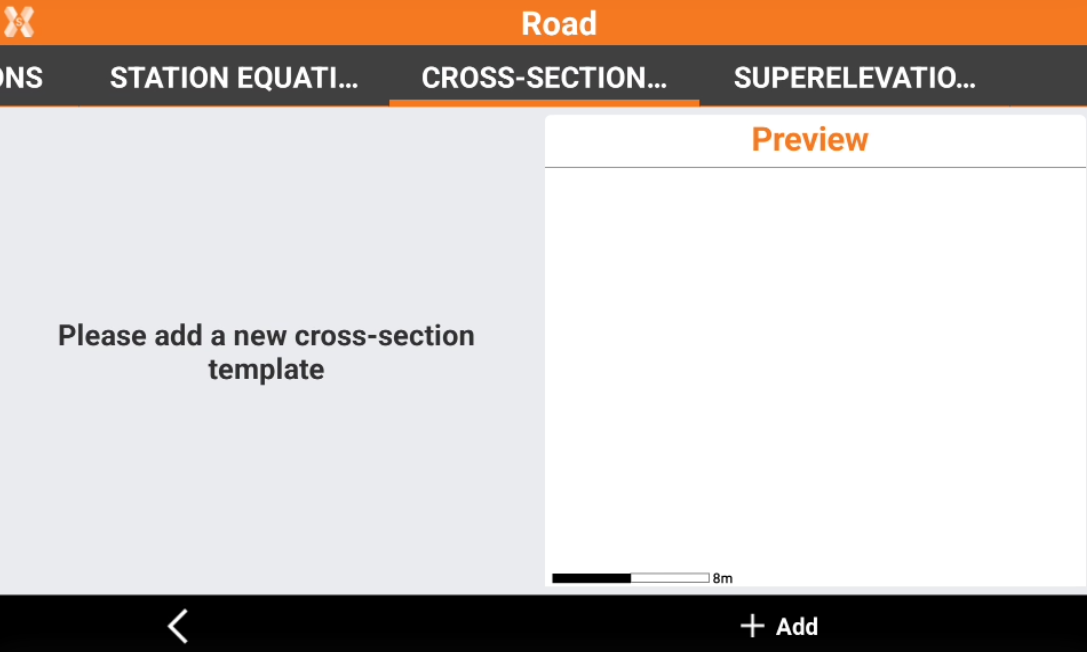
Open the Cross-section template page and click Add.
-
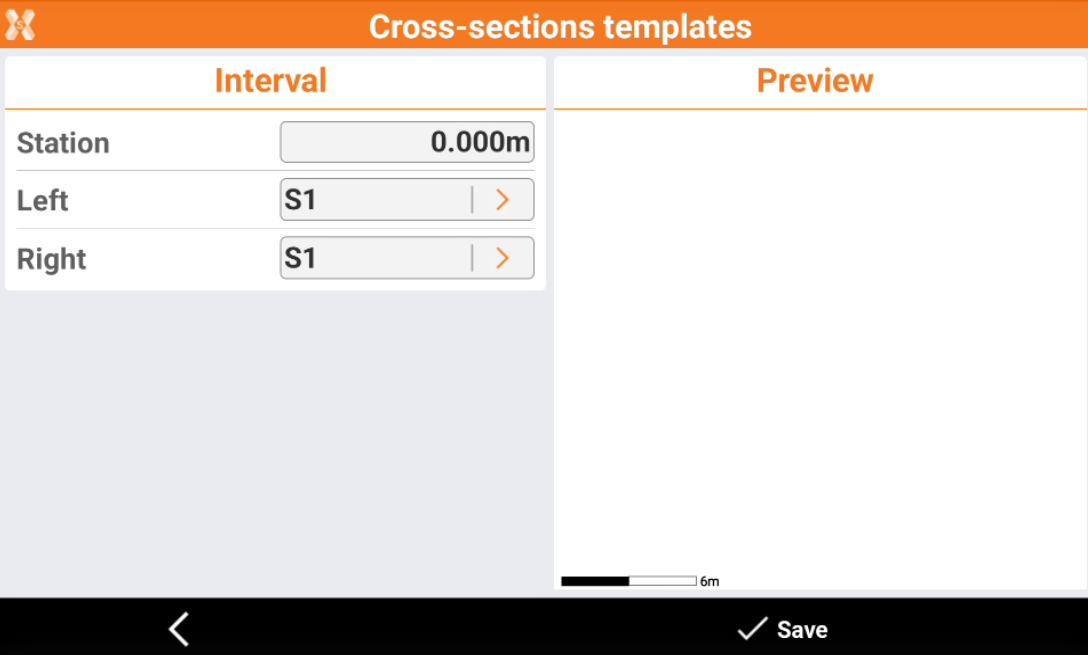
Assign the created template at the initial road station for the left and right side.
-
Click Save.
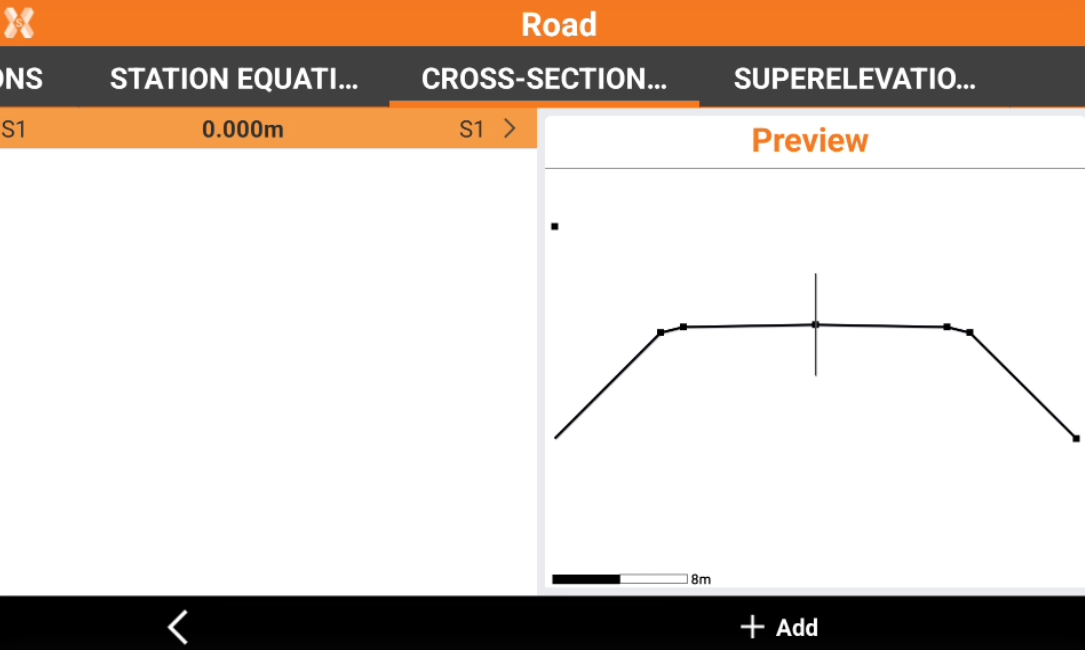
-
Since we do not apply any other cross section, this template will be used for all road lenght.
Apply superelevation
-
To complete our road we also apply a superelevation to the road curve. The Superelevations page allows to specify the side slope to be used in the elements of the section model.
-
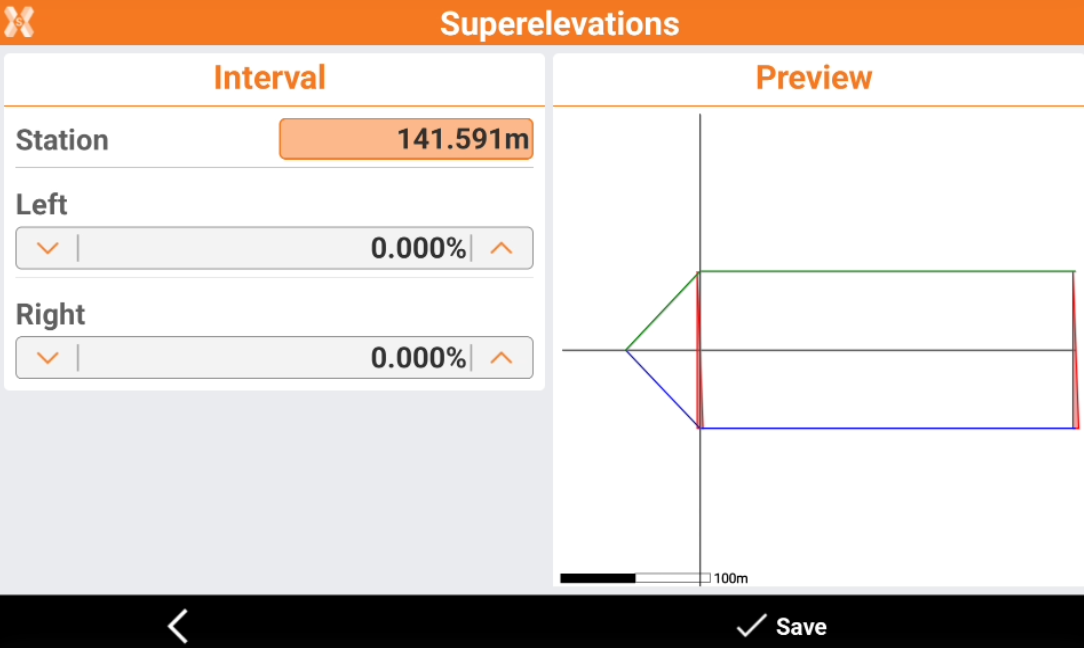
We want to add a superelevation to the curve and clothoid, so we start entering the first setting at the start of the road.
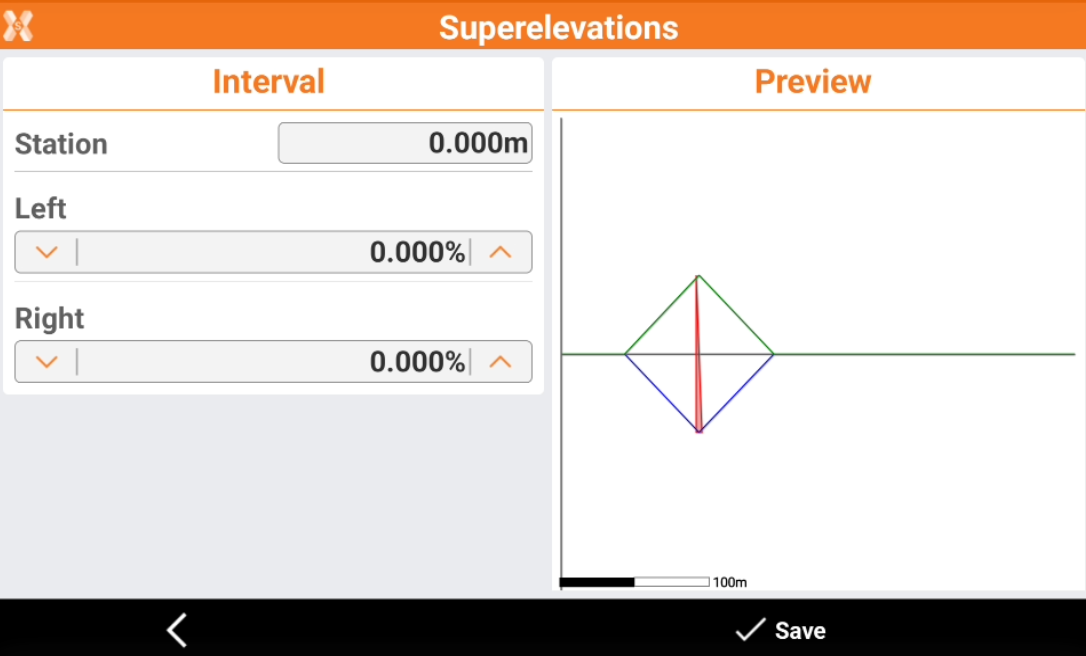
-
And another one at the start of the curve.
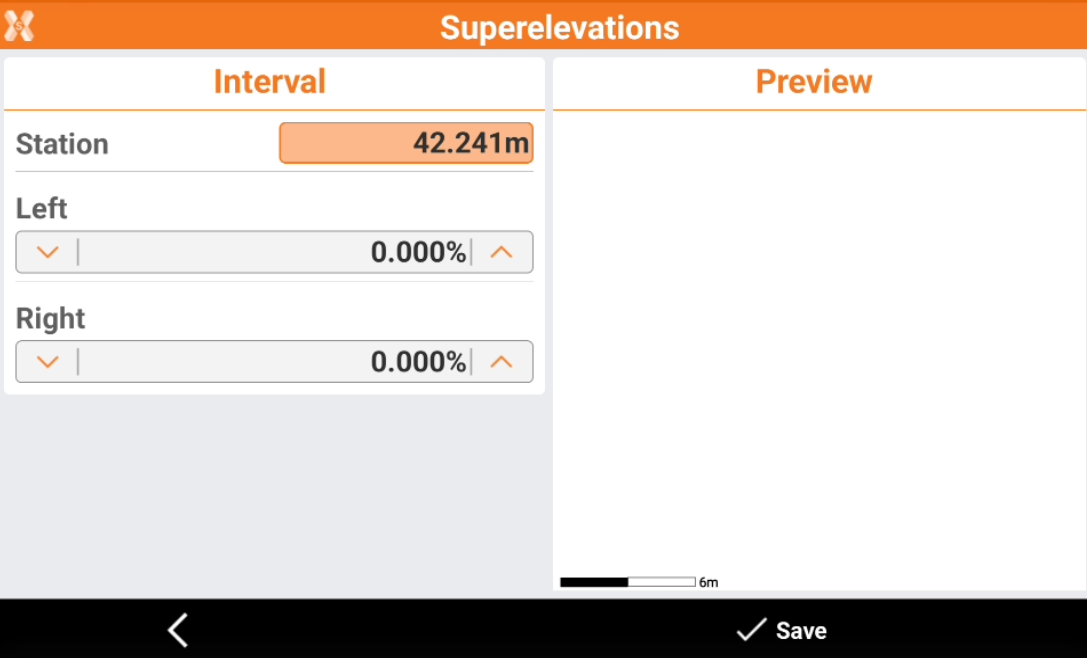
-
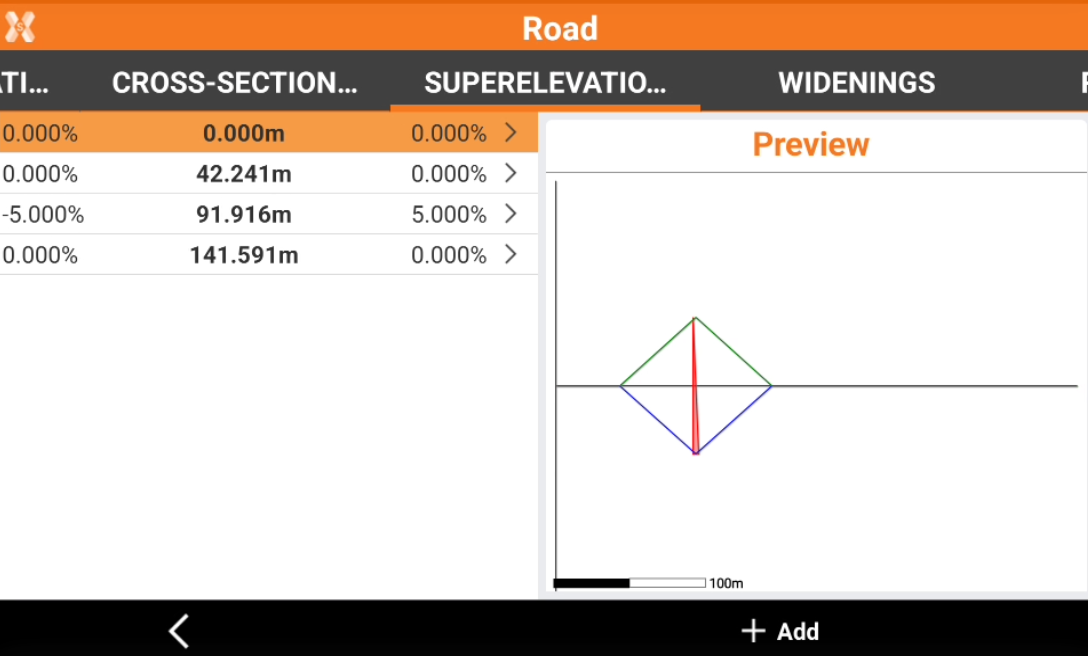
Then we add a side slope to the curve with maximum value at the middle.
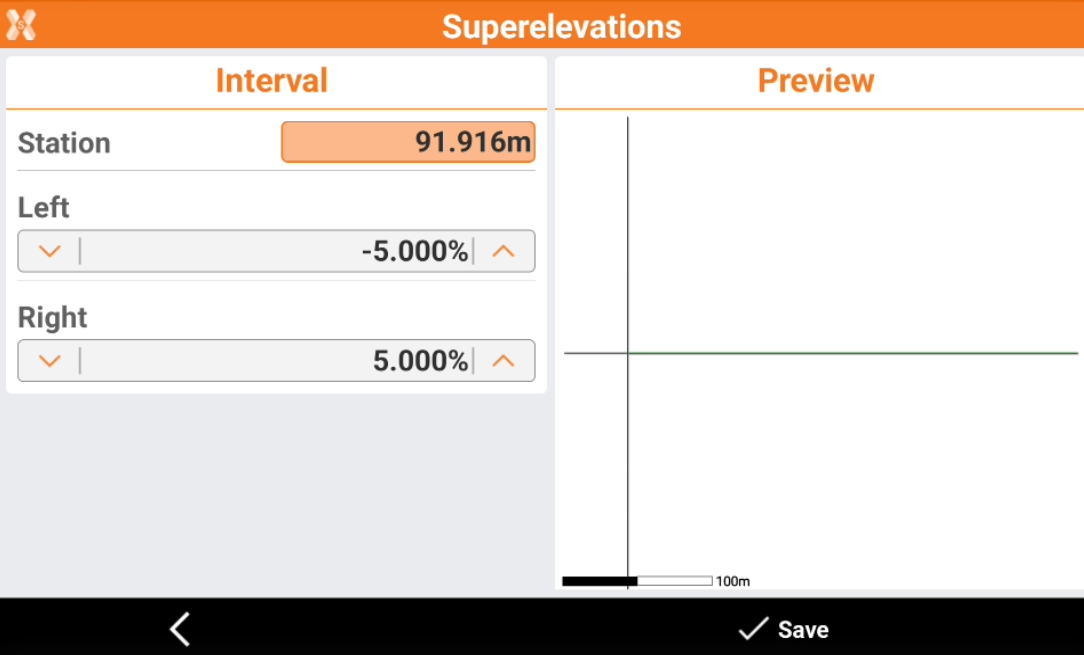
-
And we conclude the superelevation at the end of the clothoid.
-
This is the result.
-
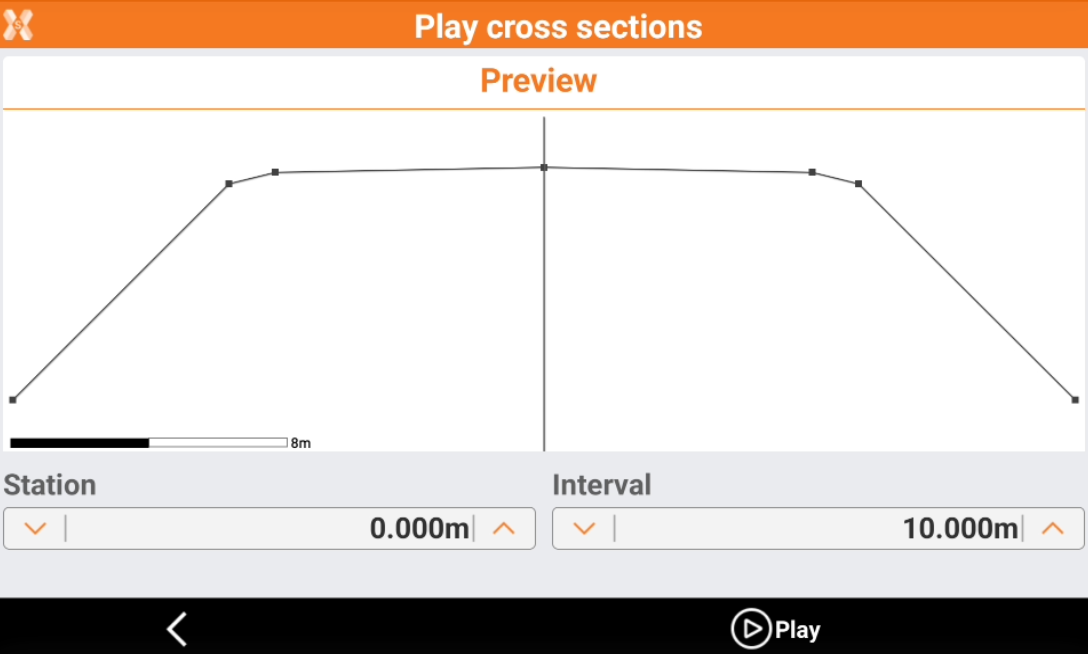
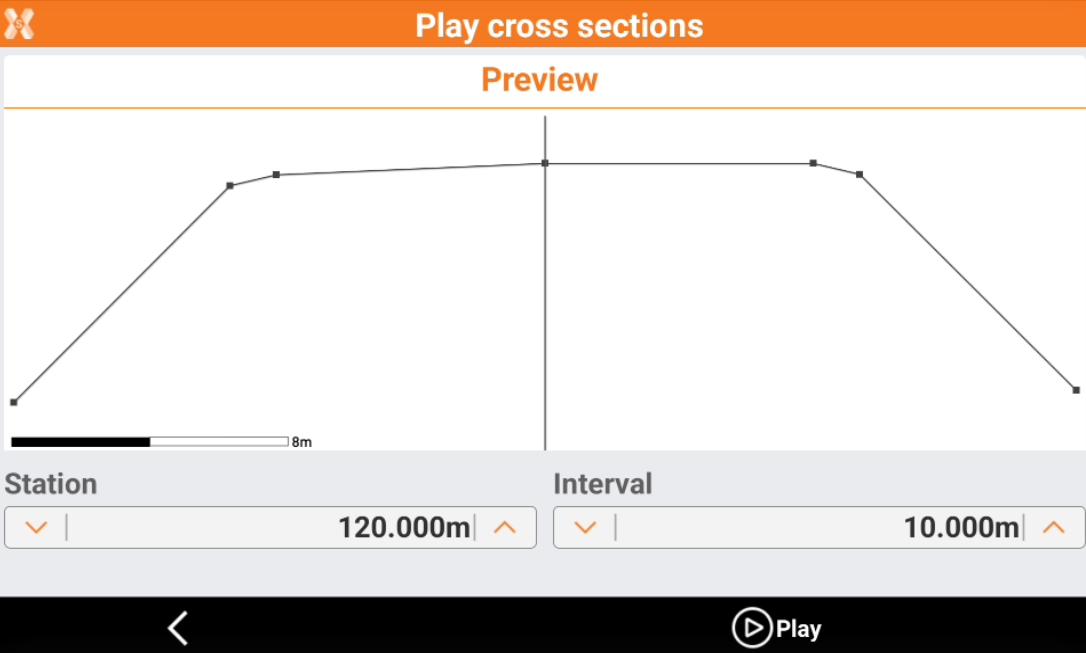
Now if we start the road preview we can see that we start without superelevation.
-
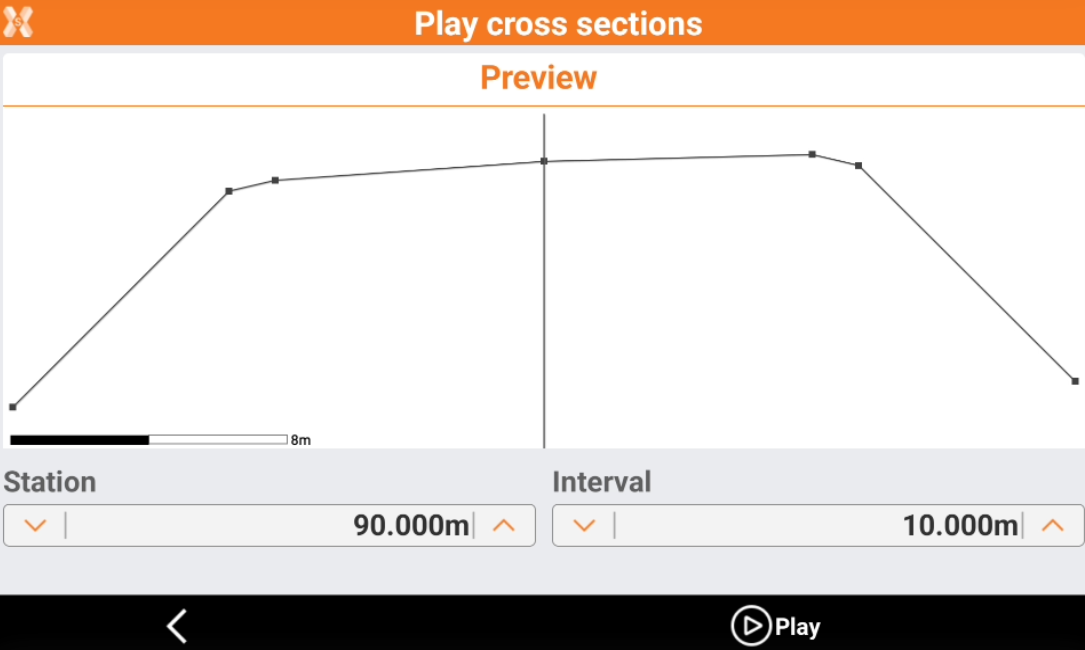
Then the road starts to change its side slope when curve begins and increases until station 91.916.
-
And then reducing again the side slope ending the clothoid.
Stakeout the road
-
Now we are ready to stakeout the road we defined in the field.