-
In the report page it is possible:
-
To see the result of the sessions.
-
Export manually the result.
-
Create a new customized export template.
-
-
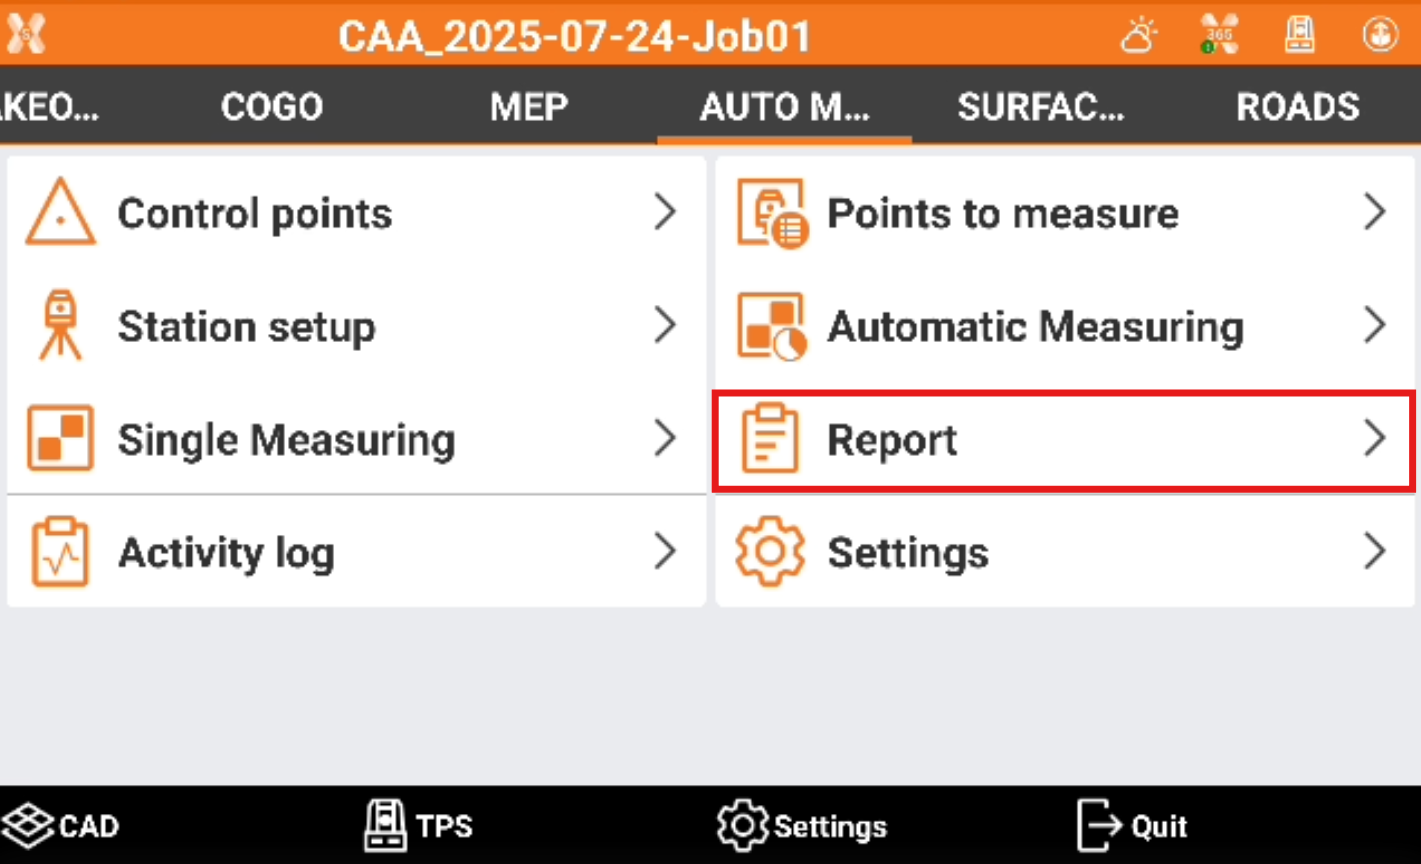
To open the page click Report.
Analyze the result
-
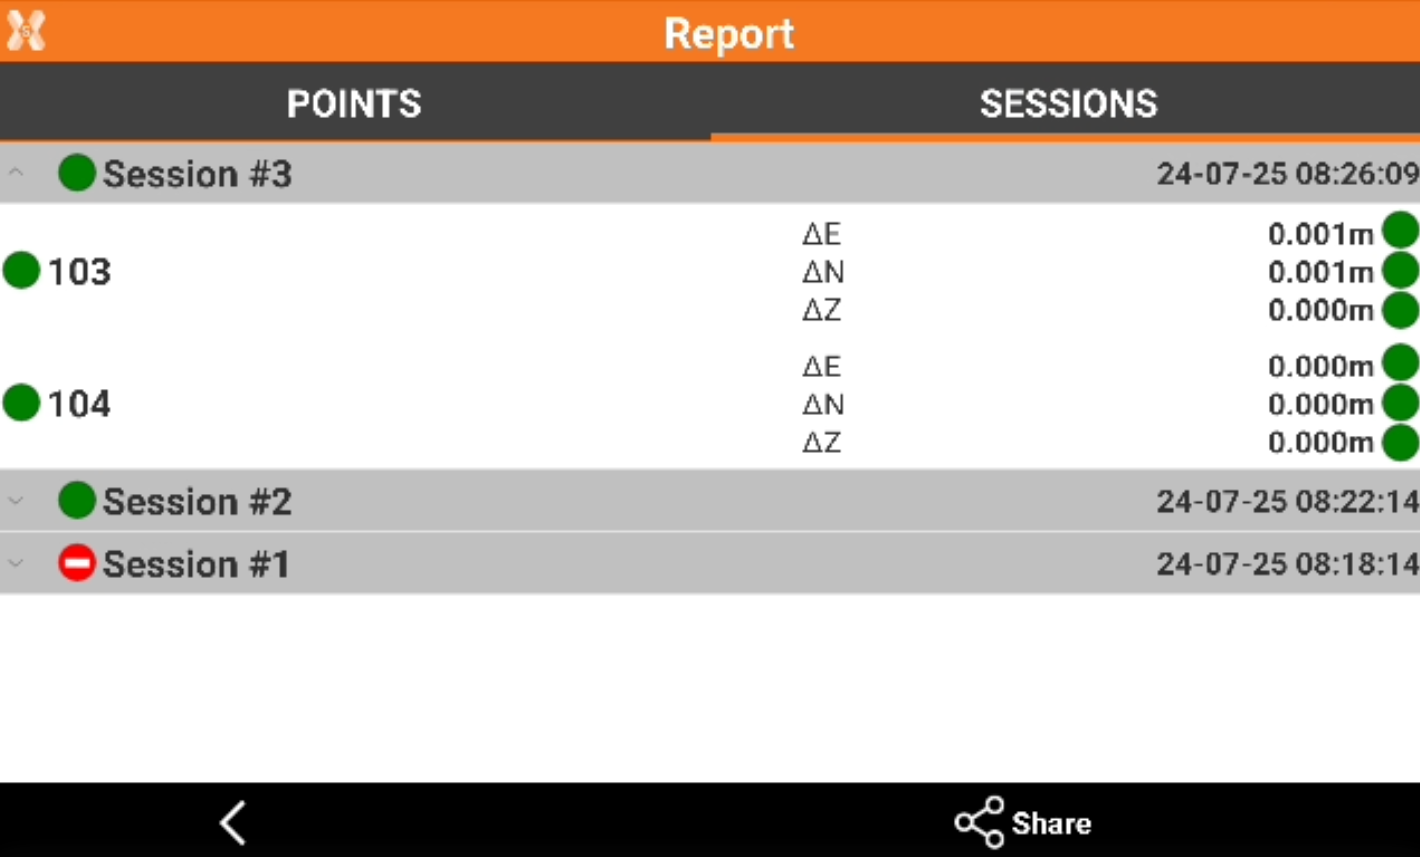
The results are available in the Points tab and Sessions tab.
-
Points tab: results are organized by point name.
-
Sessions tab: results are organized by session number.
-
-
For each point the difference from the calculated coordinate and the reference coordinate is calculated.
-

-

-
Export the result
-
To export the result click Share.
-
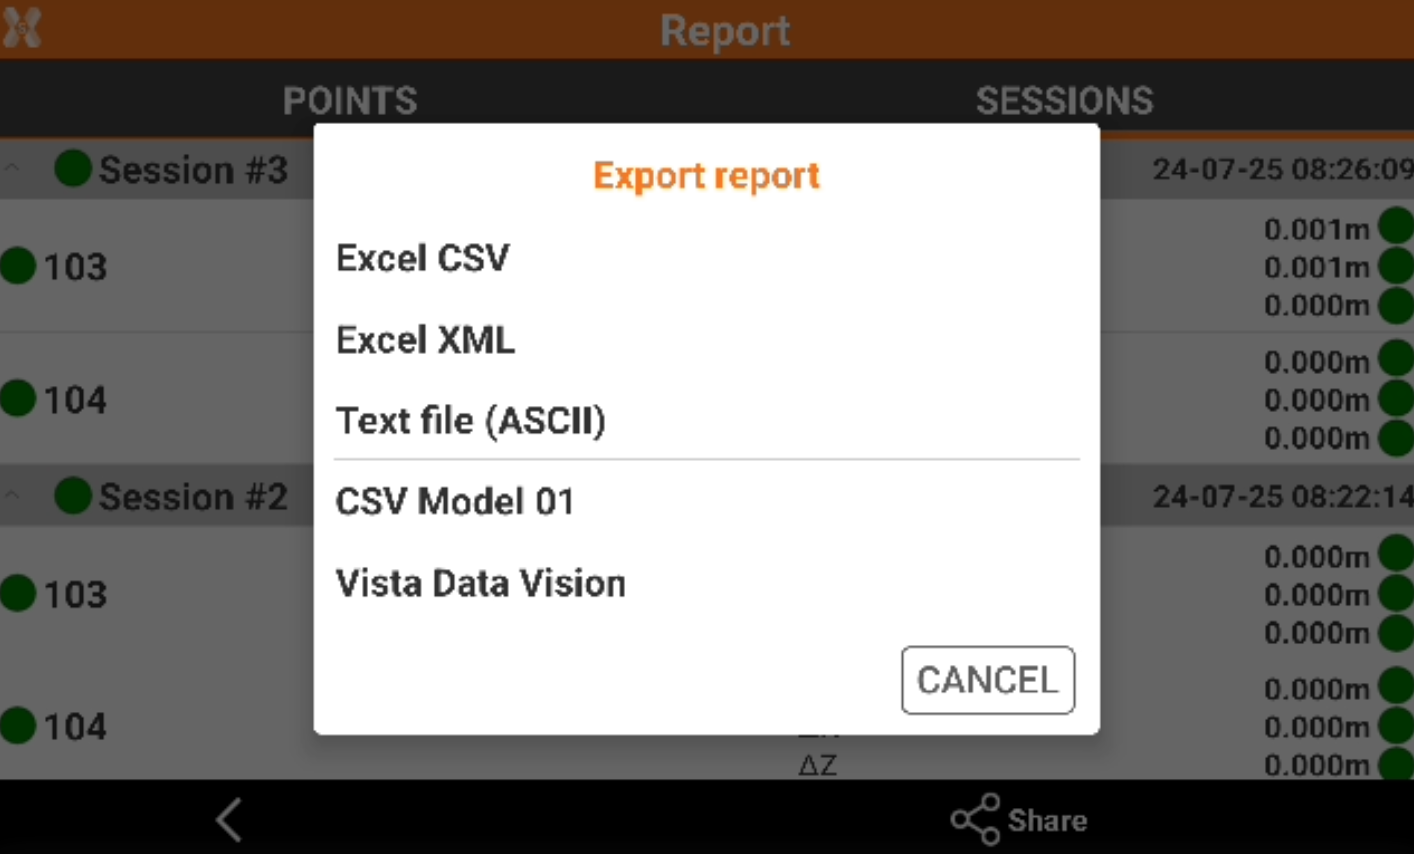
Select the format to export.
-
Excel CSV: data is exported in a CSV file that can be opened with a text editor or Excel.
-
Excel XML: data is exported in a XML file compatible with Excel.
-
Text file (ASCII): data is exported in ASCII, it is possible to customize the information to export. For more information on how customize an ASCII please refer to Export ASCII.
-
Vista Data Vision: data is exported in a text format compatible with the office software Vista Data Vision.
-
-
For more information on the export procedure please refer to Export and share .
Create an export format
-
From the Report page it is also possible to define a new format, that can be used to generate the automatic report at the end of each monitoring cycle.
-
Click Share.
-
Select Text file (ASCII).
-
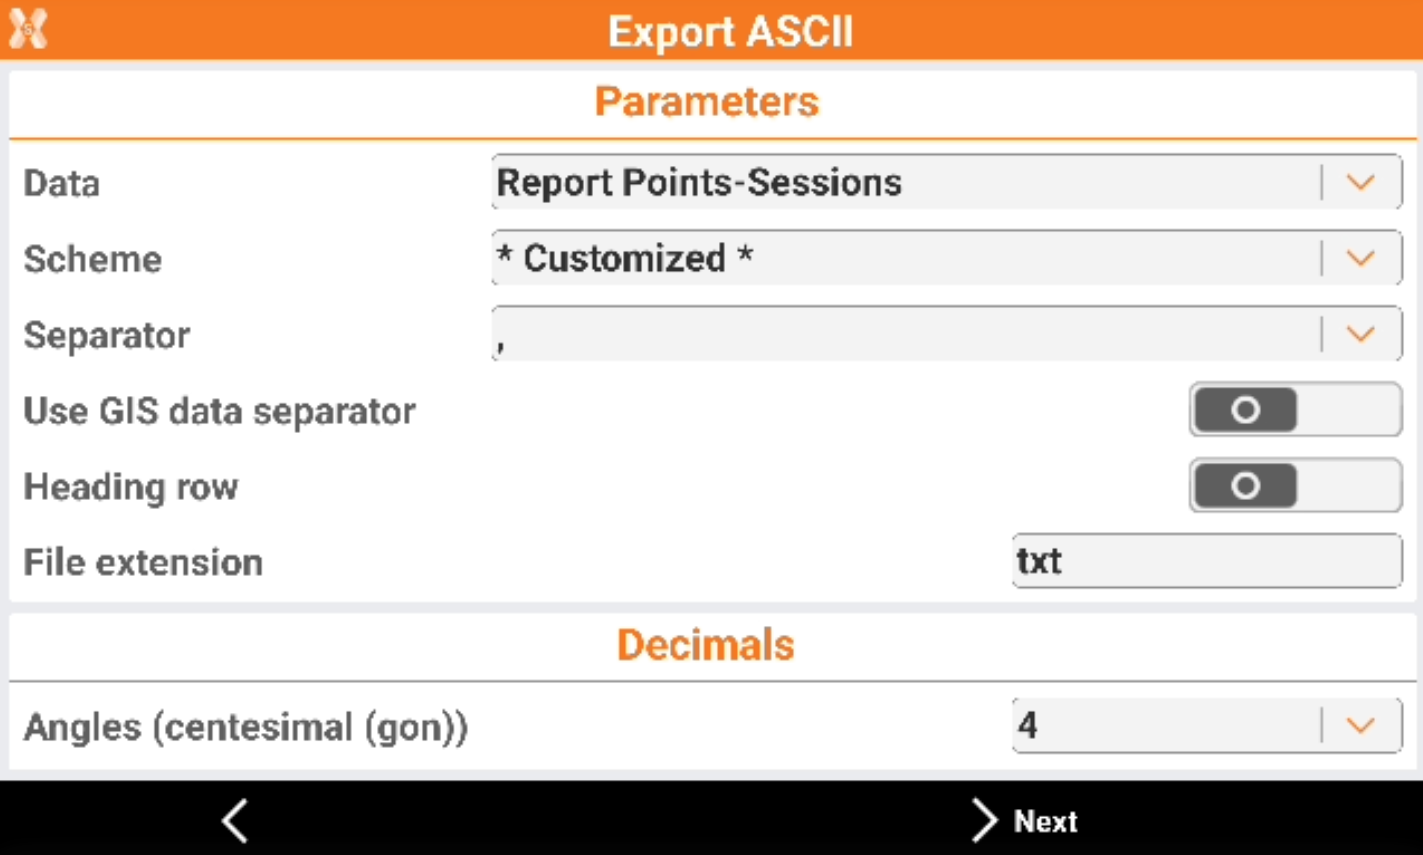
The Export ASCII page is opened.
-
Data: how the report data is organized and what data is included.
-
Report Points-Sessions: the information in the report are divided by the point name.
-
Report Sessions-Points: the information in the report are divided by the session number.
-
TPS Measurements: the report lists all the raw TPS measurements with angles, distances, etc. This includes the measurements to the control points.
-
Report all Points-Sessions: export all sessions with information in the report are divided by the point name.
-
-
Scheme: allows to select a saved customized scheme or create a new scheme selecting Customized.
-
Separator: the separator to be used between the export fields.
-
Use GIS data separator: not used.
-
Heading row: enables the use of an heading row in the file.
-
File extension: the file extension to be used.
-
Decimals: allows to define the number of decimals for the numeric values.
-
Latitude/Longitude/Elevation: not used.
-
-
Click Next.
-
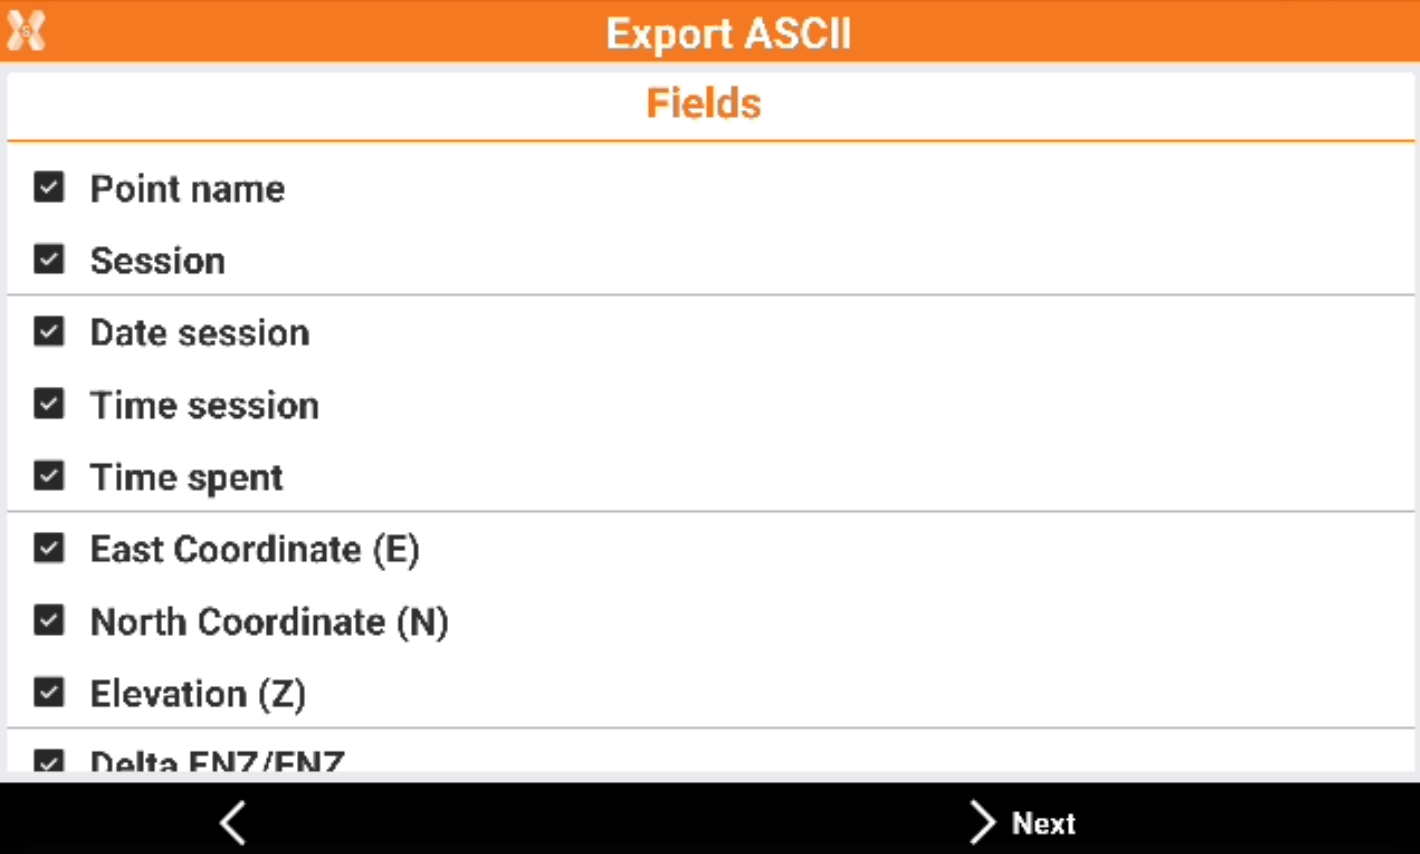
Define the fields to export.
-
Click to enable/disable a field.
-

-

-
-
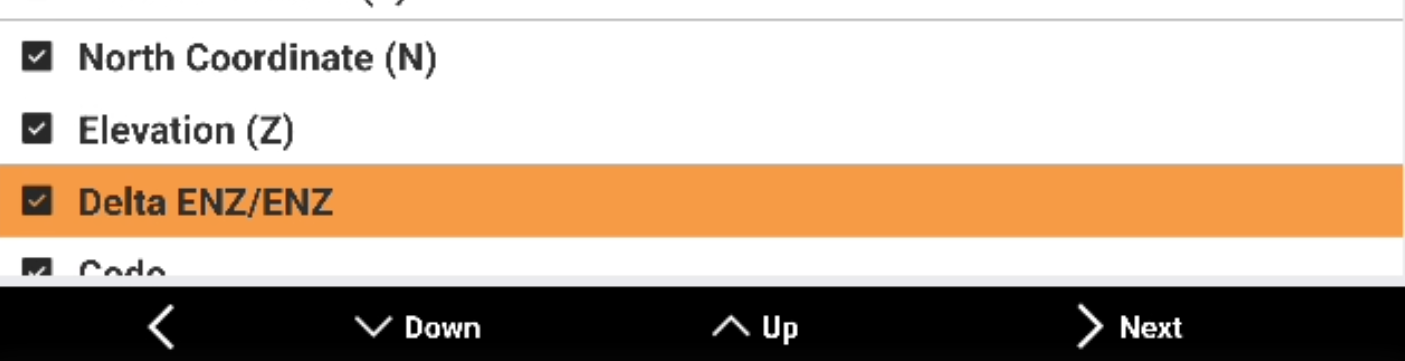
Select a field and click Down or Up to change the export order.
-
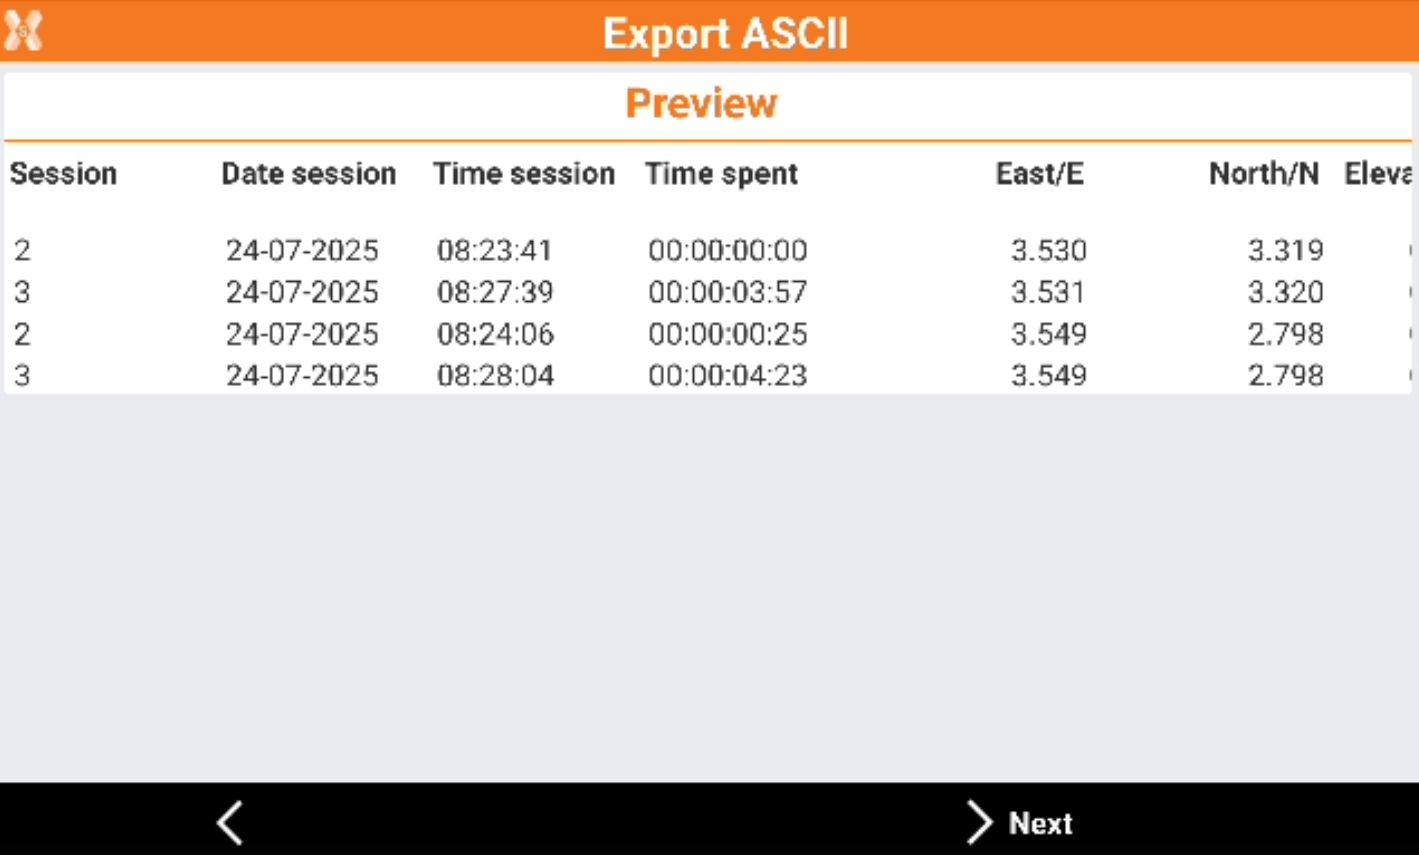
Click Next to have a preview of the export.
-
Click Next.
-
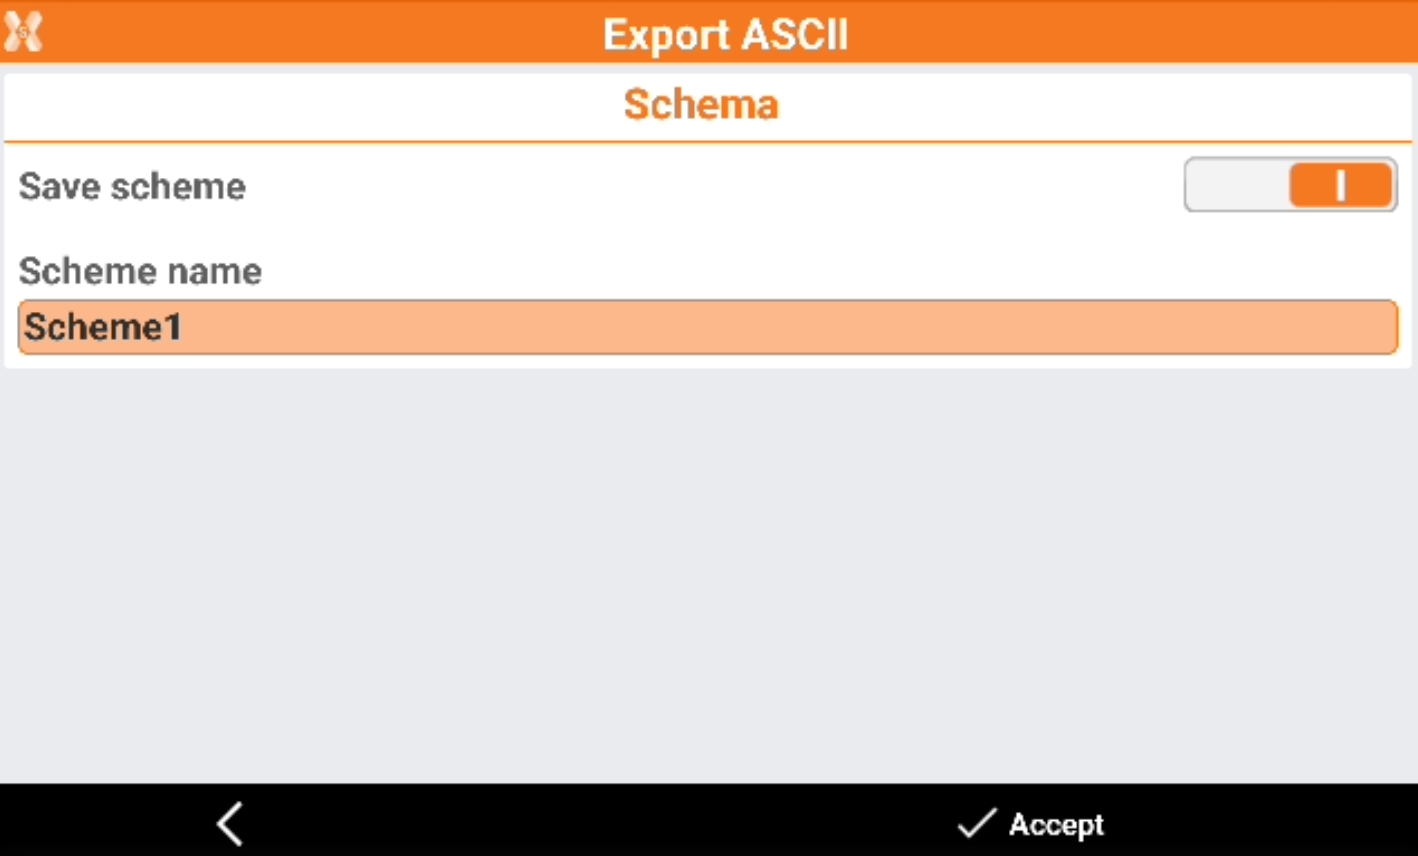
If the created export scheme want to be used in the data report save the scheme with a name.
-
Click Accept to save the file.
-
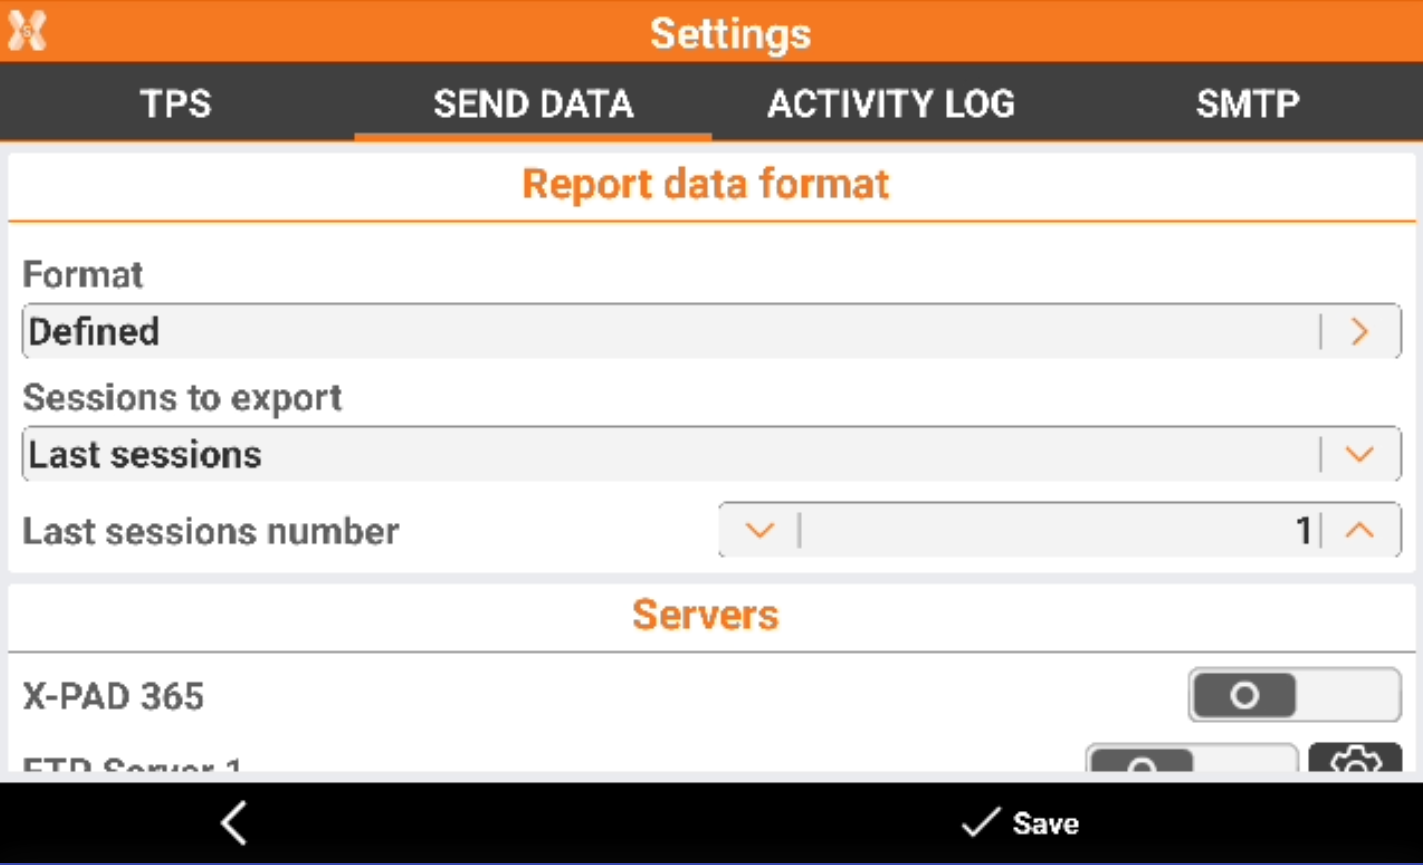
The Scheme can now be selected in Settings → Send data → Format.