

-
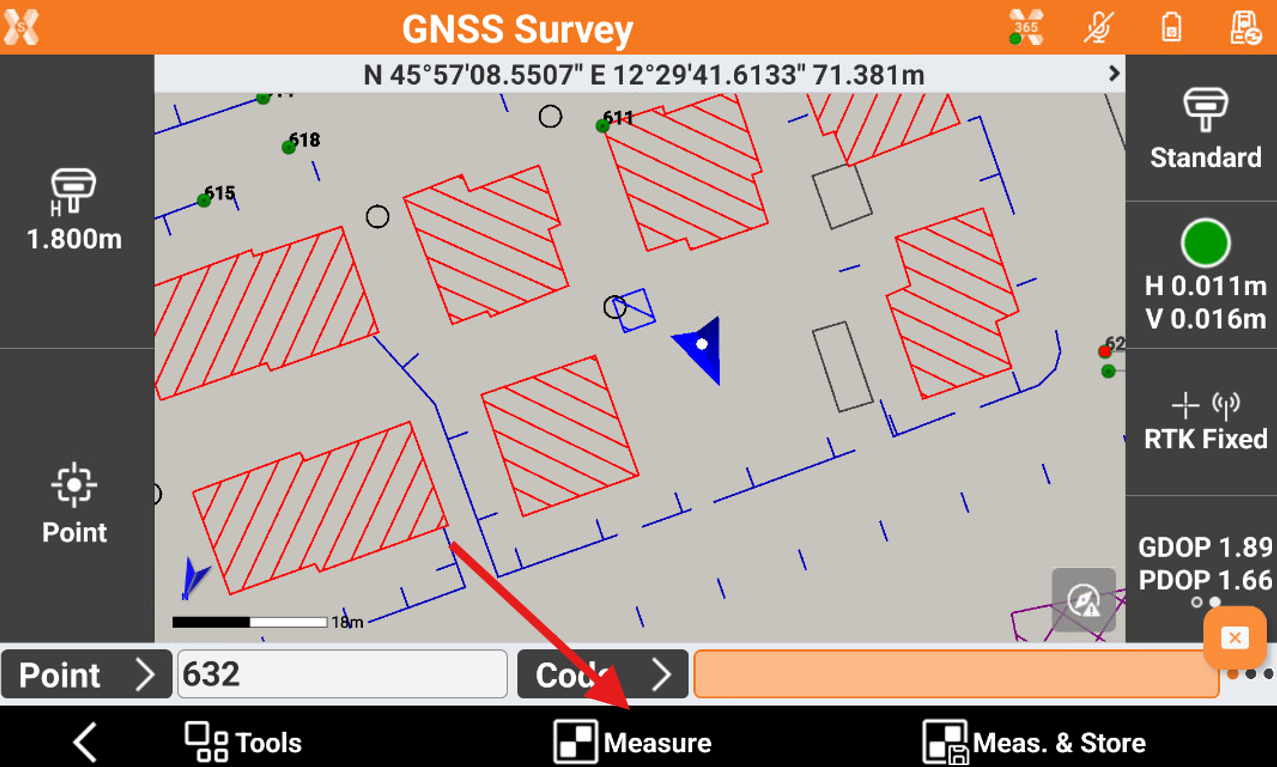
To measure a GNSS point and review the result click Measure.
-
The acquisition of positions for the number of epochs set in survey parameters starts.
-
The epochs are acquired if the conditions defined for accuracy checks defined in GNSS Settings are met.
-
Otherwise the software keeps waiting for a manual stop or until the conditions are met.
-
When the number of defined epochs is reached, the point is saved. The name of next point is automatically suggested.
-
If GIS feature are required for a point code, a window for entering the attributes opens.
-
The software opens the Store point page to review and enter the data.
Data page
-
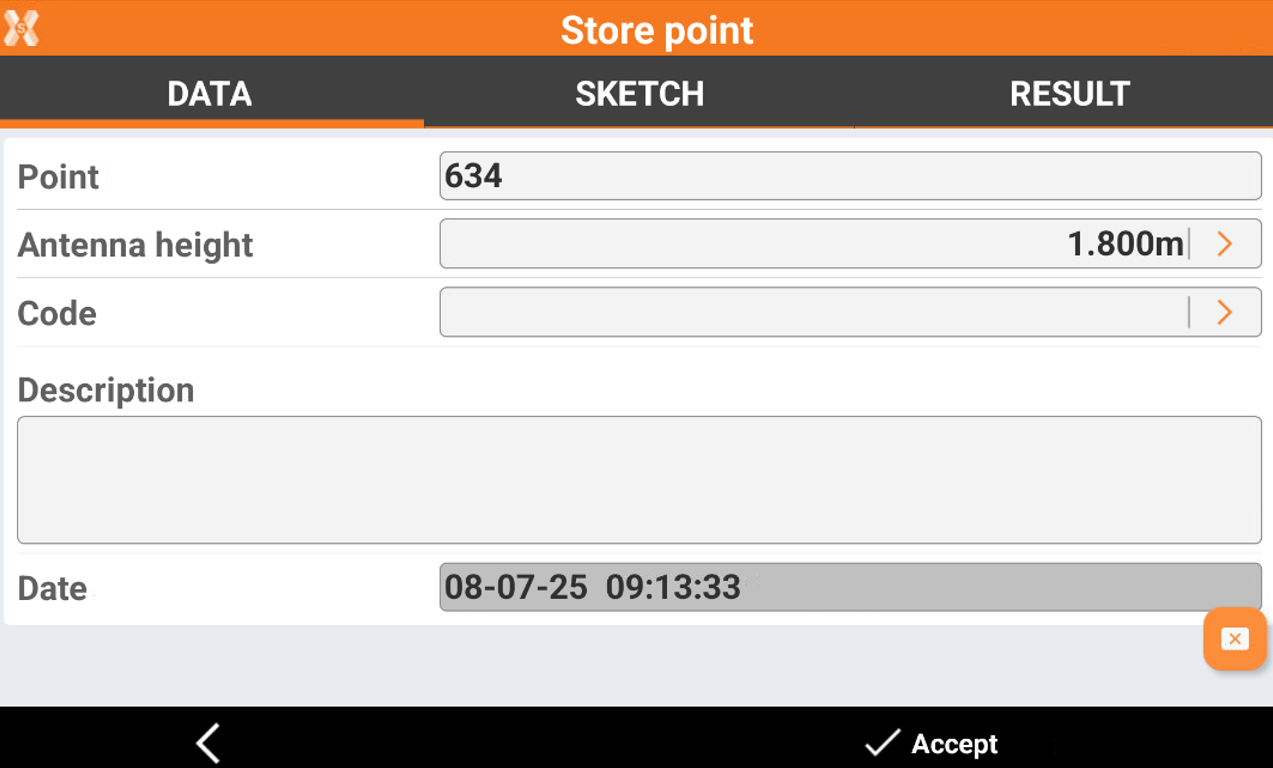
The page shows the main point information.
-
Point: name of the point to store.
-
Antenna height: elevation of the antenna at the moment of the acquisition of the point.
-
Code: code assigned to the point.
-
Description: extended description associated to the point.
-
Sketch page
-
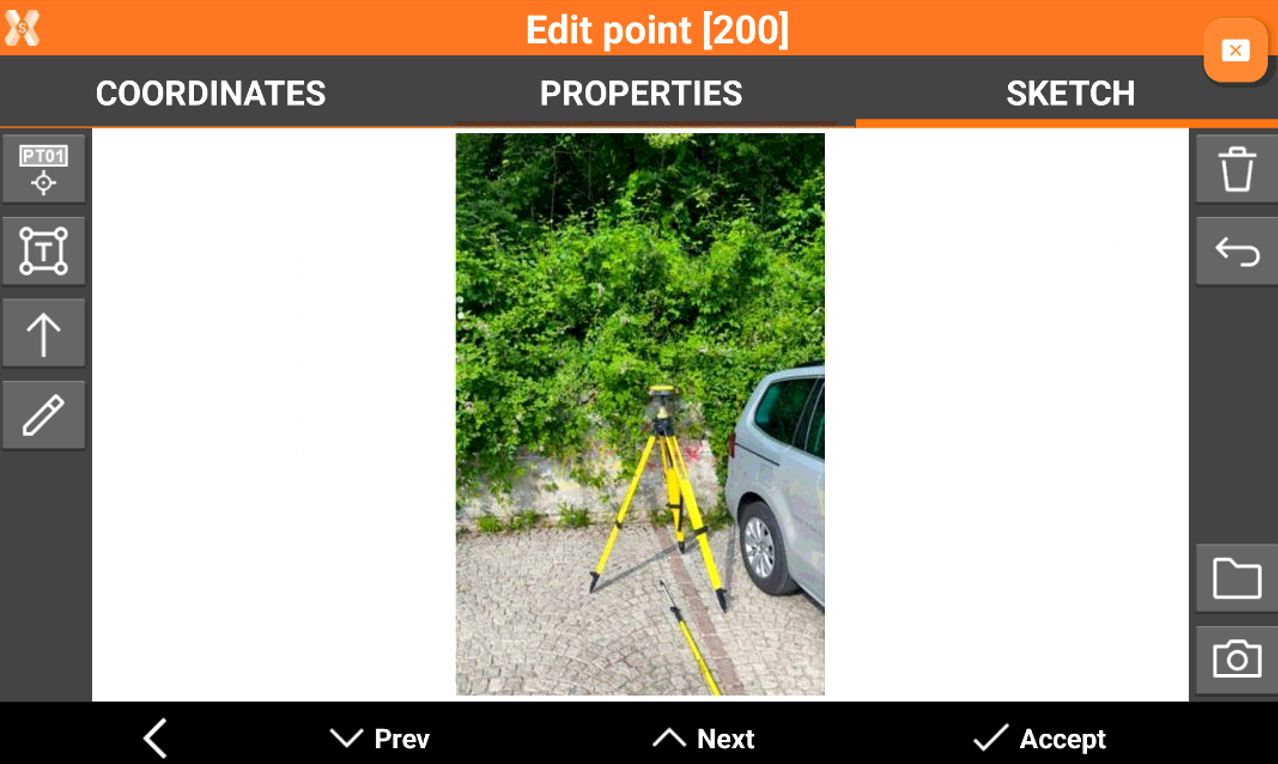
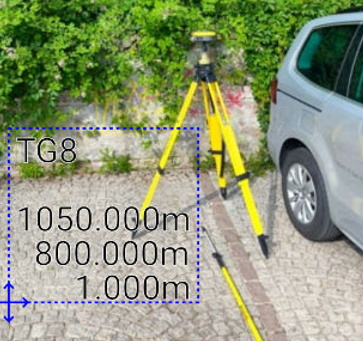
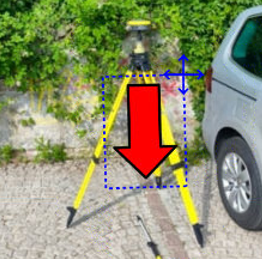
Sketch page allows to view the photo assigned to a point, load or take a new photo or draw on the image to have a picture of the topographic point.
-


-

-


-

-

-

-

-

Result page
-
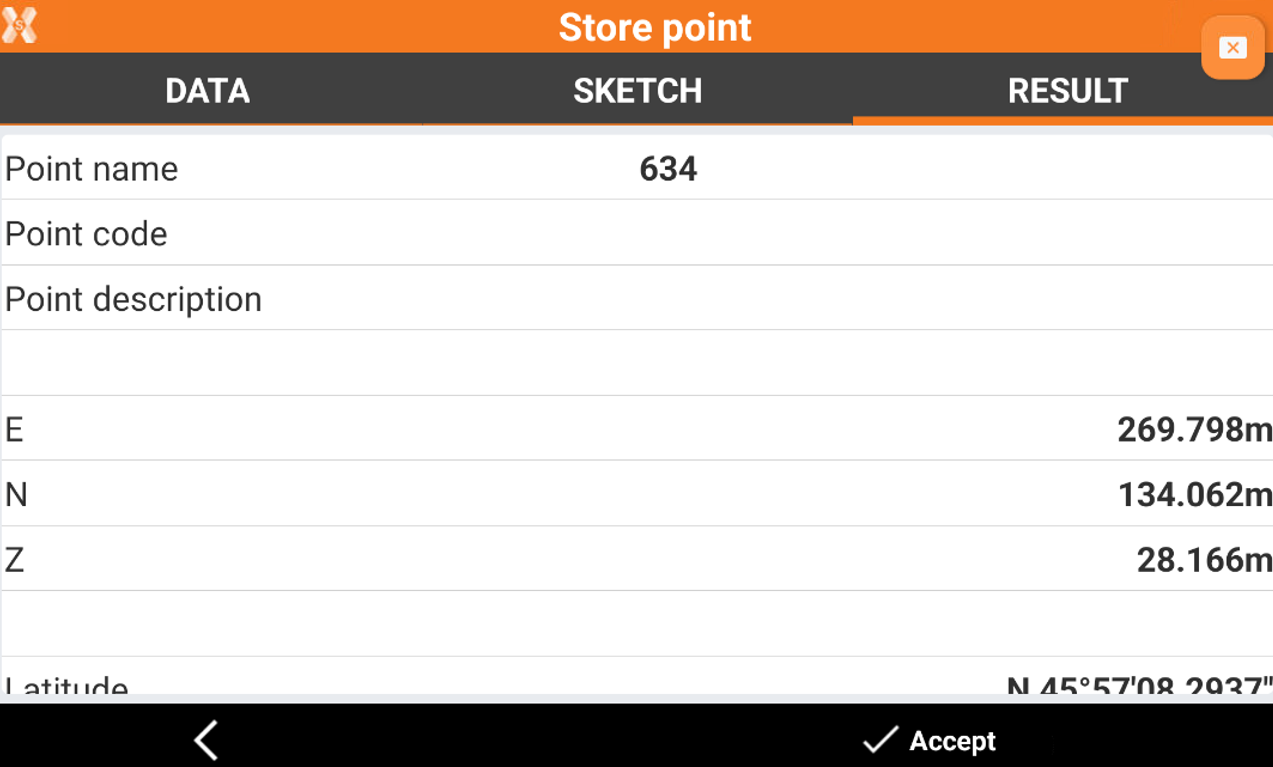
The result page shows a resume of measured point.