



-
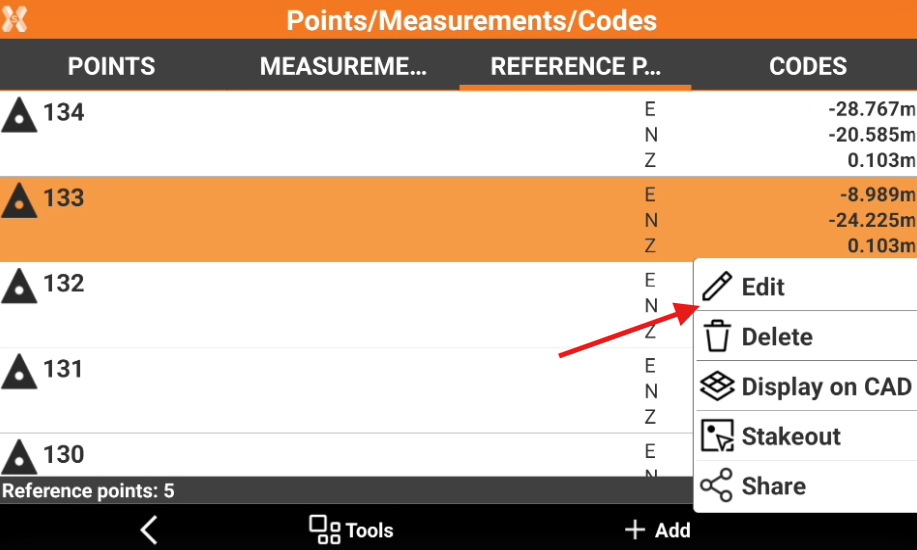
To edit a reference point open the Job tab.
-
Select Points/Measurements/Codes.
-
Open the Reference points tab.
-
Click on a point to open the context menu and select Edit.
-
The data of the point is organised in pages.
Coordinates page
-
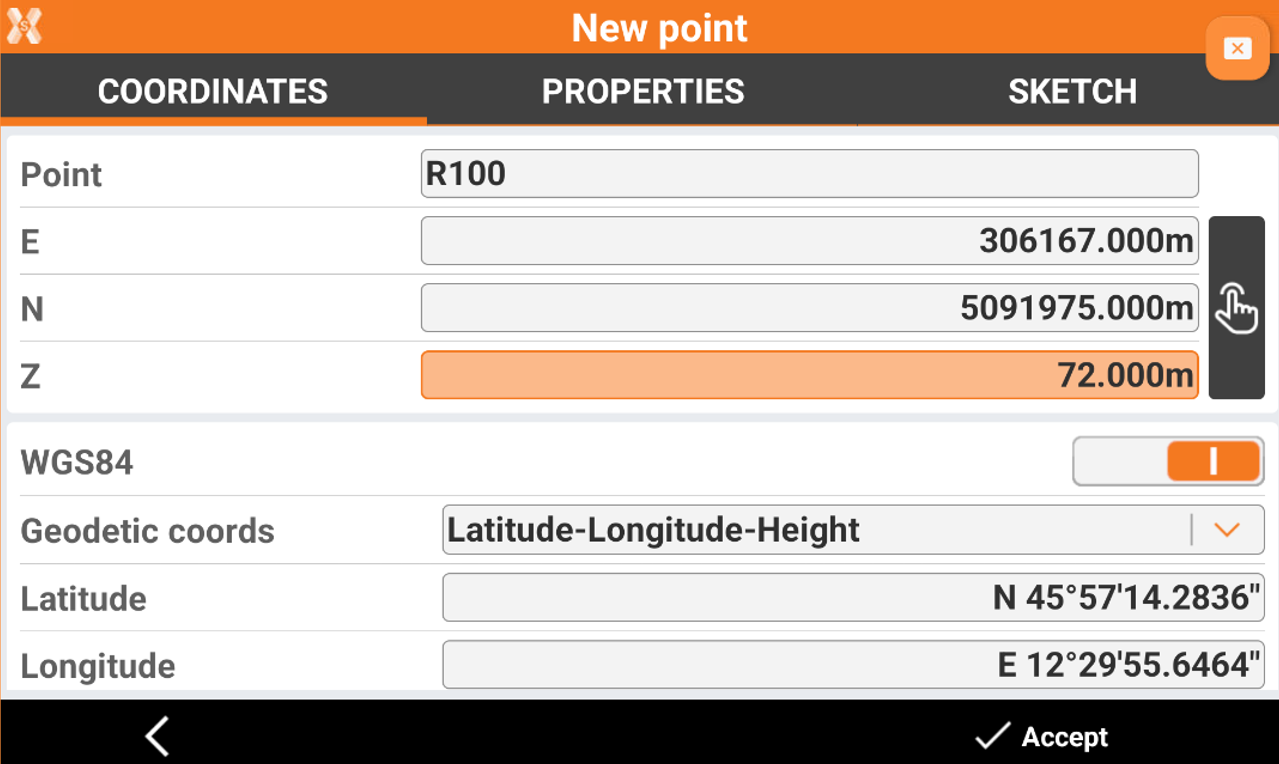
Coordinates page include coordinate information of the topographic point. A topographic point may have plane coordinates and WGS84 coordinates.
-
Point: name of the point.
-
E, N, Z: plane coordinates of the point.
-
WGS84: enabled if the point has geographic coordinates.
-
Geodetic coords: allows to choose the input method for the WGS84 coordinate.
-
Latitude, longitude and height: the coordinate is entered from its latitude, longitude and height.
-
ECEF XYZ: the coordinate is entered from its earth centered coordinate.
-
-
Properties page
-
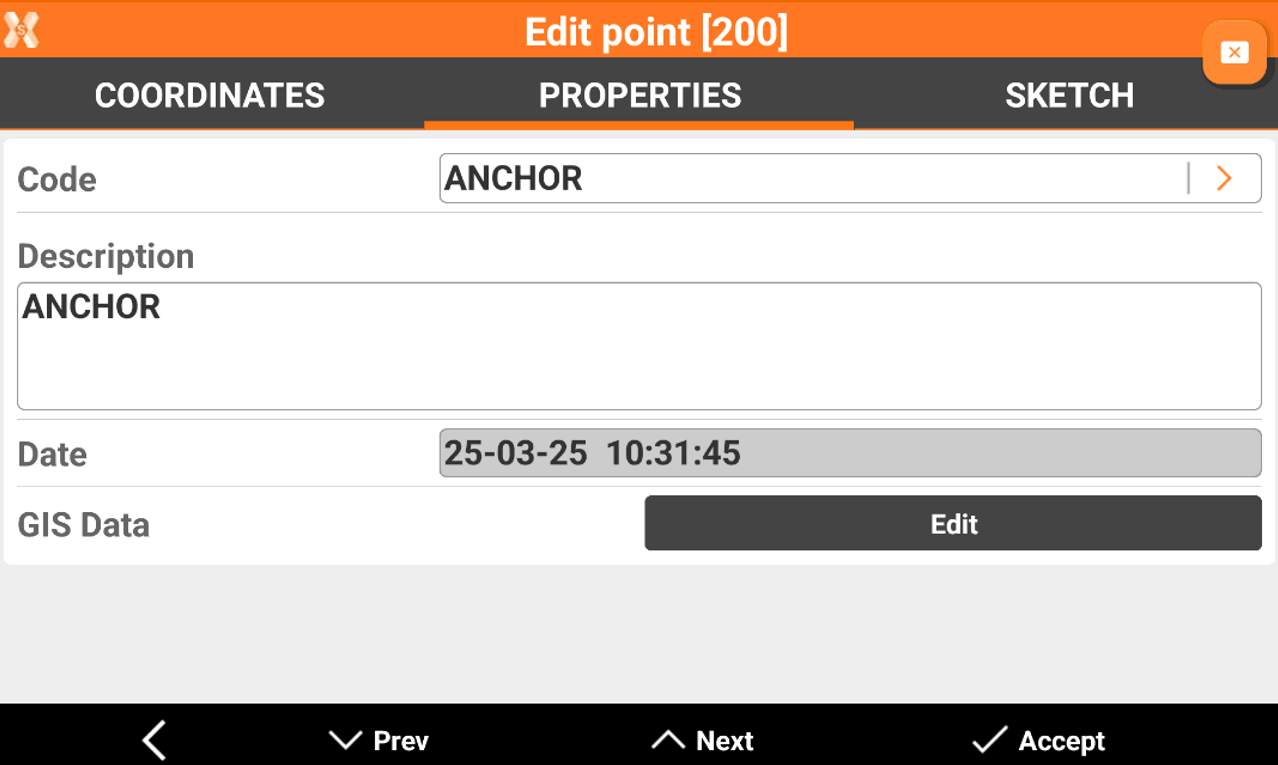
Properties page allows to enter or edit the point properties, as code, description and GIS features.
-
Code: survey code of the point. The icon allows to access the codes library and to select a code from the list.
-
Description: extended description of the point.
-
Date: date and time of storing the point.
-
GIS Data: if GIS features have been associated to the point click Edit to enter or modify the corresponding GIS attributes.
Sketch page
-
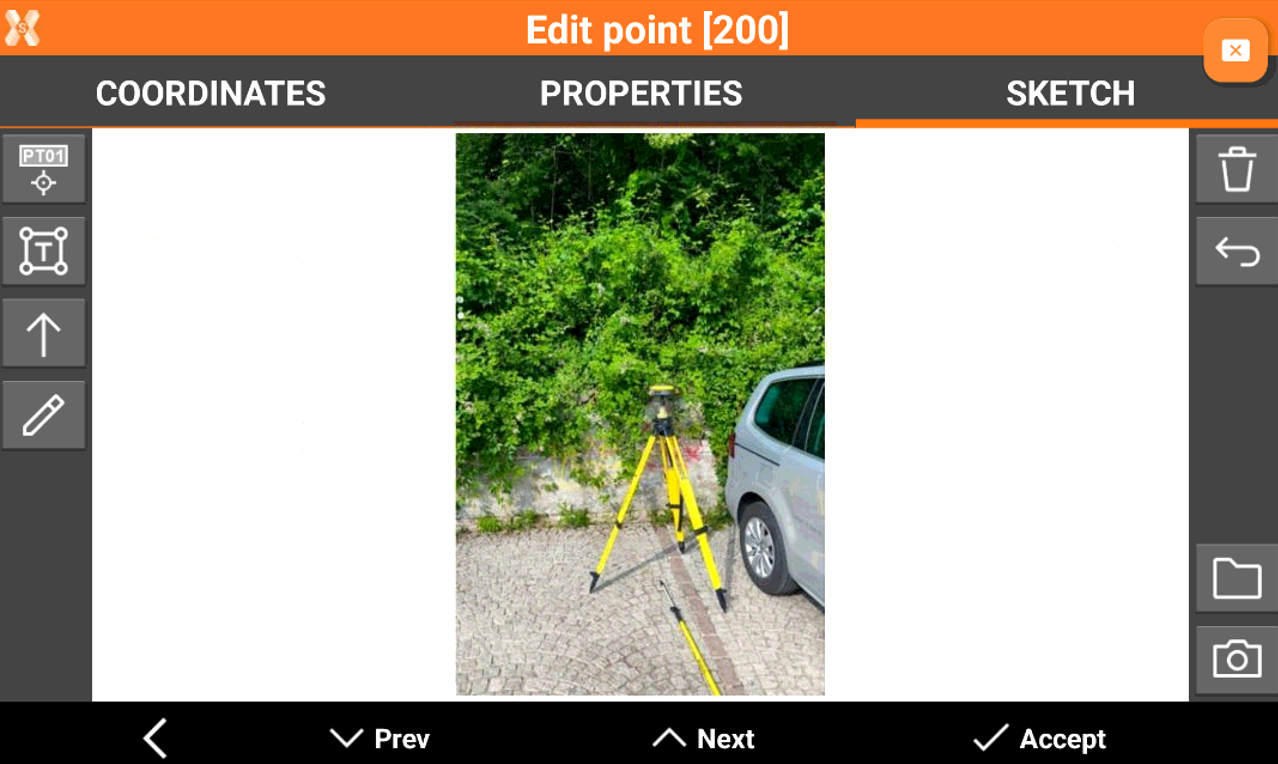
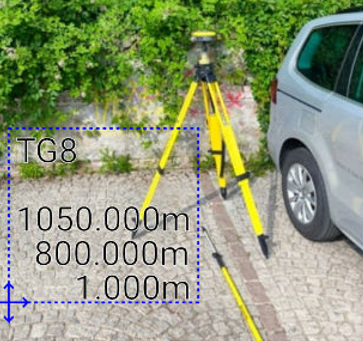
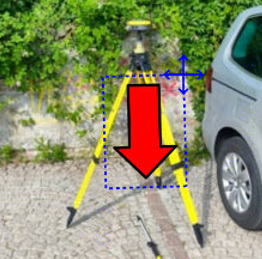
Sketch page allows to view the photo assigned to a point, load or take a new photo or draw on the image to have a picture of the topographic point.
-


-

-


-

-

-

-

-
