



-
The Project Manager layer panel allows to manage the layers in CAD.
-
Open the CAD Project Manager.
-
Click Layers

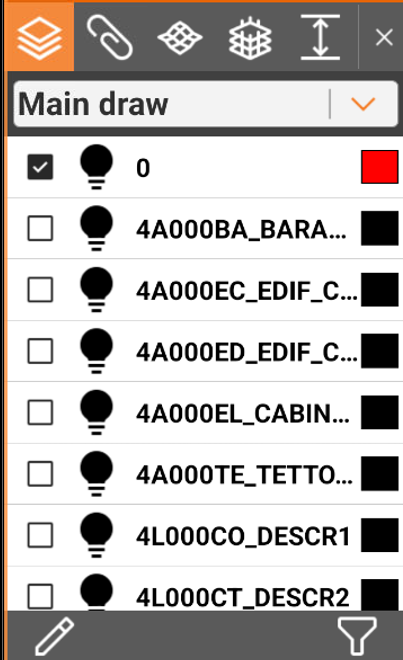
Set the current layer
-
Click

-
The current layer is marked by

Drawing and external reference layer list
-
In case an external reference is loaded with layers (for example a DXF/DWG file) it is possible to manage the external reference layers.
-
To change the list of layers click on the top bar.
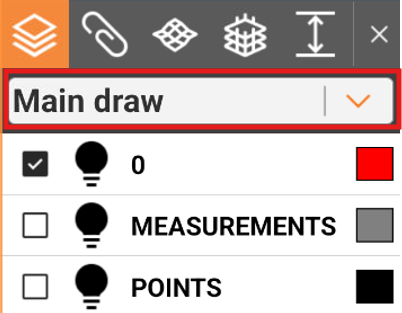
-
Select the external document to show its layers.
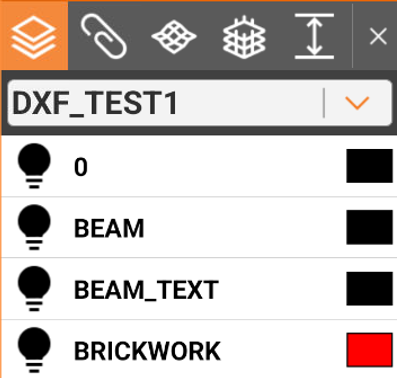
Filter the layers
-
To filter the layers in the list click

-
This allows to create a filter by layer name.
-
Click

Create a new layer
-
To create a new layer click

-
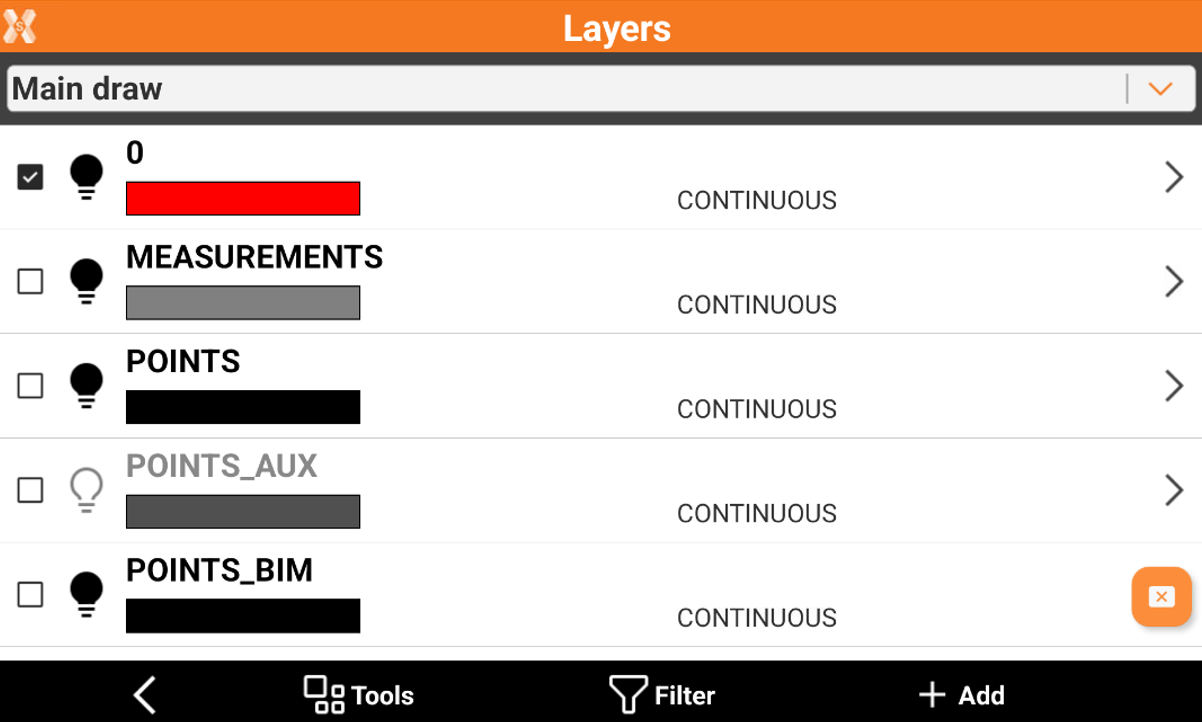
This opens the Layer page.
-
Click Add to add a new layer.
-
Click Add to insert the name of the new layer.
Making a layer visible or invisible
-
Visible layers are marked by

-
Invisible layers are marked by

-
Click the symbol to change the visibility of a layer.
Making all layers visible or invisible
-
Click
-
This opens the Layer page.
-
Click Tools.

-
Select All ON to make all layers visible.
-
Select All OFF to make all layers invisible.
Edit a layer
-
It is possible to edit a layer, changing the color or the linetype.
-
Click
-
This opens the Layer page.
-
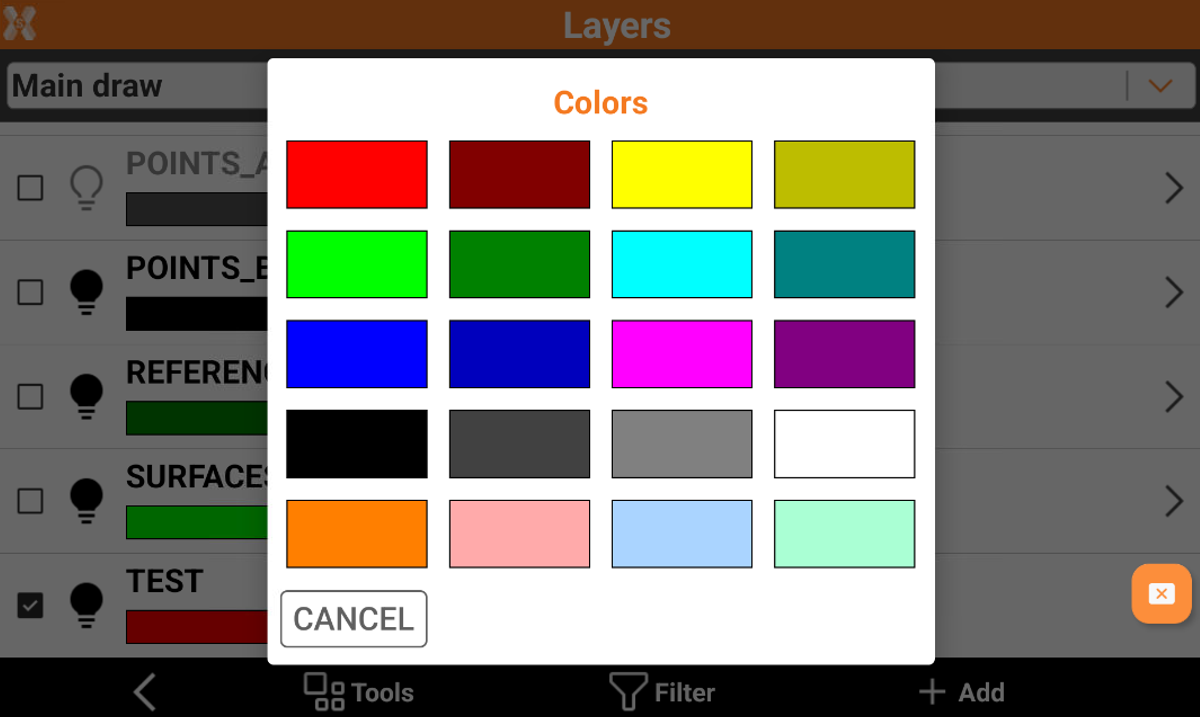
To change the layer color, click on the color bar under a layer to select a different color.
-
To change a linetype click on the linetype name to open the Linetypes manager.
-
To rename or delete a layer, click on the > symbol on a layer line and select Delete or Rename.
Delete unused layers
-
This function allows to delete all layers not used in the project.
-
Click
-
This opens the Layer page.
-
Click Tools.
-
Select Delete unused layers to delete all layers without drawing elements.